

Experience Report Project: Photographing Animal Silhouettes in Magic Light
The most important thing we photographers need is light! And not just any light, but light that can convey a certain mood.
Right?
As a wildlife photographer, you almost exclusively work with natural light, with exceptions often found in underwater photography, macro photography, or certain situations where it’s simply not possible without flash or lamps.
In this article, I want to take you along and describe how I planned my project “Photographing Animal Silhouettes in Magic Light.” A detailed examination of camera settings, etc., will not be covered in this article.
My goal was to photograph silhouettes of waterfowl during the Golden Hour. Along the way, some other photos were taken, which I will, of course, share with you. But first, let’s start from the beginning.
Procedure
- Finding the Suitable Location (Scouting)
- Determining the Position of the Sun at Sunrise/Sunset
- Choosing the Right Photo Spot
Finding the Suitable Location (Scouting)
First, you require a suitable location where the light of the rising or setting sun has a clear path. This means as few obstacles as possible that could block the light, such as adjacent forests, hills, mountain ranges, etc. Large flat areas are particularly suitable. In the north of the country, it will be easier to find such a spot compared to the south, which is more mountainous.
In my case, I chose a vast pond area in Middle Franconia, which was in my photo-hood. The position of the rising and/or setting sun was not significantly blocked by hills, mountain ranges, trees, or forest edges.

Determining the Position of the Sun at Sunrise/Sunset
Where exactly and at what time does the sun rise or set? We need to find this out because we need a backlight situation for the animal silhouettes, and our equipment should be set up before sunrise. To better plan our project’s processes and estimate the sunlight, it’s helpful to know where and at what time the sun will first appear. Determining the sun’s position is an ongoing process during the preparation phase, especially when it comes to positioning the spot.
Nowadays, you can use modern technology in the form of a smartphone app. These can provide relatively accurate information. I use PhotoPills, which I recommend, but note that the app is paid. If you would rather not spend money, there are many free alternatives in your app store.
So, I had the location knew where and at what time the sun rose or set. What was still missing was a suitable spot in the pond area with the respective animals whose silhouettes I wanted to capture in atmospheric light. Always considering not to disturb the animals, so no photos at any cost.
Choosing the Right Photo Spot
Before I could implement the actual shooting, I needed a suitable spot. The day before, I took a hike and walked through the area. This also gave me an impression of what the mood was like at sunrise in the area. Always considering the factors mentioned above: is the light blocked, where exactly will the sun appear on the horizon, etc.
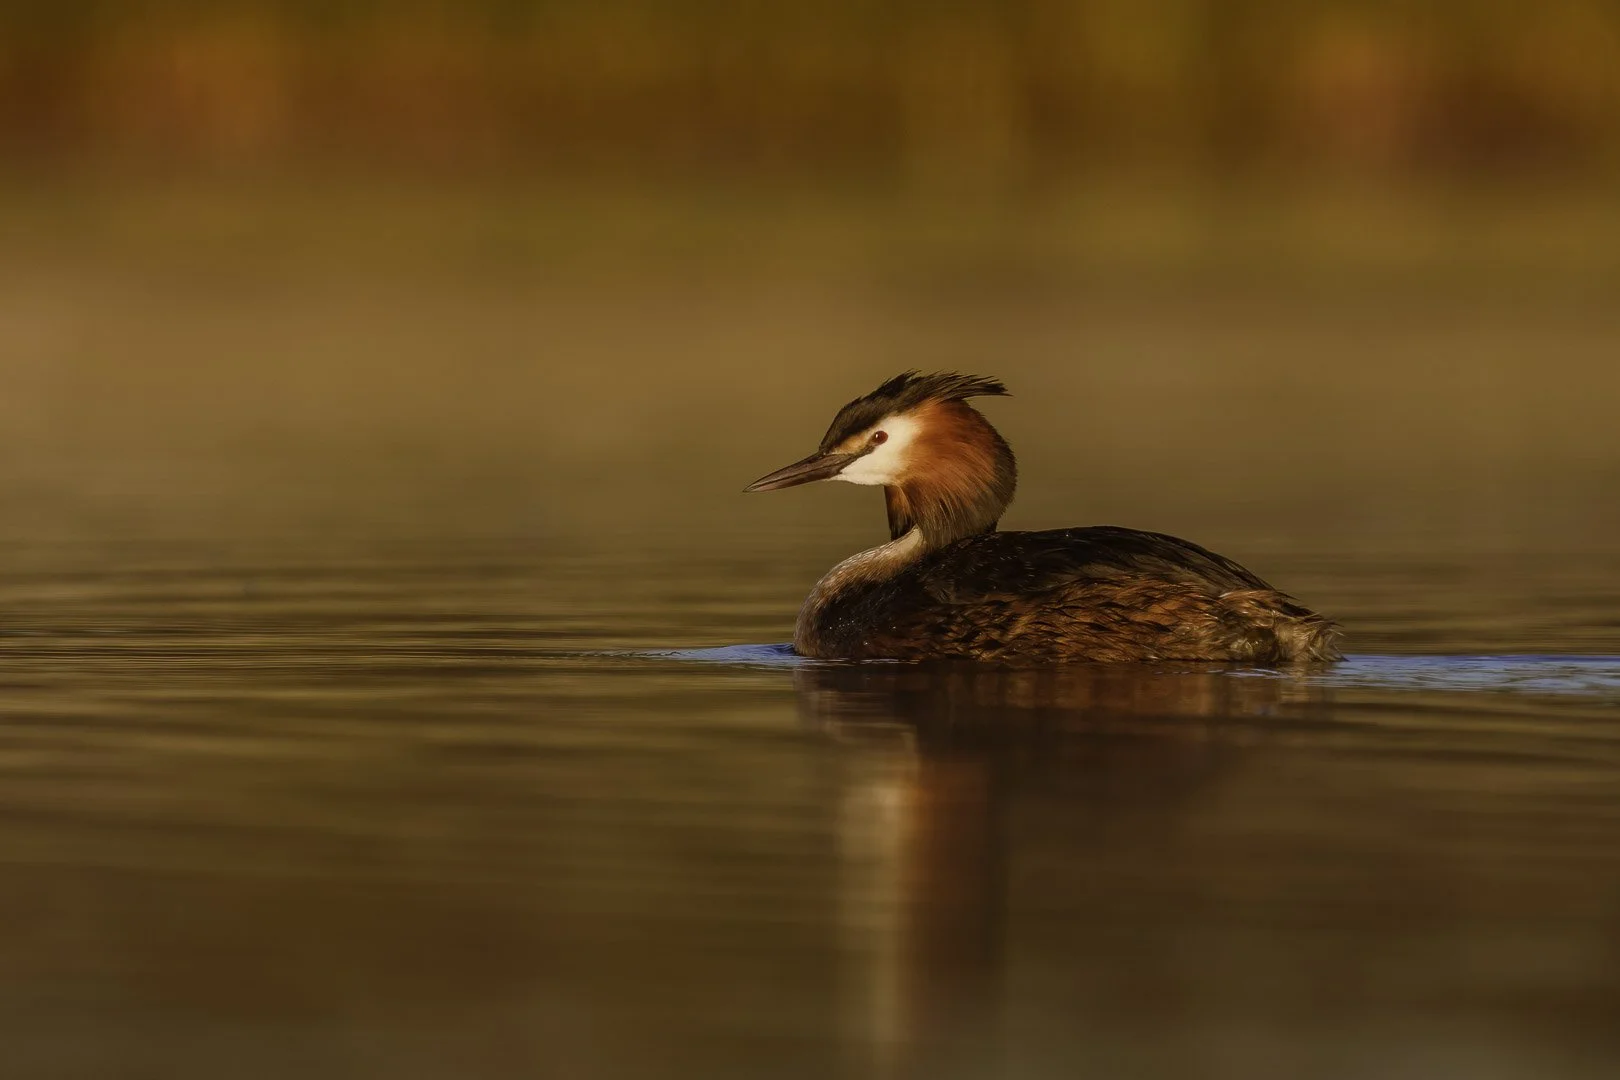
Not only the lighting conditions but also which animals could be found at which pond and where a suitable spot for photography was, I evaluated during the first hike. This means I checked which waterfowl were present in what numbers and how the activity was at sunrise. I decided on a pond where swans, geese, Egyptian geese, great crested grebes, little grebes, and coots could be found—a good mix.
I was also able to take some initial shots and gather first-hand experiences for my technical setup.


Finding a Suitable Hiding Spot
The next point was finding a suitable hide where I could position myself for my project. I needed a spot where I could shoot into the sun to create a backlight situation and have the option to position the lens at eye level with the animals, allowing me to focus on objects just above the water surface.
The pond I chose had a reed belt with one side open and a public path nearby. Here, I could place myself on the ground and use the end of the reed belt for camouflage. Another crucial criterion was that the pond’s edge was almost at the water surface, enabling me to photograph relatively close to the water surface.


Done! One of the most critical parts of the preparation was thus completed. In my case, it remained to be seen whether my preparations would pay off.
The next day, I carried out the actual shooting.



Equipment for this Project:
- 2 x Camera body
- Sony 200 – 600 mm
- Tamron 28 – 75 mm
- Smartphone
- Ground tripod
- Head – Flexshooter Pro
- Isomat
- 3D camo poncho
Let me know in the comments if you like the shots and whether you think the effort was worth it.


