

THE TEST IN BRIEF
At a glance
If you are in a hurry: here are the key points. Tap a section to open it.
Considerations before buying
- Why the a6700? An addition to my gear with focus bracketing, solid photo and video performance, compatibility with my Sony equipment
Preparation and conduct of the wildlife test
- Photo spots: Saarland, Bavaria, Middle Franconia, East Allgäu, Nuremberg
- Lenses: Sony 100–400 mm GM, 200–600 mm G, 400 mm f/2.8 GM
- Camera settings for wildlife photography: AF-C, back-button focus, H+, RAW
First impressions and practical use
- Handling: Good, but takes getting used to with large hands, or simply too small
- Autofocus: Fast, but sometimes inaccurate with fast-moving subjects
- Image quality: Excellent in good light, good dynamic range
- Video: 4k 120 fps with a “super crop factor”
Verdict: is the a6700 suitable for wildlife photography?
- For professionals in the Sony ecosystem: A good addition, especially for macro and video, but not a must
- For newcomers: Options such as the a7 IV might suit you better
- Value for money: Around 1600 EUR, good technology with a few compromises
Pros and cons in brief
Pros
- Excellent image and video quality
- Fast autofocus
- Well-built body
- Lightweight and flexible in use
- 4k 120 fps video possible
- E-mount, full-frame lenses usable
Cons
- High battery consumption
- Only one SD card slot
- Significant rolling shutter
- No joystick for focus area selection
- Body not well suited to large hands
- E-shutter only usable to a limited extent
- No charger included
- Small viewfinder with low resolution
- Ergonomics only partly convincing
- Mode dial without a central lock
JUMP TO
Welcome to the adventure: introductory words on the a6700 wildlife test
If you are considering acquiring the Sony a6700 for wildlife and nature photography, you are in the right place. This article gives you an insight into my first long-term experience with this camera. I used the Sony a6700 as my primary camera for several weeks during my wildlife excursions, giving my Sony A1 a break. For my wildlife work with the APS-C camera, I used full-frame lenses such as the 100–400 mm f4.5/5.6 GM, the 200–600 mm f5.6/6.3 G and the 400 mm f2.8 GM.
I did not prepare in any special way; I grabbed the camera and went. If you want to learn more about the technical specifications, I recommend checking the Sony website. In my test I only cover the points that stood out to me during my photo sessions, or that matter to me in this discipline of photography. What you will find, though, are the key camera settings I used on the Sony a6700 for this purpose.
Who is this article especially interesting for?
This article might be particularly interesting for you if you have only recently started with wildlife photography, are interested in the Sony a6700 and are about to buy a suitable camera for wildlife work. It is also for those specifically interested in what the Sony a6700 can do in practice in nature photography.
Why did I choose the Sony a6700?
My buying decision was not driven by the search for a new primary camera for wildlife photography. I wanted to expand my equipment. I had been waiting for some time for a Sony APS-C hybrid camera that offers focus bracketing along with good photo and video performance.
My photo equipment is mostly based in the Sony universe, so I was looking for a suitable addition for macro photography, location scouting, travel and documentation. Until then I used my old Lumix G81 for these purposes, but switching between different systems became bothersome over time. With the a6700 everything comes from one source and I can make full use of my Sony gear. An additional plus was the ability to record video with a “super crop factor” at 4k & 120 fps.
I mainly use full-frame cameras for wildlife photography, so the APS-C world was relatively new territory for me. In wildlife photography the equipment plays a crucial role, even though in the end it is the photographer who makes the image. So I was curious to see how the a6700 would hold up against my full-frame bodies.
I want to make one thing clear: in this test I share my personal impressions, without unduly criticising the camera or praising it beyond reason — which is what seems to happen in nearly every review you find online. Even though I often bring in my full-frame cameras for comparison, I am aware that you should not compare apples to oranges. This test focuses exclusively on wildlife photography, a field with very specific demands. I also make no claim to completeness, which would not be possible in a single article anyway.
Conditions for wildlife photography in Germany can be challenging, and the light is often far from ideal — because of tree lines, forests, hilly landscapes, mountains, valleys, or simply bad weather. So it mattered to me to see how the a6700 performs under real conditions out there. Every animal shot in this article, apart from the macro photos, was taken in the wild with wild animals.
Preparation and conduct of the wildlife test
First I would like to introduce the various photo spots I picked for this test, show some initial photos without commentary, and then go into the equipment used and the camera settings. If those details interest you less, you can jump straight to my specific experiences, the before-and-after images, the video part and my final verdict.
Update: You will find more recent photos taken with the Sony a6700 in my Japan travel live blog articles.
The photo spots at a glance: from Saarland to Bavaria
Exploring the Bliesgau Biosphere Reserve, Saarland

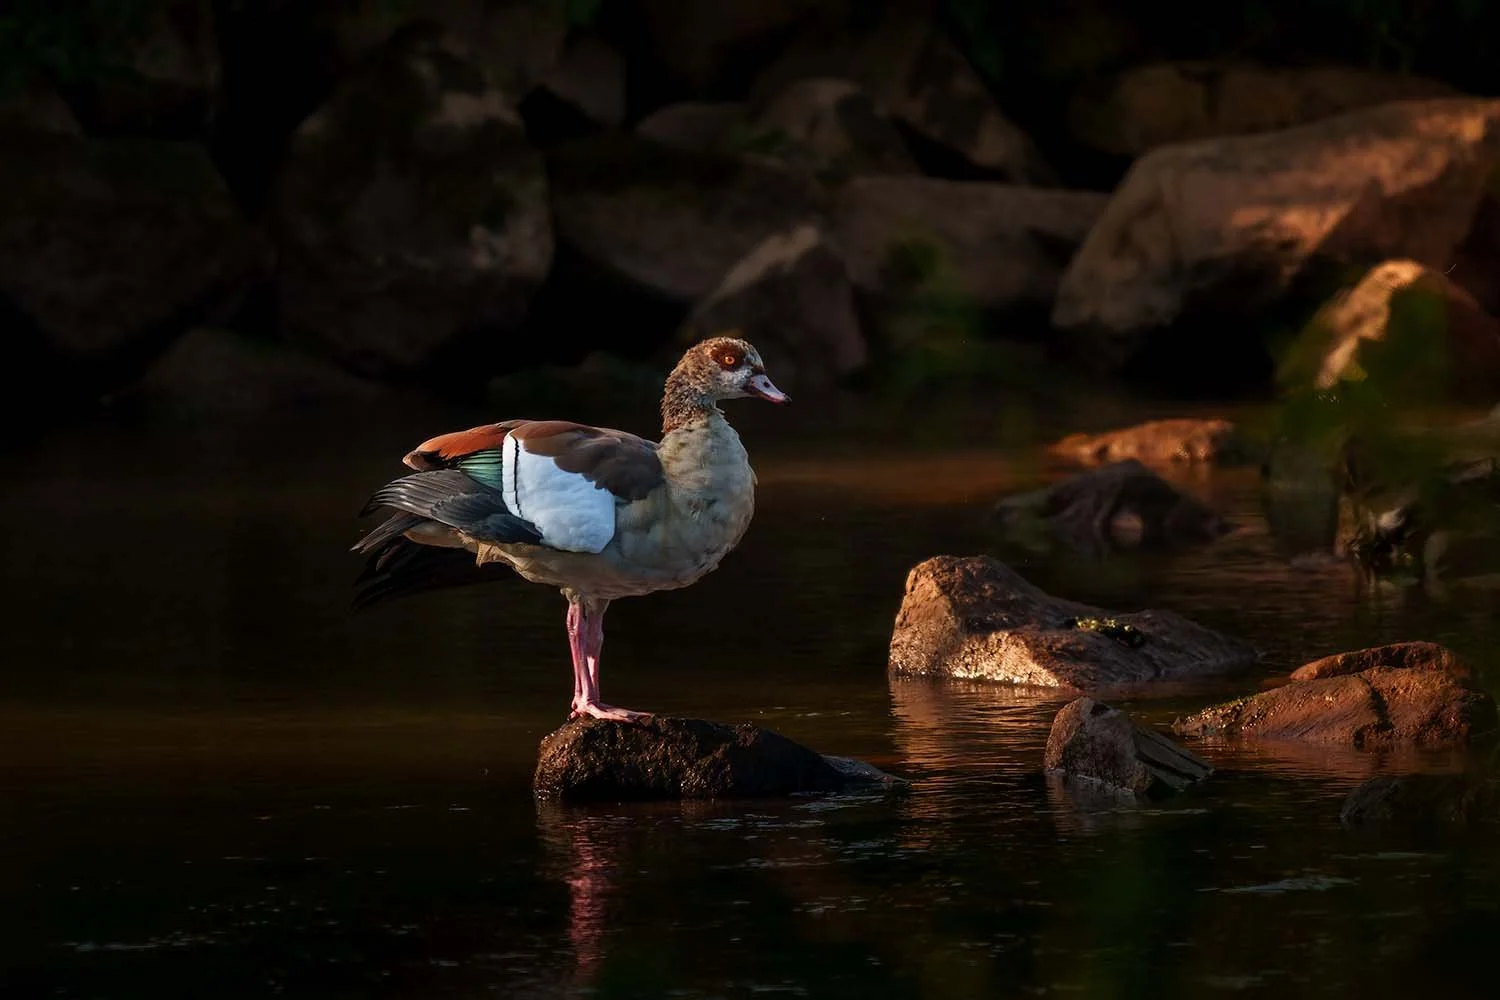
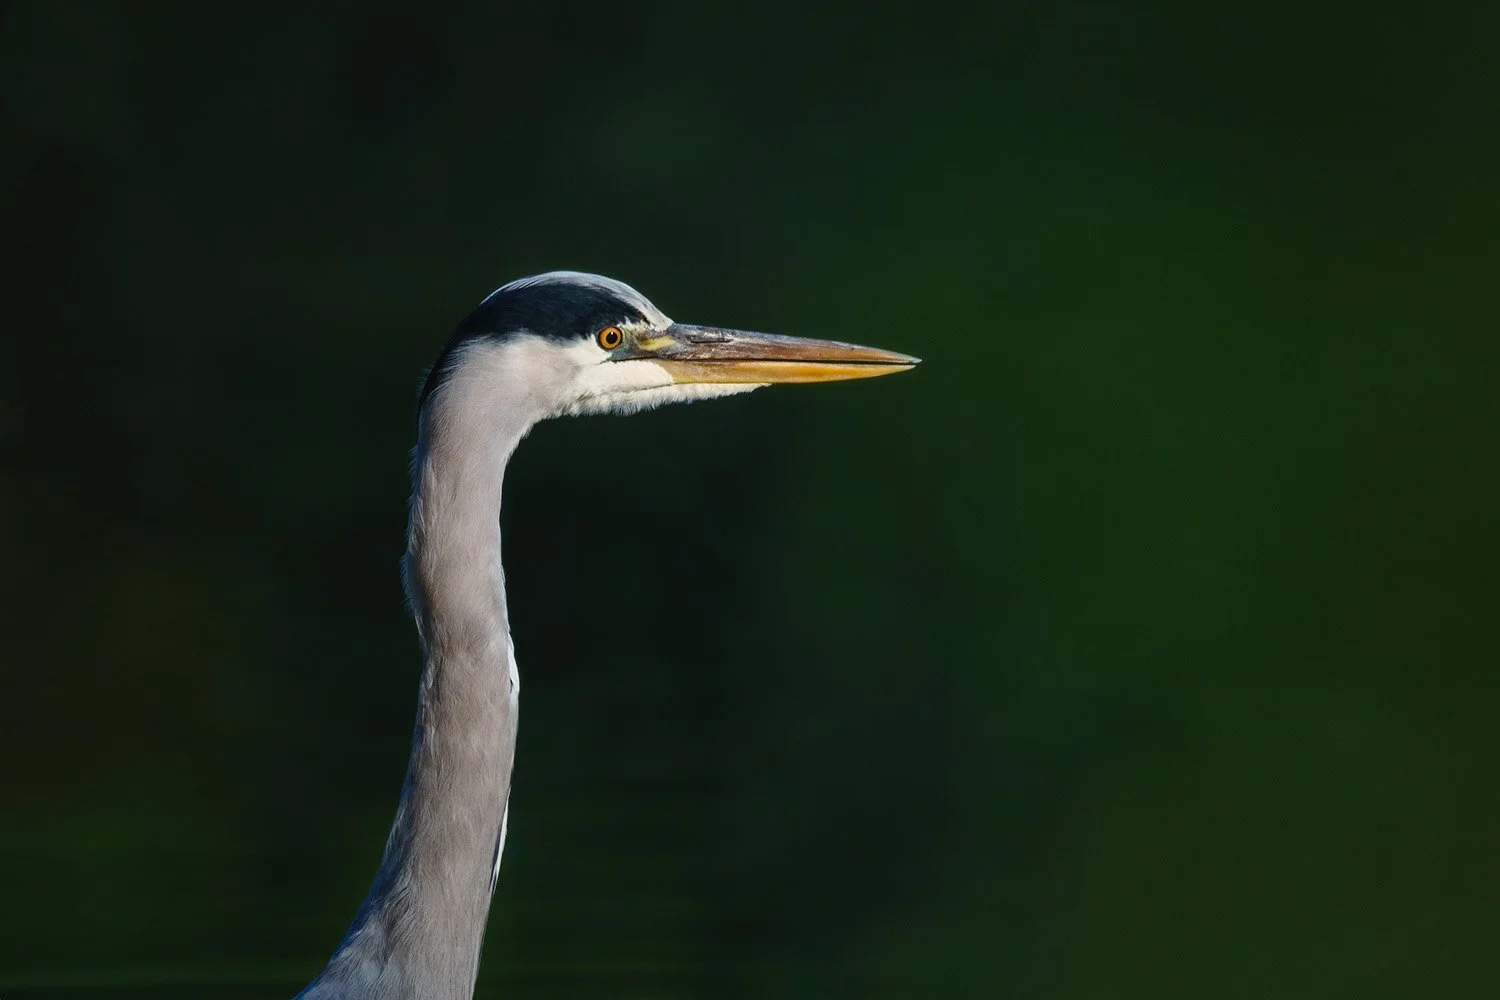
The Bliesgau Biosphere Reserve in Saarland offered a varied backdrop with green vegetation and the first hints of autumn. It was my first visit to this nature reserve, so I had to find a suitable vantage point and adjust to changing light. Here I was able to capture nutrias, Egyptian geese, grey herons and jackdaws with the compact hybrid camera.
Camera: Sony a6700 · Lens: Sony 400 mm f/2.8 GM


Wilderness expedition in the Upper Palatinate, Bavaria

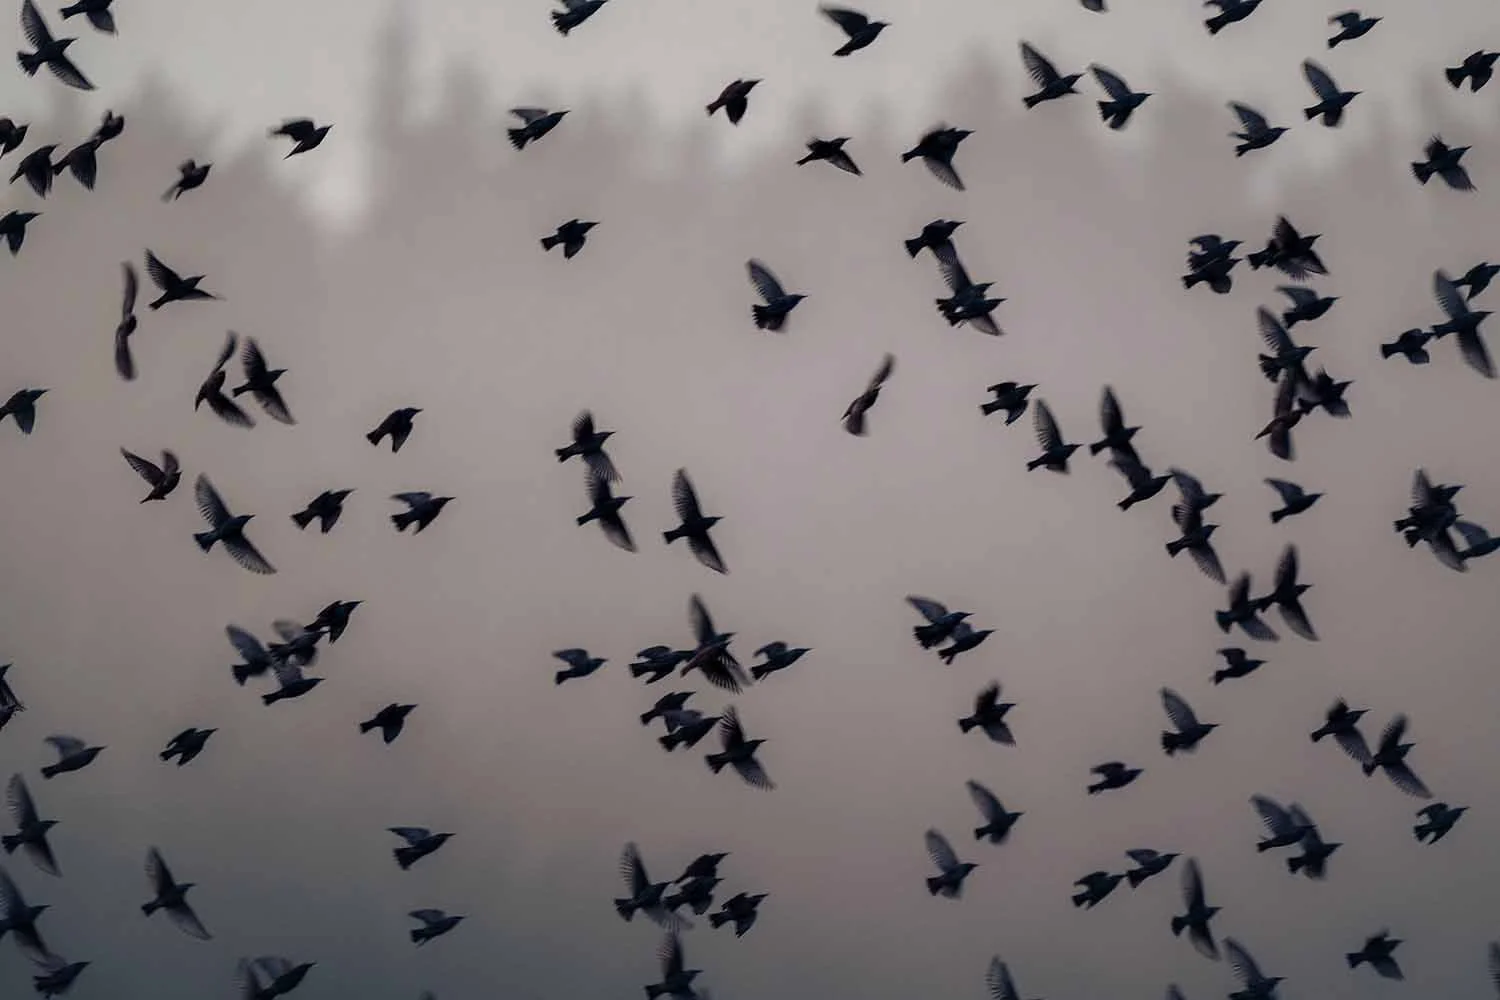
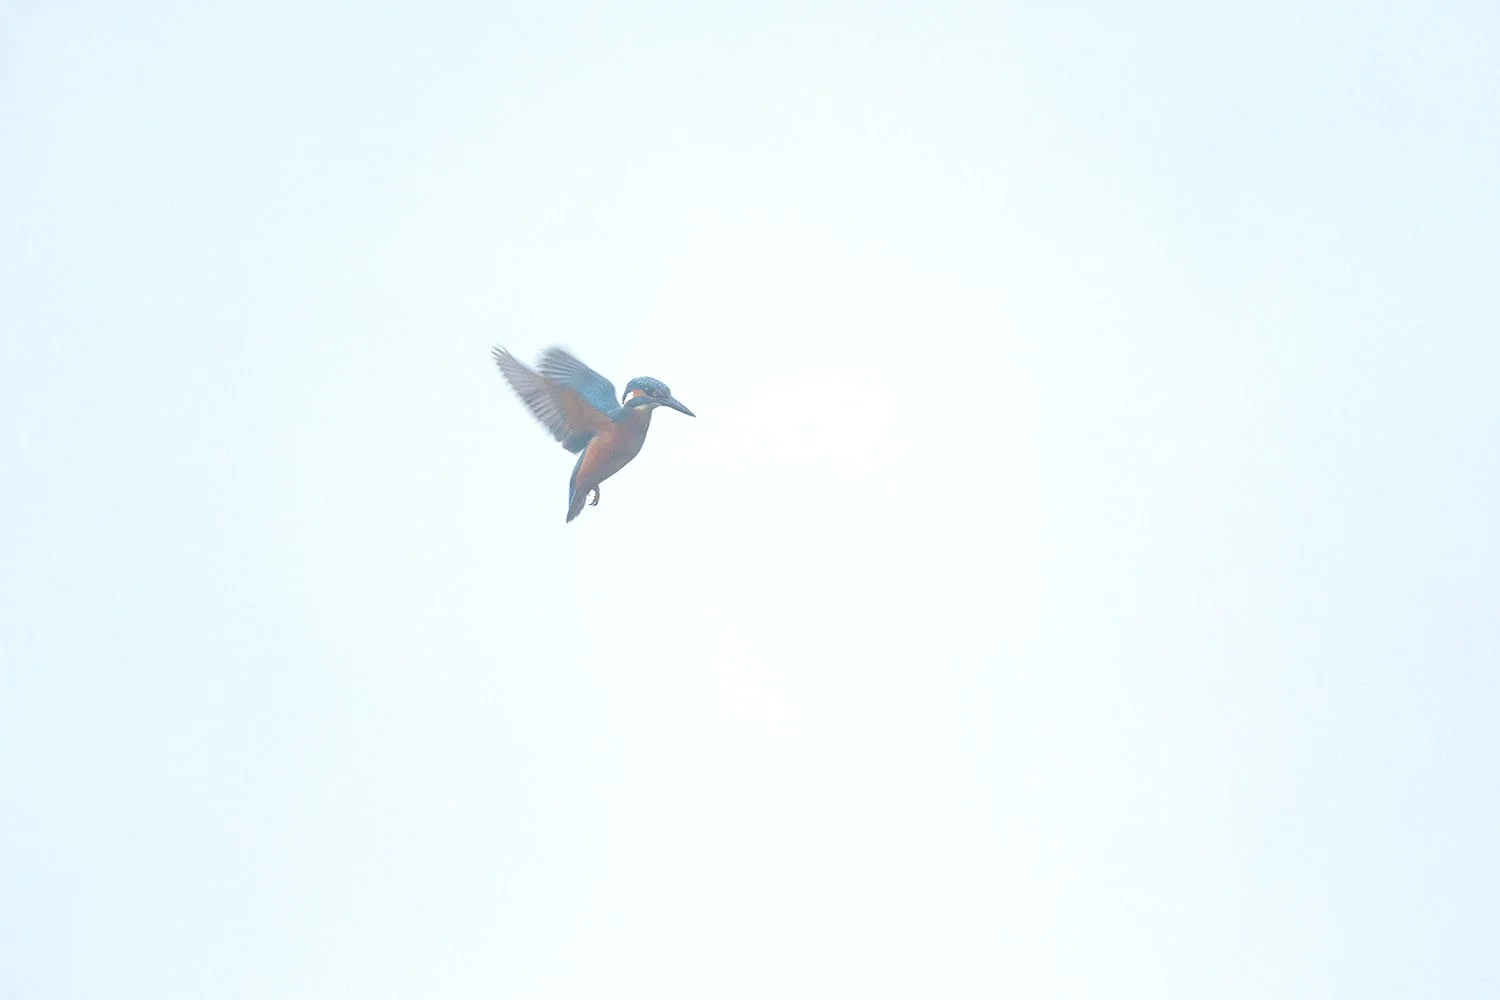
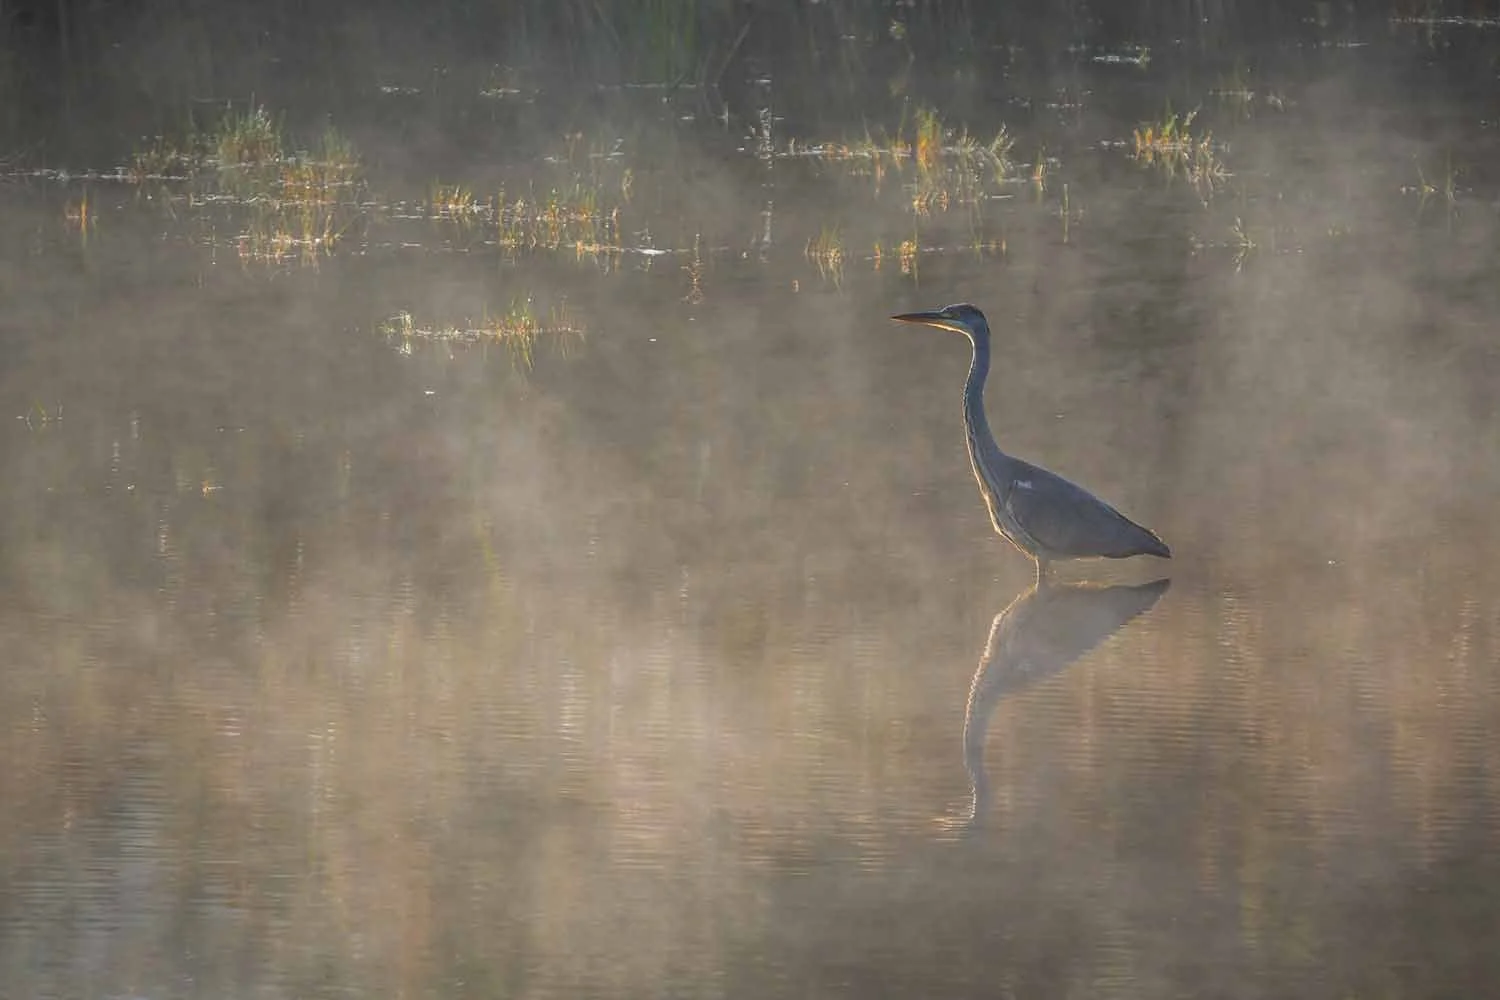
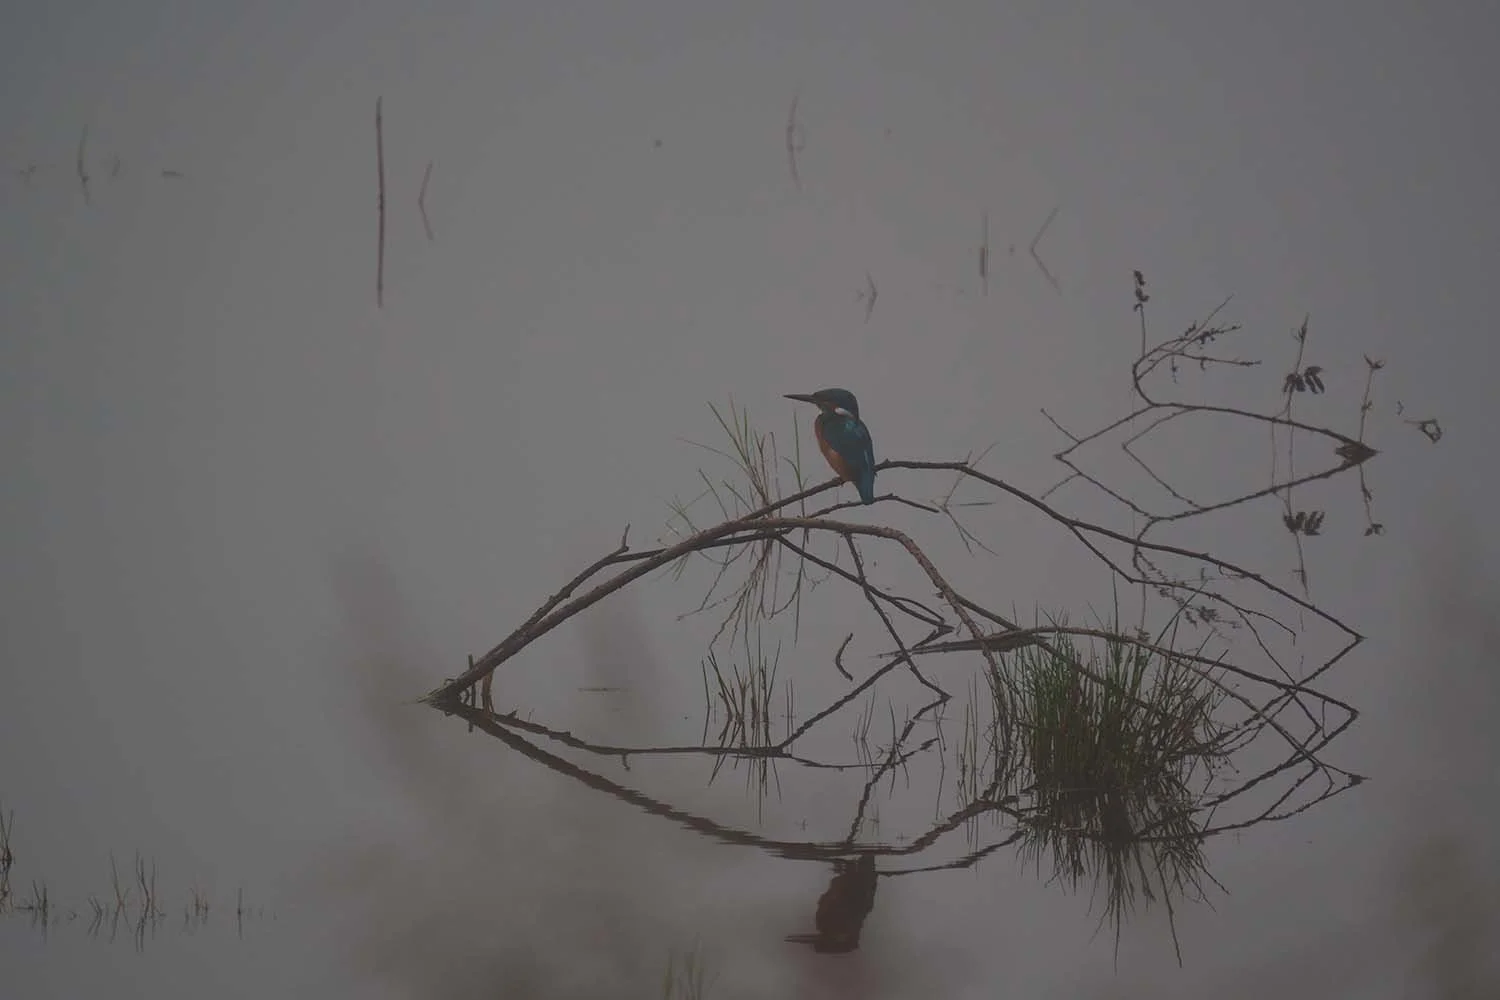
In the unspoilt Bavarian Upper Palatinate I had the chance to photograph on two different days. I know the region well, so I did not need to prepare and started each session two hours before sunrise in my hide. The changing light, and above all the fog over the water, made for unique moments. With the Sony a6700 and various lenses I captured photos and video of kingfishers, common starlings, grey herons and blackbirds.
Camera: Sony a6700 · Lenses: Sony 200–600 mm G & Sony 400 mm f/2.8 GM with 1.4x TC


Nature in the pond district of Middle Franconia

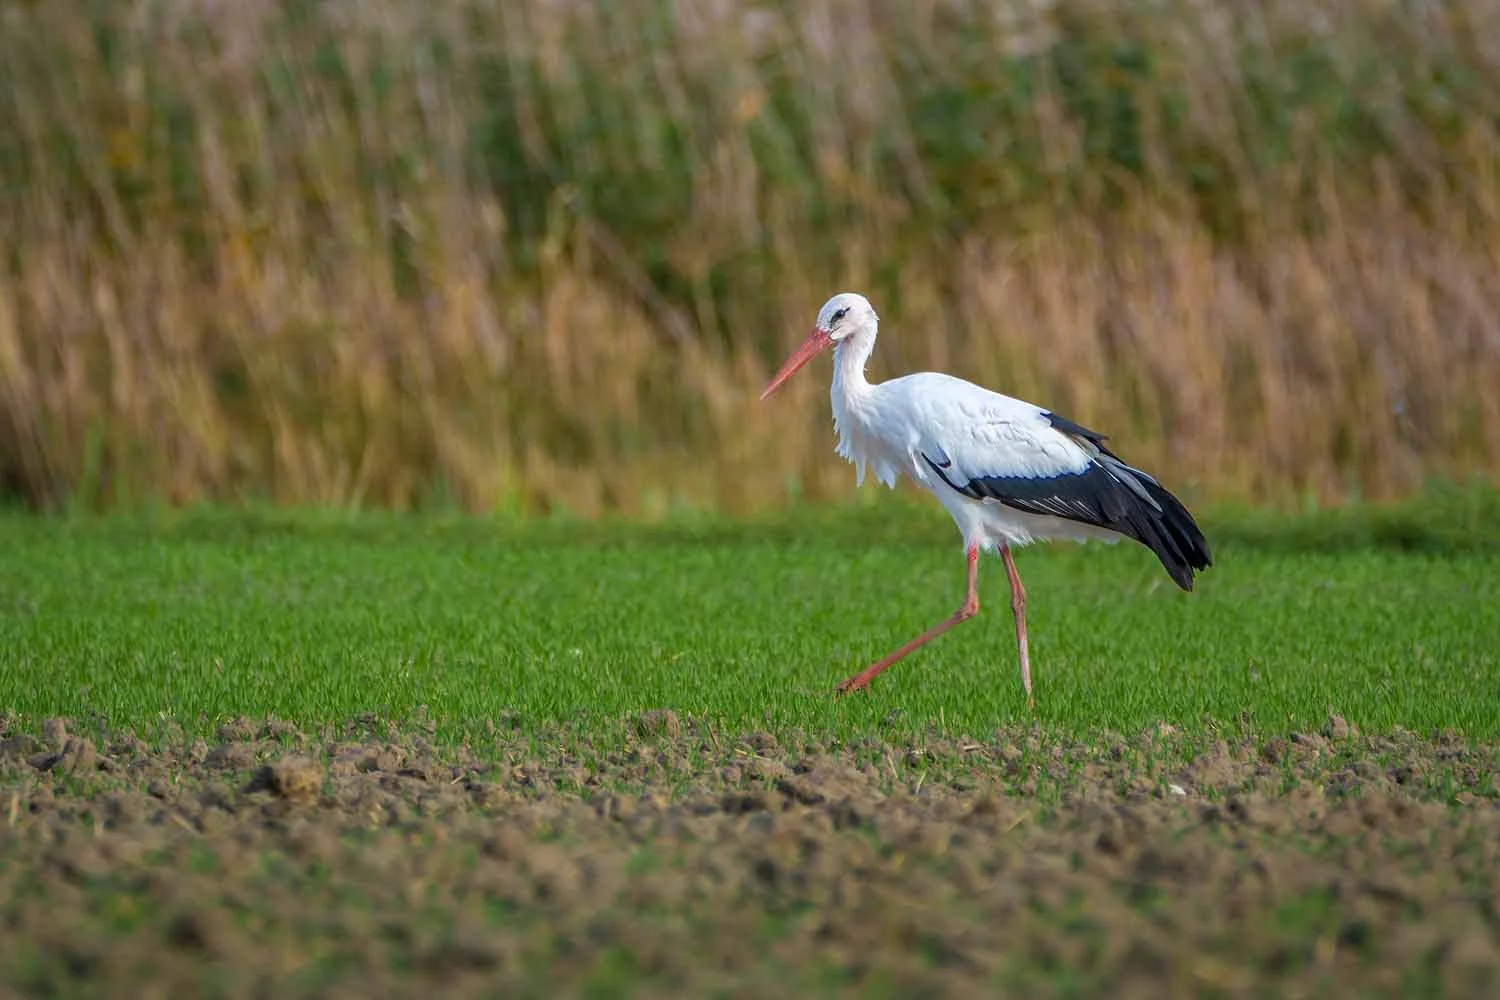
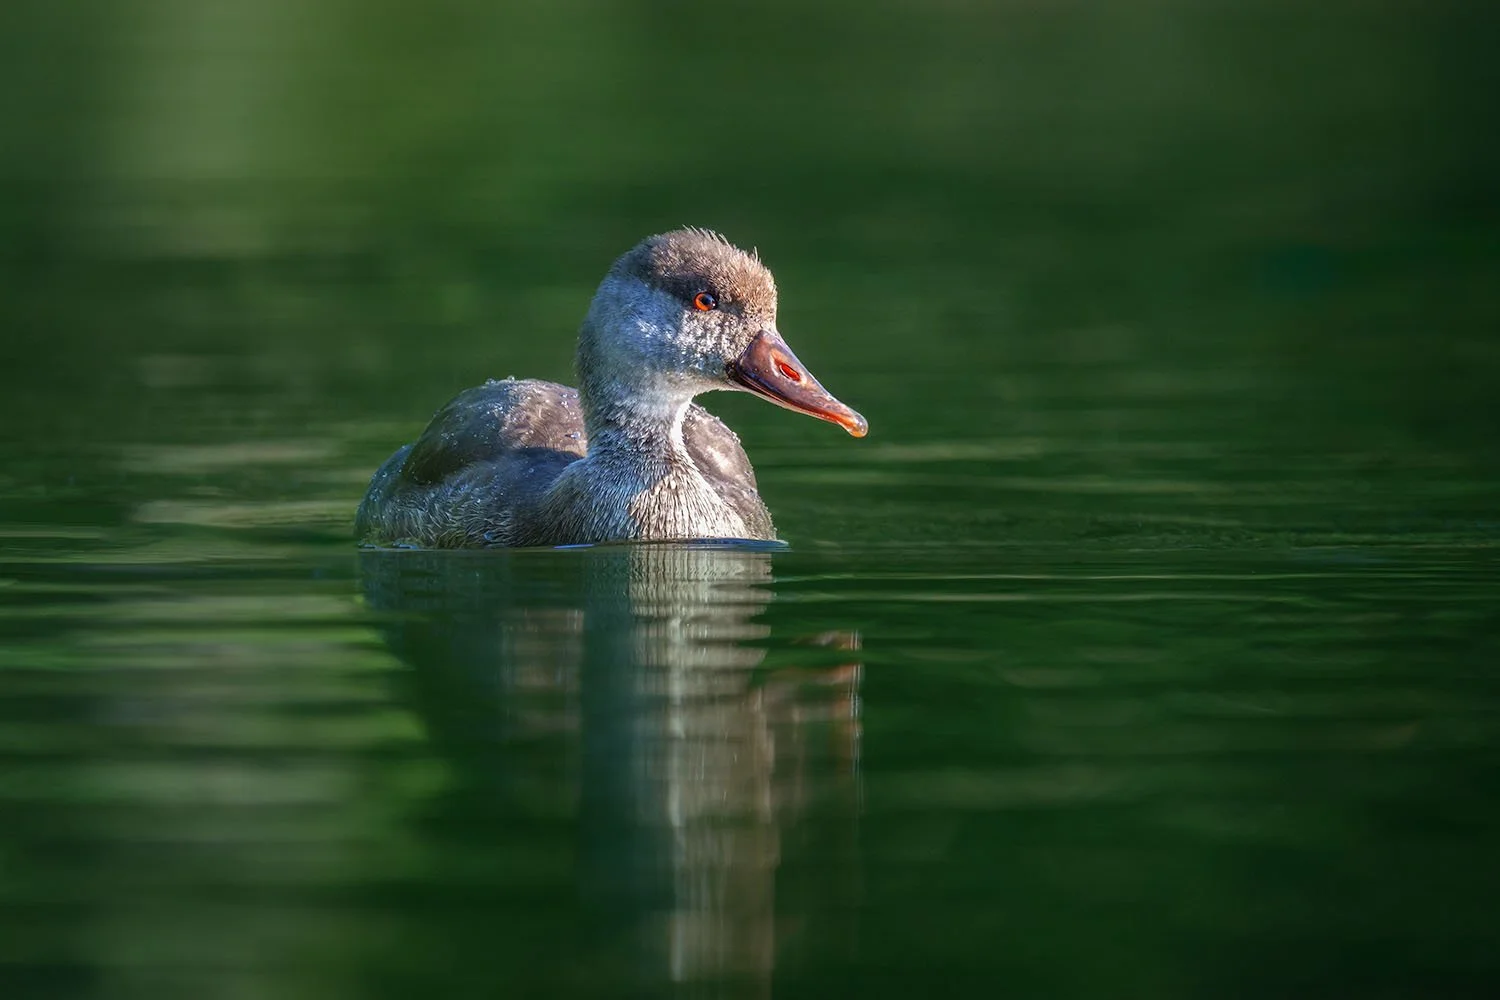
On an evening walk through a pond district in Middle Franconia I used the a6700 with the Sony 100–400 mm f4.5/5.6 GM. Besides white storks and algae (interesting textures), I had the chance to photograph starlings and swans in the golden glow of the evening sun.
Camera: Sony a6700 · Lens: Sony 100–400 mm f/4.5–5.6 GM


Photography adventure in the East Allgäu

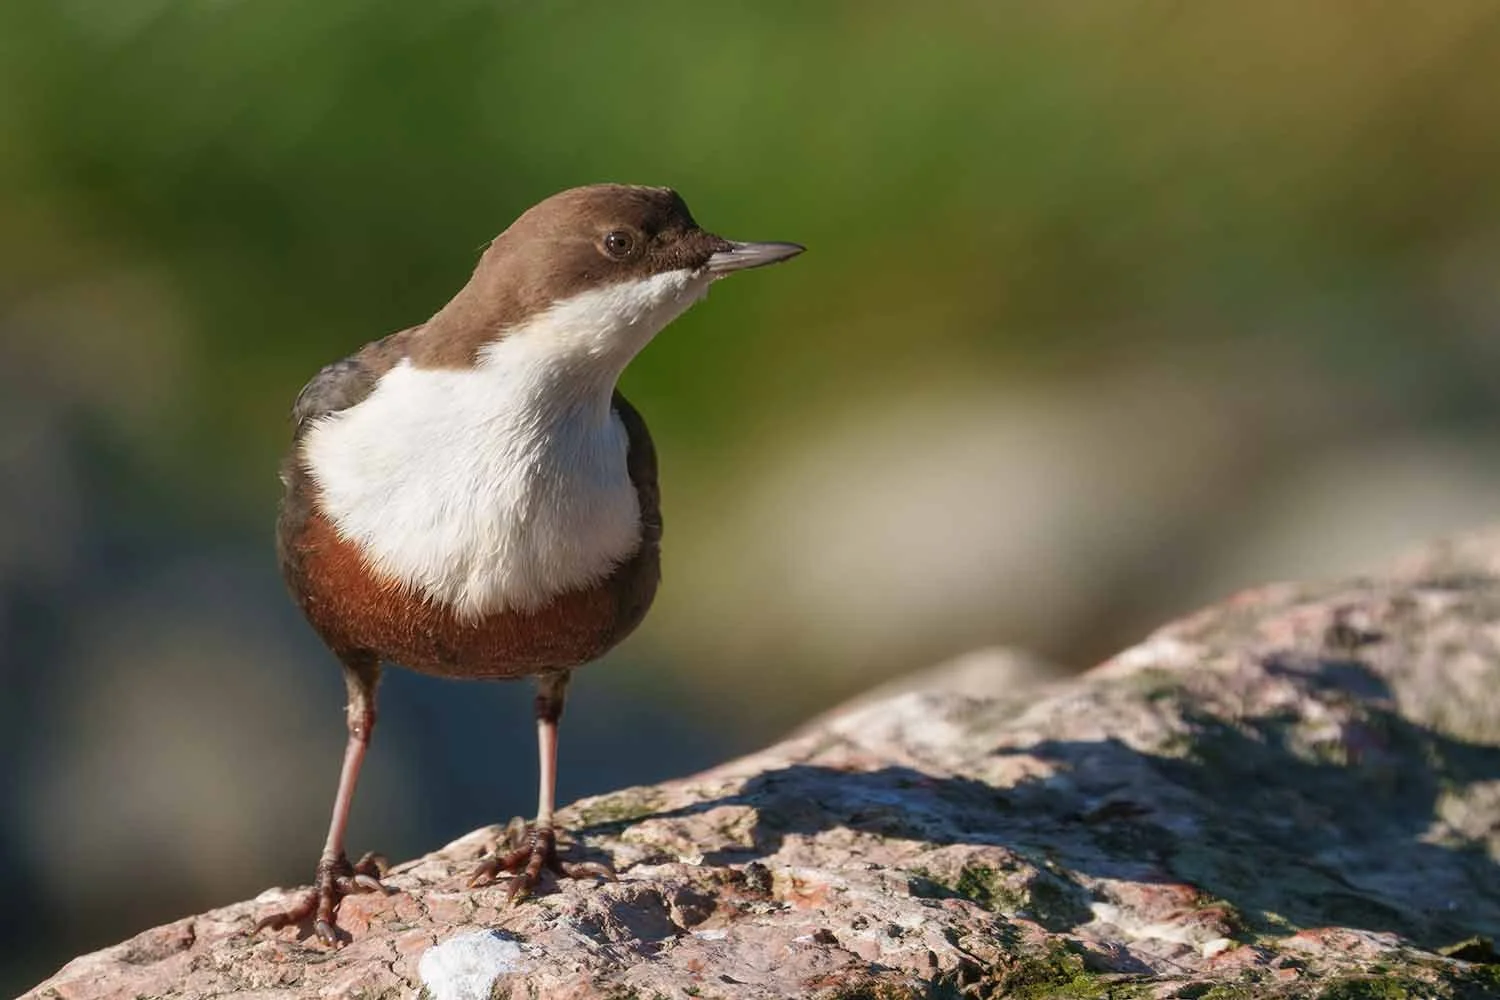
In the Allgäu an autumn landscape was waiting for me. With the a6700 and the Sony 200–600 mm G I captured photos and video of various animals in the early morning. Lying by the riverbed, at eye level with the water surface and the animals, was a wonderful experience. Roe deer, grey wagtails, grey herons and white-throated dippers came right up close to me.
In the image above you can see that I also brought the Sony A1 with the 400 mm f2.8 GM + 1.4 TC, to photograph dippers in special situations such as the blue hour, or in flight coming straight at the camera. Those are rather demanding conditions for the a6700, as I had learned on the previous outings.
Camera: Sony a6700 · Lens: Sony 200–600 mm G


Nature close to the city: Dutzendteich & Valznerweiher, Nuremberg

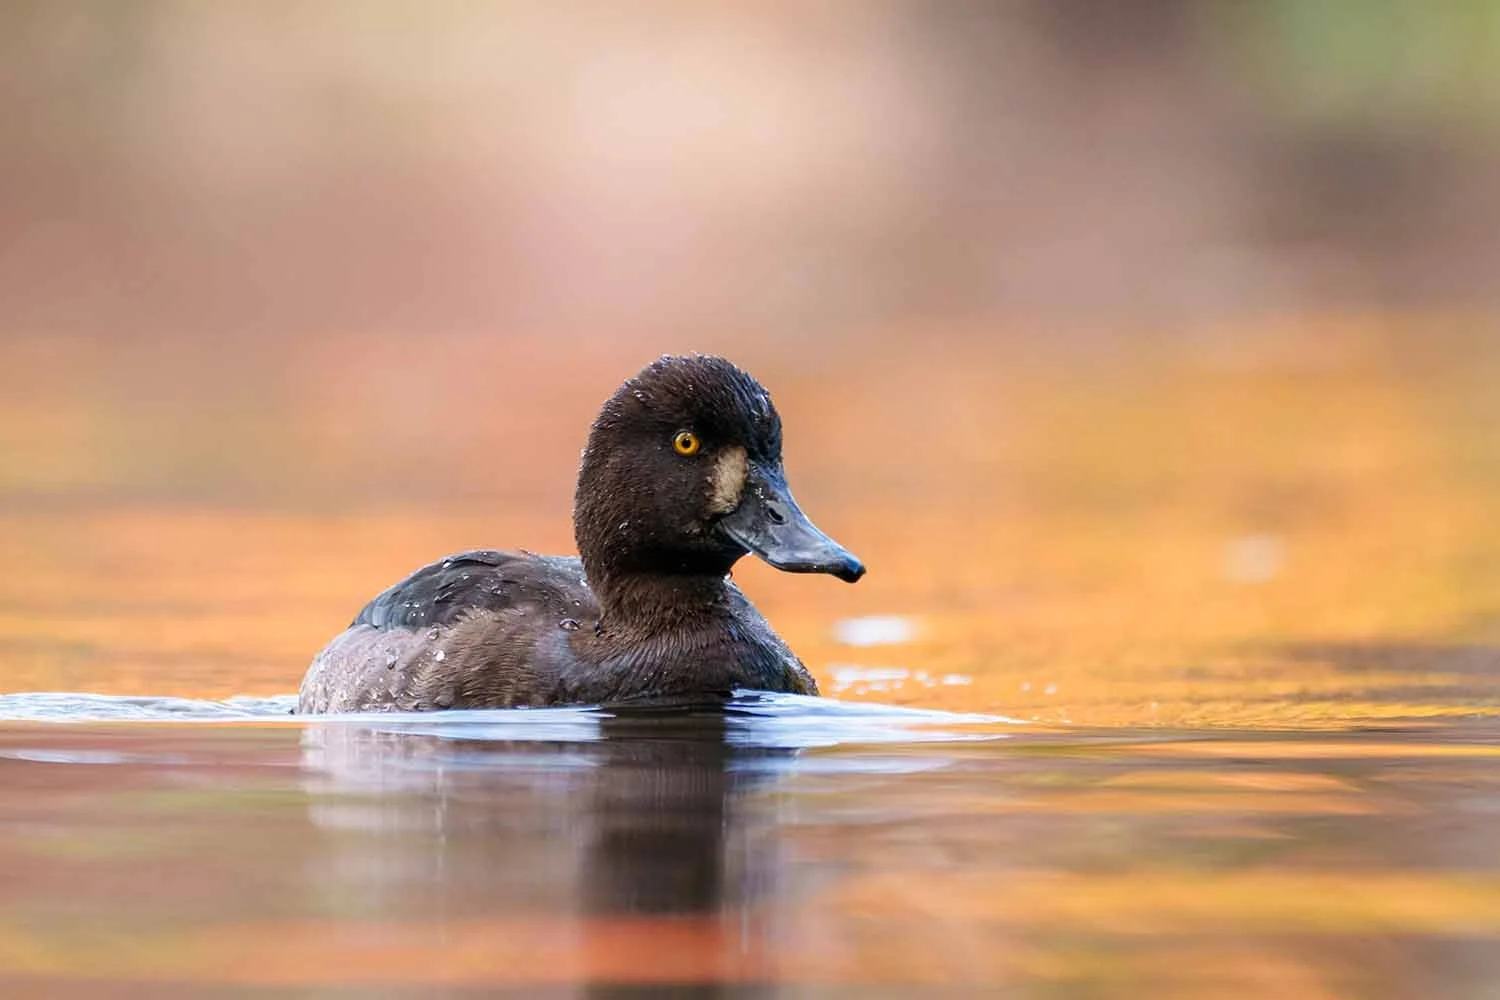
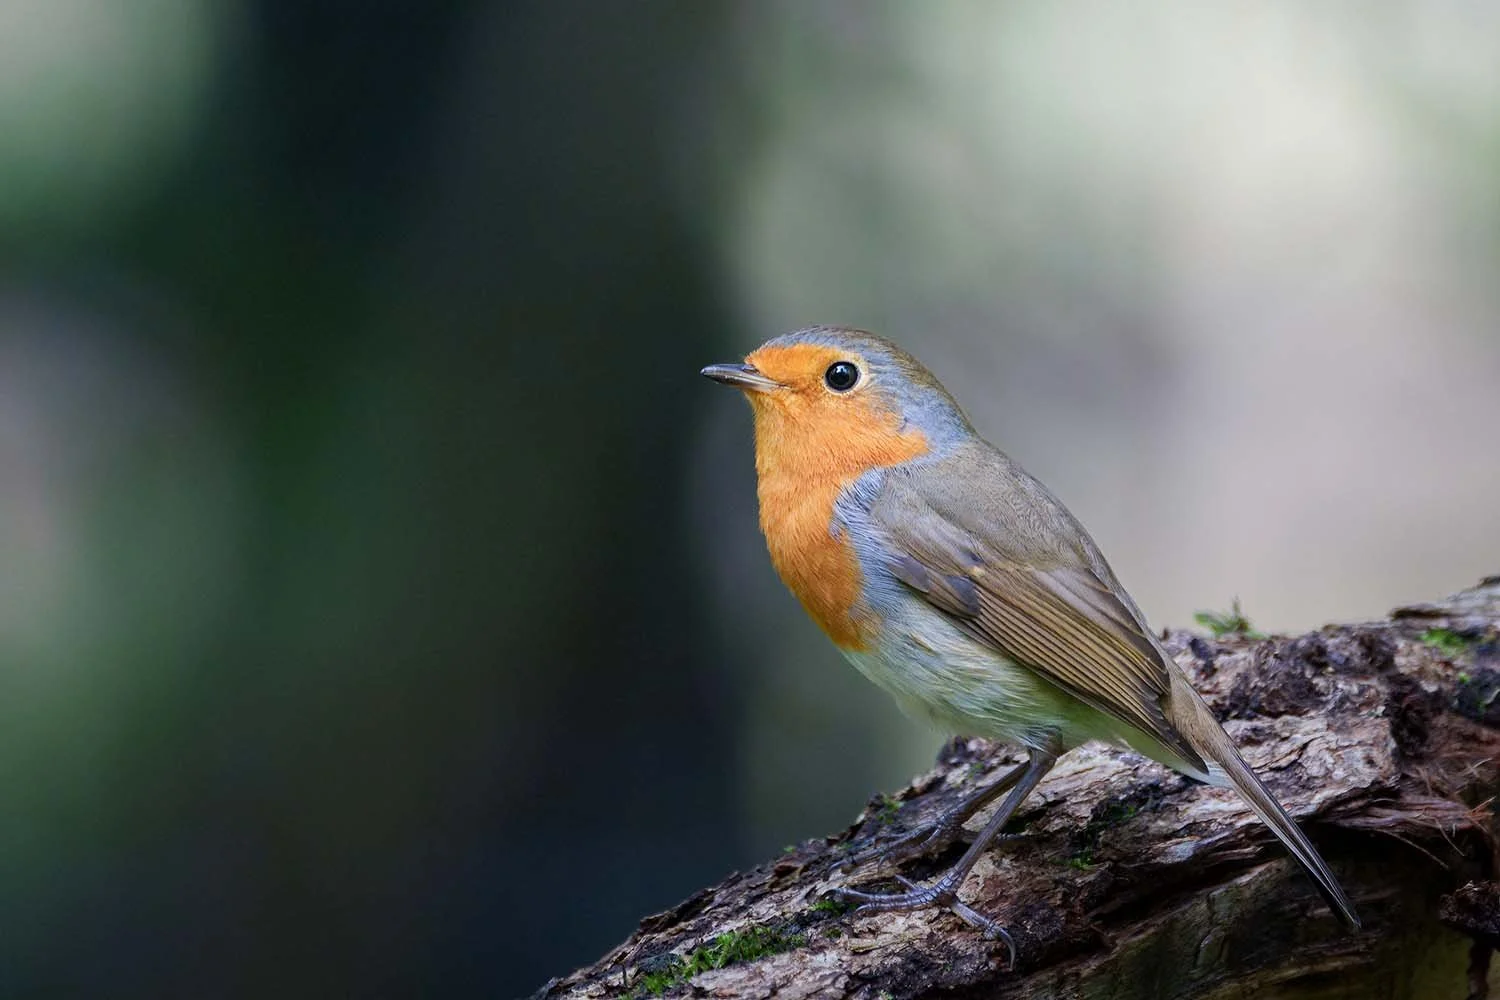
The two spots Dutzendteich and Valznerweiher in Nuremberg offer a nature experience close to the city. Here I used the Sony a6700 with various lenses to capture the variety of animals in this relatively controlled environment, as far as wildlife goes.
Camera: Sony a6700 · Lenses: Sony 100–400 mm f/4.5–5.6 GM & Sony 200–600 mm f/5.6–6.3 G





In detail: a6700 macro test indoors

The macro test took place in a studio-like setting, although I do not yet have a properly optimised environment for it. With the Sony a6700, a Tamron 28–75 mm f2.8 lens and extension tubes I was able to gather first experiences in macro photography with this camera. I used the focus bracketing function for it.
Camera: a6700 + Tamron 28–75 mm f/2.8 + MEIKE MK-S-AF3A 10 mm & 16 mm extension tubes
A note on this: The insect in the photo was not killed, it was already dead. Over the course of the year I collect dead insects whenever I find them, so that I can create macro shots on cold winter days.


My set-up: equipment and settings
I took quite a bit of equipment along on my trips into nature. The following list sums up the technical gear I used. Aids such as camouflage netting, ISO mats or lamps for macro work are not listed.
Cameras
- Sony a6700 APS-C (main camera)
- Sony A1 full-frame (for reference only)
- Sony a7R IV (for reference only)
Lenses & converter
- Sony APS-C kit 16–50 mm f/3.5–5.6 OSS
- Tamron 28–75 mm f/2.8
- Sony 100–400 mm f/4.5–5.6 GM
- Sony 200–600 mm f/5.6–6.3 G
- Sony 400 mm f/2.8 GM
- Teleconverter 1.4x
Tripods & heads
- Rollei Rock Solid Alpha XL Mark II Carbon
- Berlebach UNI 22C
- Eckla Camdisk ground tripod
- Flexshooter Pro Lever
- Neewer gimbal head
Accessories
- SMALLRIG Alpha 6700 cage kit
- SD card: Kingston 128 GB, 300 MB/s
- Battery: Sony NP-FZ100
For use in nature I tailored the camera to my way of working, as far as the configuration options allowed. In the lists below you can read up on the most important settings.
Photo settings
- Drive mode: continuous Hi (not the highest setting)
- Focus: with subject detection
- File format: lossless compressed RAW
- Special function: back-button focus
- Shutter type: mechanical shutter and e-shutter, varying
- Release without card: disabled
- Grid display: on · grid type: 3×3
- Metering mode: multi · white balance: auto
- Zebra display: on · zebra level: 70
- Focus mode: continuous AF · priority setting in AF-C: release
- AF tracking sensitivity: 4 (between 3 and 5 depending on the situation)
- ISO range limit: 100–12800 · colour space: sRGB
- Subject recognition: on · recognition target: animal/bird, bird, animal, insect (as required)
- Touch operation display: off · beep sounds: off · airplane mode: on
Video settings
- NTSC/PAL selection: NTSC (to get 120 fps in video)
- File format: XAVC-S 4k · resolution: 4K
- Recording frame rate: 120 fps
- Recording setting: 280M 4:2:2 10bit
- Picture profile: PP with S-Log3 and S-Cinetone
- Start/stop: with the shutter button
- Everything else as in the photo settings
Focus bracketing for macro
- Drive mode: focus bracket
- Setting: 5 – 030
Under the loupe: the Sony a6700 in the field
Camera body and operation: my first impression
If you are already a Sony user coming from the a7 world and pick up the Sony a6700 for nature photography or video for the first time, you will notice that the handling feels unfamiliar in a few places. The compactness of the camera was no surprise, of course, but the arrangement of the individual elements — viewfinder, dials, buttons — as well as the response of the shutter button, takes some getting used to.
Feel: how the a6700 sits in the hand
The build of the body and the texture of the surface meet Sony’s usual high standard: robust and grippy. Given its capability the weight is impressively low, and combined with the Sony 100–400 mm f4.5/5.6 GM you get a small powerhouse at a total weight of just 1888 g.
Size: the a6700 in the hand

For people with larger hands, handling the camera can be a challenge, especially with a telephoto lens. Size and ergonomics are not ideal for every hand. With bigger telephotos such as the Sony 200–600 mm f5.6/6.3 G or the 400 mm f2.8 GM it gets tight between grip and lens. Changing lenses calls for a delicate touch and patience. For people with smaller hands who want a small, light camera, the a6700 has clear advantages here.
As you can see in the image above, I bought a camera cage (SmallRig Cage Kit for Sony a6700) that extends the grip a little. That gives my little finger a place on the grip as well. I did not buy the cage for that reason, but it comes with the benefit. The main reason for the purchase was a stable mount for my external recorder (Atomos Ninja) on this compact body.
The idea that a cage primarily serves as “protection” or “impact protection” for the camera, as some influencers on YouTube suggest, strikes me as exaggerated, if not plain ridiculous. For one, the cage adds weight (152 g), and for another it does not protect the most sensitive parts — display or lens — in a fall. So do not let anyone sell you black as white here, however much you trust them.
Ergonomics and operation: shutter, buttons, dials
The layout and operation of the buttons and dials on the a6700 take some adjusting if you have previously worked with the Sony a7 series. The position of the front dial is not ideal when it comes to quick, simple operation. As I already described in my first impressions review (Sony a6700 – Is it worth buying?), the distance, the angle and the inward-set dial make it hard to operate. Even after intensive practice I remain distinctly dissatisfied with this layout.

As a Sony A1 user I also had to get used to the rear dial sitting all the way to the right on the a6700. That is where I placed the shutter speed. On larger bodies this position is usually taken by the exposure compensation dial. Odd at first, but after a settling-in period it works well. The shutter button reacts a little more sluggishly than on my other cameras, which is not a serious drawback — you just have to remember to press it more deliberately.
Being able to switch quickly and easily between photo and video mode is a big advantage of this camera. I miss it badly on my large bodies. It really is practical, because you can move between the two modes without taking your eye off the viewfinder. One small fly in the ointment remains: now and then I accidentally moved from manual mode to “S mode”, because next to the photo/video dial I also turned the dial for the shooting modes. Unfortunately that dial has no lock (central post lock), which means you can ruin shots quickly if you are not paying attention. Careful handling is required to avoid such mistakes.
The AF-ON button is well placed and larger than the other buttons, which makes it ideal for back-button focus. That is a real benefit for wildlife work. I would have liked a second button next to it, so you could assign another focus area. On the large bodies I set that up, and it lets me switch quickly between the two focus areas “zone” and “spot S” without diving into the menu — enormously helpful when you have to place focus precisely, through branches and the like.
Technology in detail: viewfinder, display and more

Looking through the viewfinder
As you may have noticed in the images, the viewfinder of the Sony a6700 sits off to the side. With small, fast-moving subjects such as birds in flight that can make it harder to hold them in the finder. Because your eye is not aligned with the sensor and the lens, you are effectively looking past them from the side. The brain has to reorient itself. At least that was my impression. In practice I fumbled around as if I were tracking birds in flight through a viewfinder for the very first time.
The crop factor makes this harder still, particularly with telephoto lenses. A 600 mm lens, for instance, gives you a field of view equivalent to 900 mm on full-frame. With the relatively small viewfinder on the left of the a6700 body, catching a moving subject then becomes demanding.
As a user of the Sony a7 series I would welcome it if the body and handling of the APS-C models were consistent with the a7 line. A standardised body across different models, each designed for a specific purpose, would make handling considerably easier. But that is my personal wishful thinking, of course.
There are also users who very much appreciate this particular viewfinder placement. It gives you more room, especially if you look through the finder with your right eye: your nose does not touch the display, so the famous nose focus cannot do its mischief with the touchscreen active. 😉 Photographers who use their left eye at the finder benefit even more, because the right hand operating the camera now has more space.
Flip screen, touchscreen, display: innovation or obstacle?

The a6700 has a flip screen, which suits vloggers above all, since it lets them see themselves while filming in front of the camera. If you need that feature, it is a clear plus for you. Personally I prefer the tilting screen found in almost every model of the a7 series. To my mind it works better for photography and filming out in nature.
A combination of tilting and flip screen, as on the Sony a7R V, would be the ideal solution for me. The flip screen proves awkward above all when things have to happen fast. The tilting screen, by contrast, folds out quickly and easily in one movement. With the flip screen an extra step is needed: you first swing it out to the side, then rotate it into position. That leaves it sitting beside the camera, which not only raises the risk of damage in the field but also gives you a view that is not aligned with sensor and lens.
You can also use the a6700’s display as a touchscreen to operate the camera, if you like that. The function can be switched off to avoid accidental input. For me it earns its keep in indoor macro work; otherwise I have everything I need assigned to the buttons on the body.
Storing and accessing: SD card slot, buffer and menu

The menu of the a6700 is laid out the way you know it from the newer models, with a few small additions. They brought no great advantage in my use, so I will not go deeper into the topic.
A far more interesting point is the camera’s buffer. It allows fast read-out during burst shooting, but reaches its limit after roughly 5 seconds of continuous shooting. The camera keeps going, though at a reduced frame rate. Images are transferred to the SD card briskly, so you are back at the maximum rate quickly. I found that an excellent showing, and it matters enormously when you shoot in burst mode.
One aspect you should keep in mind: the a6700 has only one SD card slot. That may be relevant to you in terms of data security, because you cannot write a backup to a second card. If the card fails, the data is gone for good. For professional photographers in particular that can be a critical issue. Or think of an expensive wildlife trip you are on when it happens.
Crop factor of the a6700
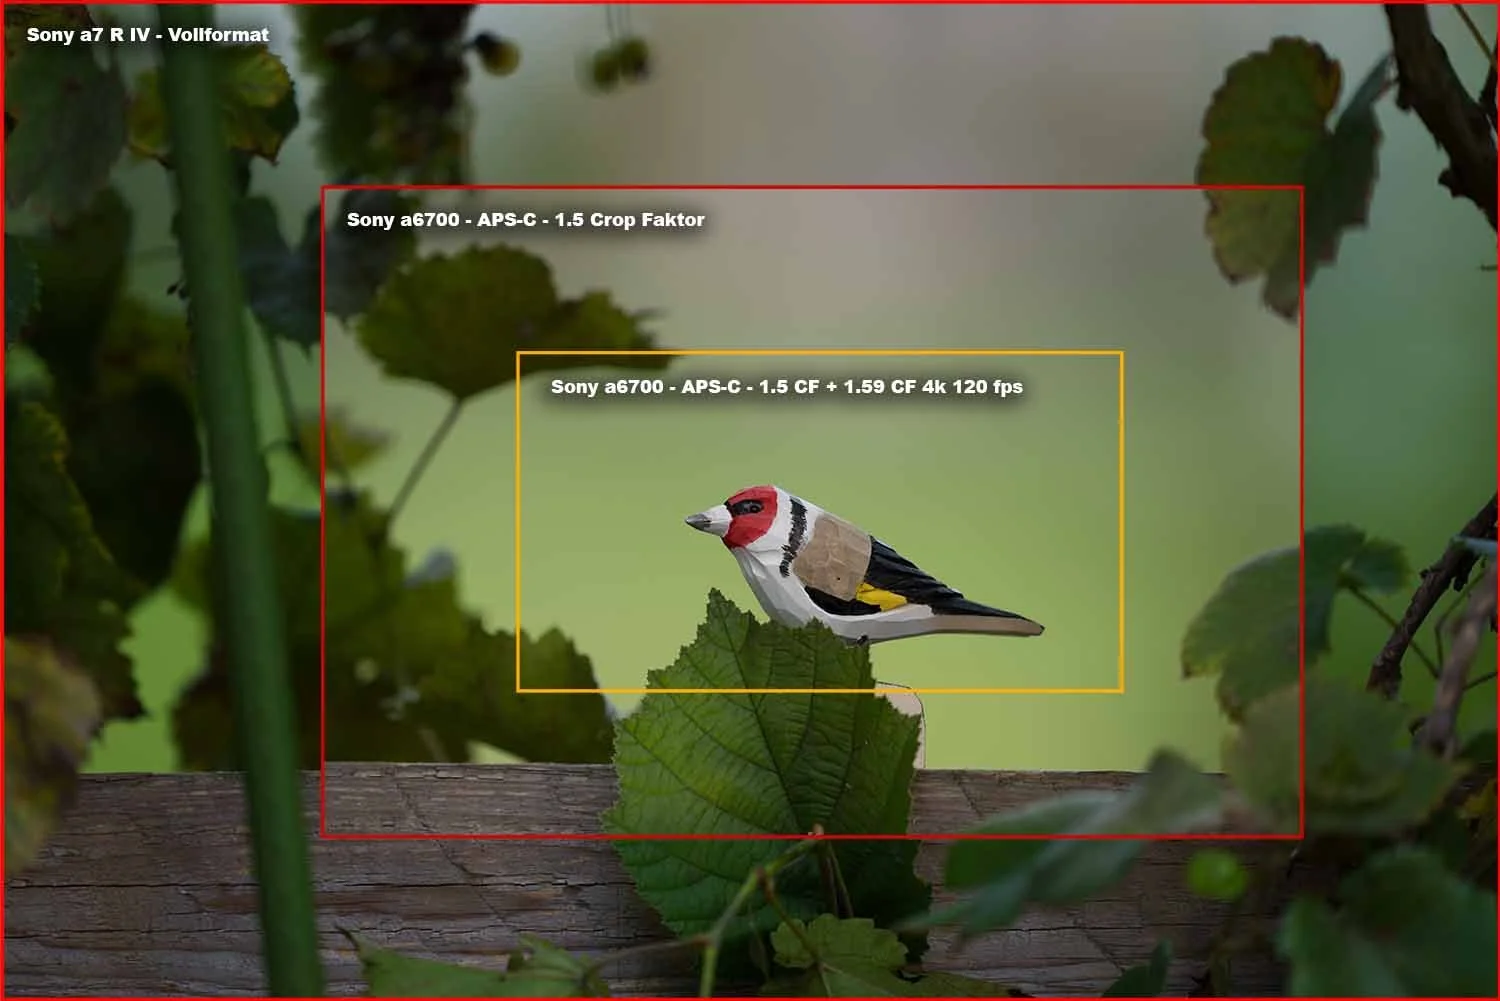
Let us take a closer look at the crop factor of the Sony a6700. I will also explain what I call the “super crop factor” when recording video in 4k at 120 frames per second. The crop factor tells you how your camera’s sensor size relates to full-frame. On full-frame cameras that factor is x1.0; on the APS-C Sony a6700 it is x1.5.
Imagine you are shooting with a Sony a7R IV full-frame camera and the Sony 100–400 mm f4.5/5.6 GM lens at 400 mm. That image serves as the reference (factor x1.0). If you now photograph the same subject from the same distance with the Sony a6700 and the same lens, your field of view matches that of a 600 mm lens on full-frame. The reason: the APS-C sensor of the a6700 is smaller than a full-frame sensor.
- Mathematically it looks like this: 400 mm × crop factor 1.5 = 600 mm
It is important to understand that the crop factor does not change the focal length, it reduces the field of view. So it looks as though you were using a 600 mm lens on a full-frame camera.
Now to the “super crop factor” of the Sony a6700 in 4k at 120 fps. Here an additional crop factor of x1.59 comes on top. Let us take the 100–400 mm lens again:
- The APS-C sensor crop factor of 1.5 gives you a field of view of 150 to 600 mm
- In 4k 120 fps an additional crop factor of x1.59 is applied
- Your field of view now corresponds to a 238–954 mm lens on a full-frame camera
- Mathematically: 400 mm × 1.5 × 1.59 = 954 mm
You can see the effect on the field of view in the image above, where I visualised the crop factors. I took a photo with the a7R IV, then one with the a6700, and overlaid the two.
- Full-frame (x1.0): the reference frame of a full-frame camera
- APS-C (x1.5), red frame: the crop factor of the a6700, shown as a red rectangle inside the full-frame area
- 4k 120 fps video crop (x1.5 plus additional crop), yellow frame: the crop when recording 4k at 120 fps, shown as a yellow rectangle inside the APS-C frame
Installing a firmware update
Installing a firmware update on the Sony a6700 is something I particularly like. Compared with other Sony models, such as those in the a7 series, the update process on the a6700 is refreshingly straightforward and matches what I know from other camera makers. You download the firmware file, save it to the camera’s SD card, put the card in the camera, start the update from the camera menu, and you are done. A clear, quick process without much fuss.
Updating my a7R IV or the A1 is a different story and takes considerably longer, often close to an hour. There the update runs through software on a PC or laptop. On a MacBook Pro Silicon it gets worse: I first have to change various security settings, which always means restarting the laptop. More system settings have to be adjusted before the update will finally install. Afterwards I have to reset everything on the laptop again. The whole process is deeply frustrating and no great moment for Sony.
So I can say this much: if it comes down purely to installing firmware updates, the a6700 sits in first place among all my cameras. 🙂
The a6700 in action: performance and quality in focus

Loud or quiet: the e-shutter
In practice the electronic shutter of the Sony a6700 proved difficult in burst mode, especially when trying to photograph birds in flight. Shooting bursts in AF-C produced focus pumping. The mechanical shutter, by contrast, delivered reliable results throughout. The e-shutter produced equally good images in calm situations, but this is a clear weakness for wildlife photography, where quiet shooting has become essential. The mechanical wear of the shutter is worth considering too, since it affects the lifespan and the resale value of the camera. For me, a clear minus.
The rolling shutter is strongly visible in images shot with the e-shutter. Here is an example from my attempt to photograph a swan in flight. The slanted trees in the water reflection would not even bother me, since you could let that flow into the picture as an effect. Even so, you can see fairly well what it means for shots involving fast movement.

In focus: AI subject recognition, autofocus and focus areas
When you photograph or film with the Sony a6700, you can usually count on the built-in AI subject recognition and the autofocus. On the whole these are impressive and help you catch your subject quickly and precisely. Still, during my sessions there were situations where the interplay of AF and subject recognition hit its limits, particularly when distracting elements appeared in the frame. In those moments the focus went off, even though the recognition had found and locked onto the animal in the viewfinder. So it is worth checking your shots right after taking them, to make sure everything is as sharp and clean as you want it. In the finder everything may look perfect while shooting, and the results can still be disappointing.
Across my sessions I found the reject rate fairly high, because the focus did not always sit where the viewfinder suggested. I want to stress that user error played its part in some situations, but I am not counting those here. The behaviour ran consistently through all the tests — with zooms as well as with a prime. Using premium lenses on the camera made no noticeable difference.
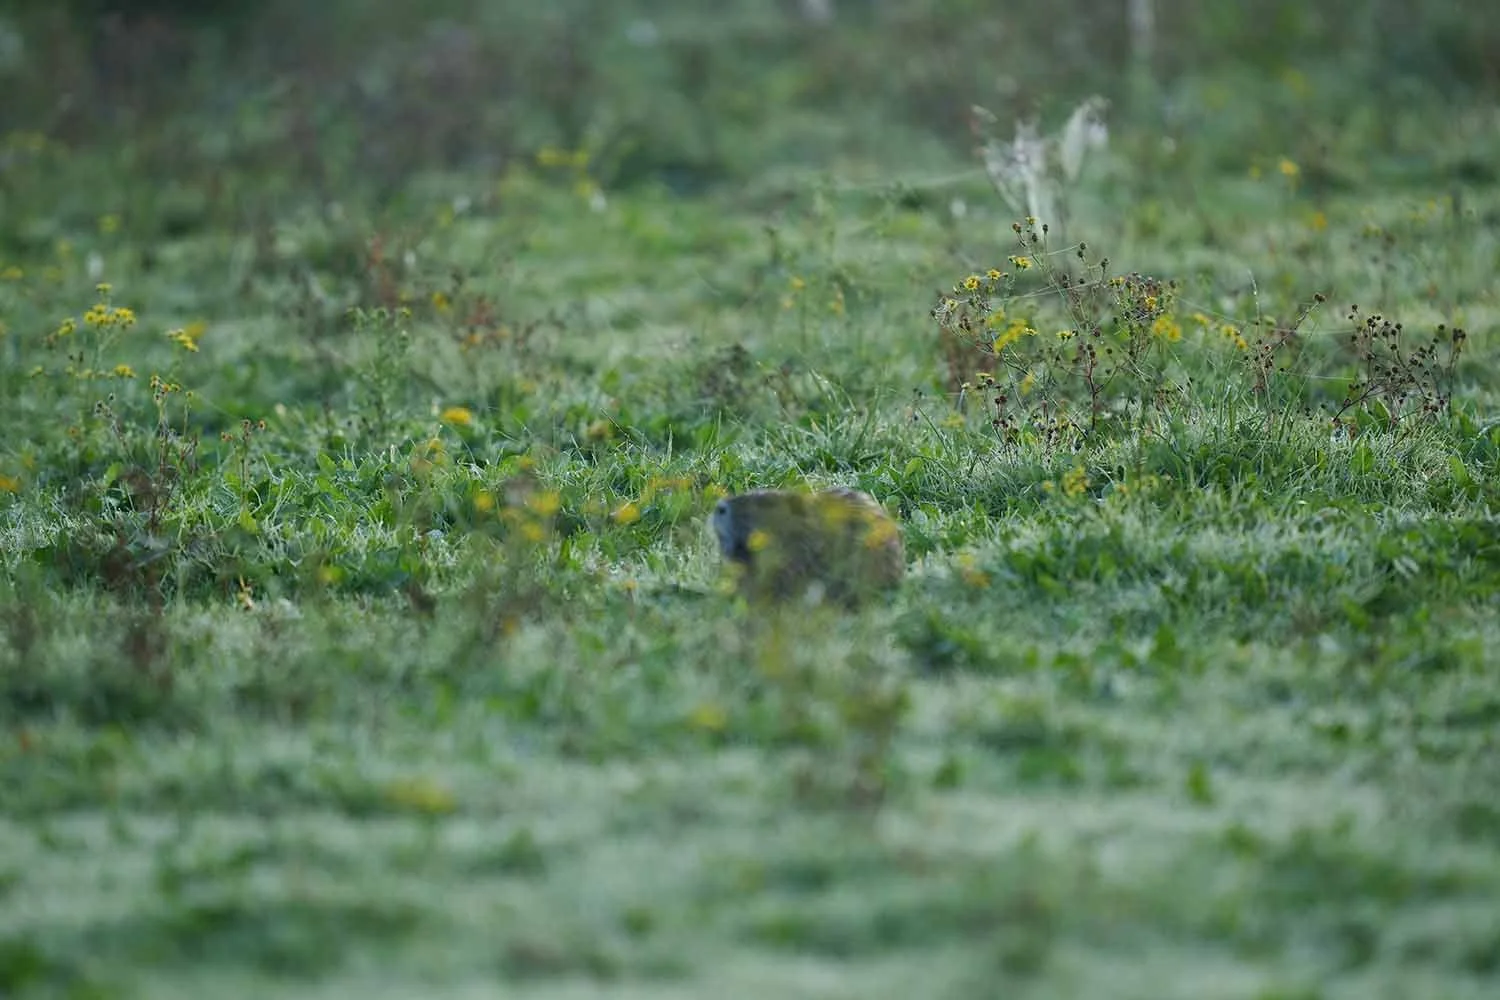
In the example below you can see that the focus in the left image sits behind the nutria, even though the AI recognition had locked onto the animal and the focus indicator gave me the green light. To show that the camera can master this difficult situation, I have added a successful frame from the same burst. Through the viewfinder I did not notice while shooting that most of the photos were soft, because you normally rely on the recognition and focus display in the finder. This was not an isolated case; perhaps a future firmware update will improve or fix it.
FOCUS MISSED
KEEPER FROM THE SAME BURST
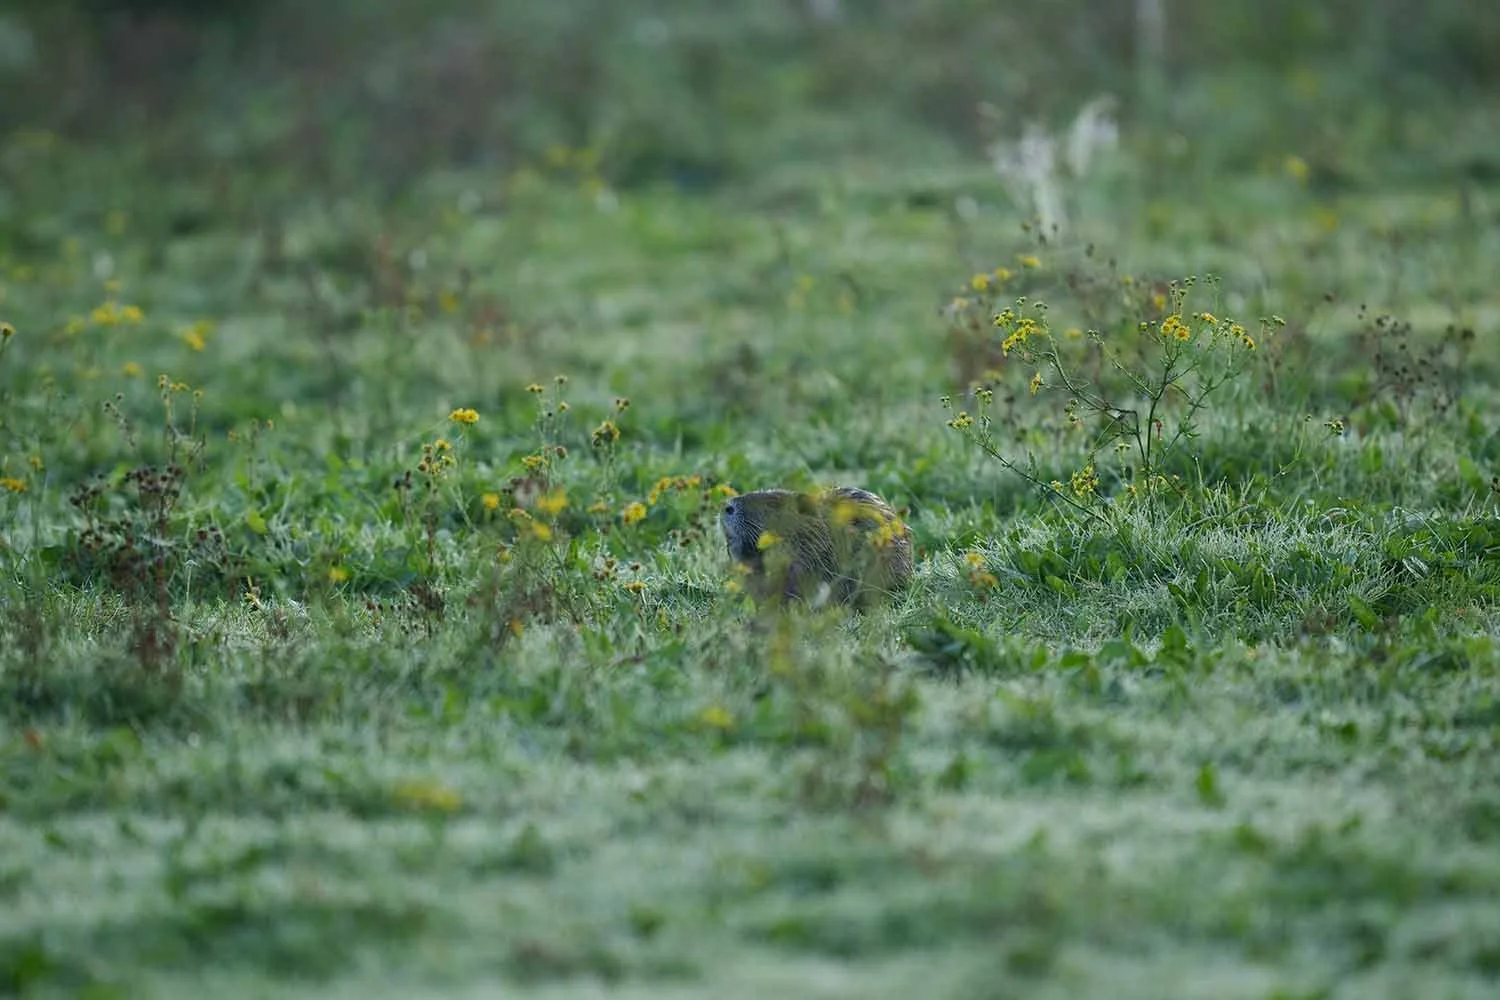
My impression is that the a6700 runs a little short of breath in this particular case. By that I mean the processing power needed to handle several operations at once: burst shooting, AF-C, AI subject recognition, writing data, reading the sensor and so on. I will have to gather more experience before reaching a final judgement. In the end it has to be said that the AI recognition and the autofocus of the a6700 opened up a lot of possibilities and served me excellently in most situations.
I do not want to say too much about the focus areas of the a6700 in this article. Most of the time I used the “zone” area for birds in flight or for filming. For pinpoint work I used “spot S”. Positioning the focus areas took some patience. If I moved the position by accident, I first had to go looking for how and where to re-centre it in the finder. The a6700 lacks a joystick, which I would normally use to place the focus area or reset it with a press.
Image quality: dynamic range and sharpness
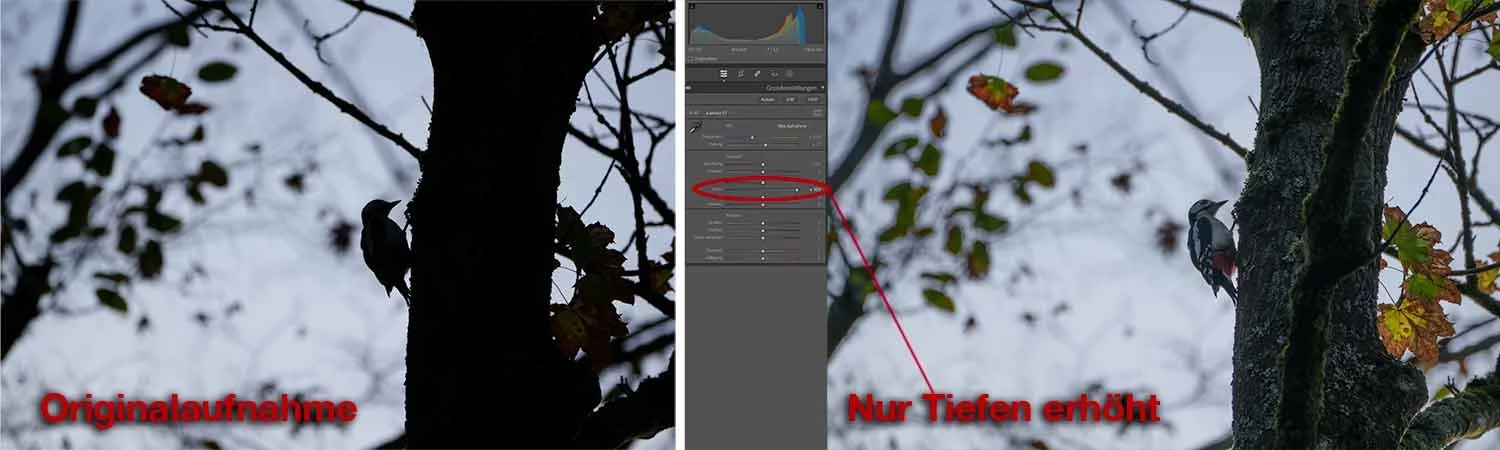
Dynamic range
On dynamic range the Sony a6700 shows its strengths, and they pay off particularly in nature photography. A wide dynamic range lets you hold detail in the shadows as well as in the bright areas. You can then bring that out later in processing. One example is the backlit shot of a woodpecker (image above), which was completely underexposed. In the left image you see, as expected, a bright sky and a dark bird on the tree. In the right image you see how much potential sits in the dynamic range of that file. Simply lifting the shadows in Lightroom brings the bird, the tree and the leaves back with all their colour.
Another example is a great cormorant I photographed early one morning during my session in Saarland. This shot was unintentionally underexposed and simply failed, both in exposure and in composition, as you can see in the left image. Even so, the right image shows impressively what you can still pull out of a RAW file from the Sony a6700.
RAW, UNDEREXPOSED

AFTER PROCESSING

Sharpness of the images
When the focus sits right and the camera has enough light, you get excellent results — even if the ratio of tack-sharp, sharp and soft is not 100 % satisfying. I had a lot of rejects, but I am also spoiled by the performance of the Sony A1, which puts close to 99 % of frames in focus. That comparison limps, of course, since the two cameras play in entirely different leagues. I also had to recalibrate myself: as an old pixel peeper I obviously cannot compare the detail of a 61 or 50 MP sensor with a 26 MP APS-C chip. Taking that into account, the a6700 really does deliver outstanding image quality.
Going the distance: battery life of the a6700
The a6700 comes with the advantage that you can use existing batteries from the a7 series if you already own Sony gear. An NP-FZ100 battery is included as standard, a charger is not, as with most of the “smaller” Sony models. Runtime depends heavily on how you work. If you switch often between photo and video, turn the screen off and put the camera to sleep when not in use, the battery can last around 3 hours. Keep in mind, though, that the a6700 is fairly energy-hungry in general, so at least one spare battery is advisable. Getting through a whole day on a single battery only works if you use the camera occasionally over that period.
From RAW to finished: image processing in a before-and-after comparison
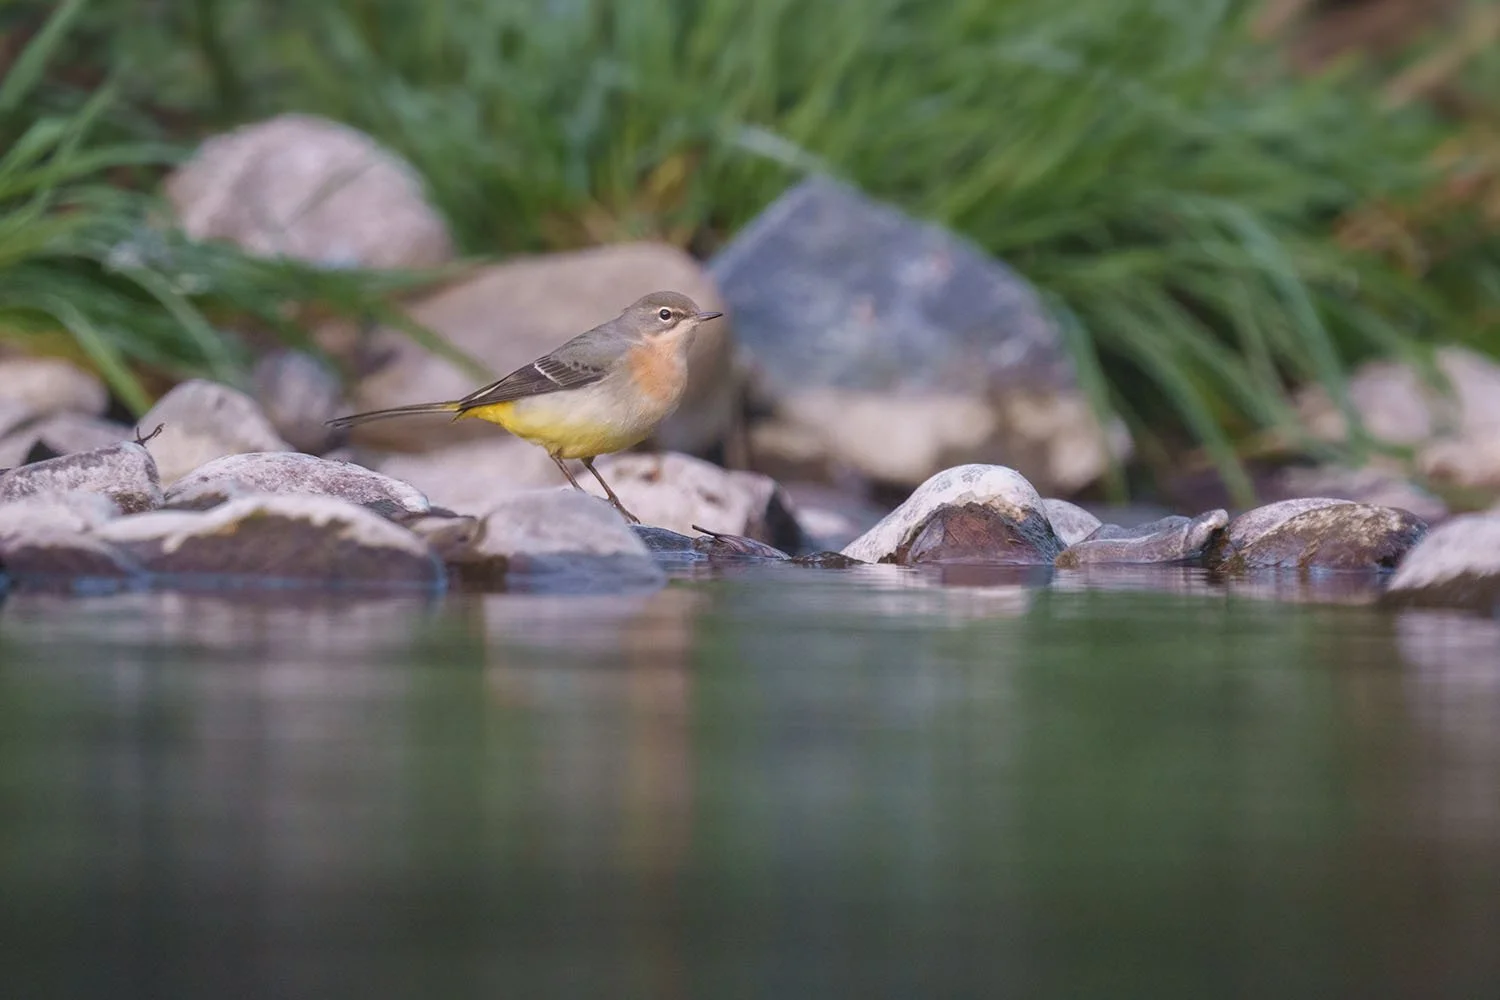
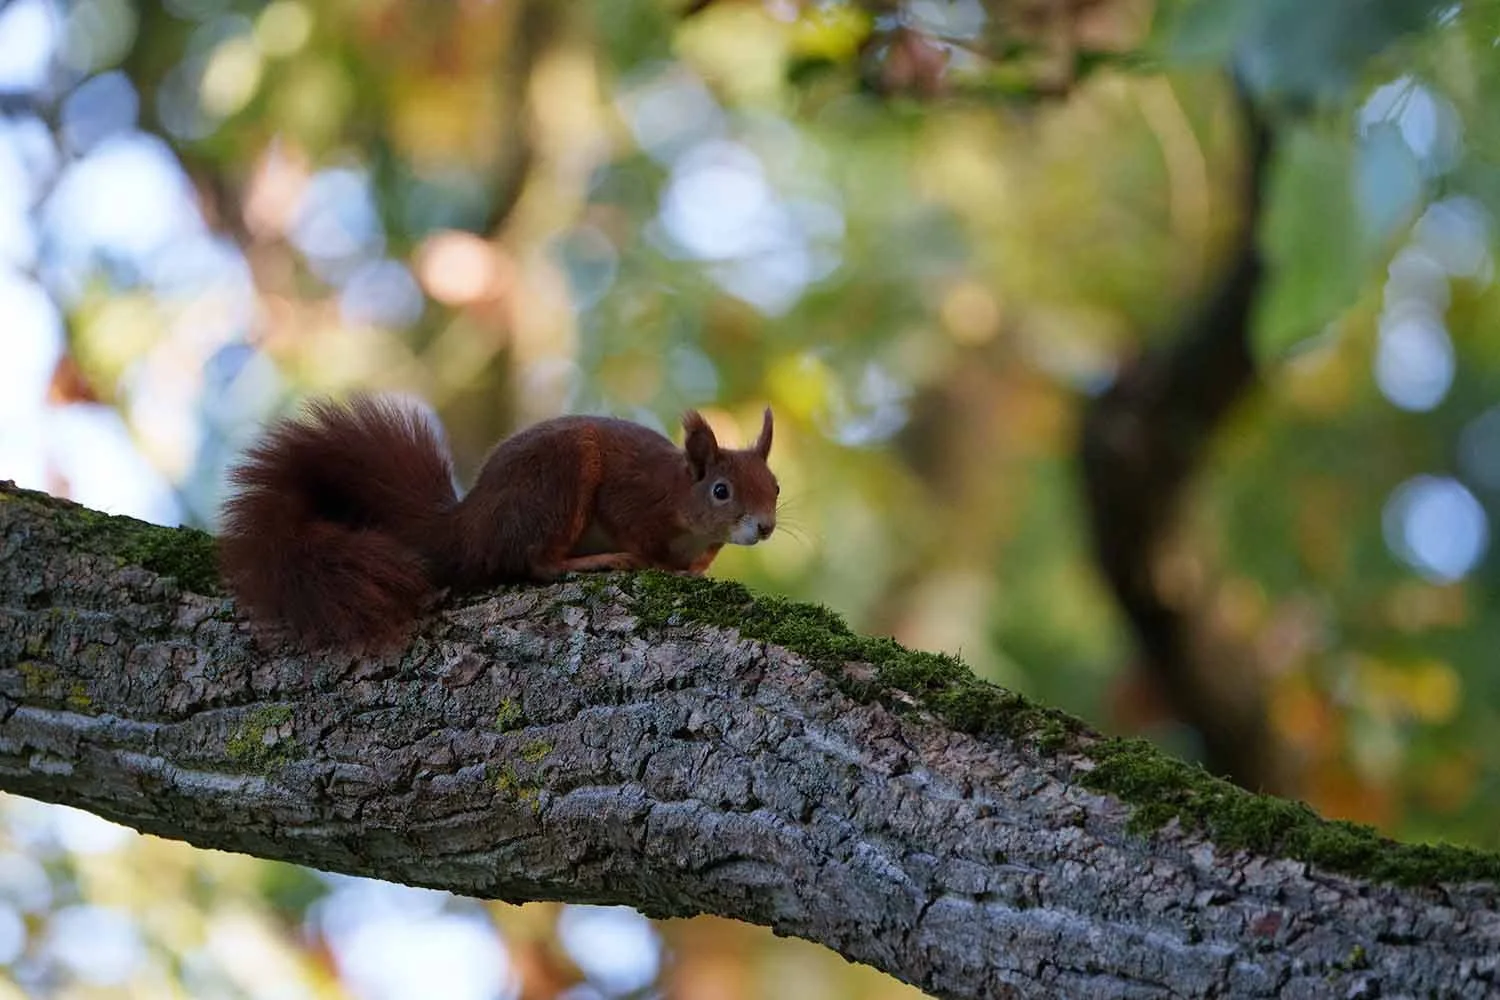
Here are a few before-and-after examples so you can judge for yourself what the a6700 delivers as raw material. On the left the original image as it comes out of the RAW file, on the right the finished image after processing.





Moving pictures: shooting video with the a6700
Recording worked reliably throughout. Being able to use S-Log3 or S-Cinetone as a colour profile is a genuine highlight for any video creator. I started with S-Log3 but then switched to S-Cinetone, because at first I did not want to spend that much time on colour grading in post. Grading can eat a lot of hours, so S-Cinetone was the better choice for me. With a few adjustments you are done with post quickly.
PLACEHOLDER
The video reels are still to come. So far I have not been able to gain a deep insight into video recording. As soon as I have shot more wildlife video with the a6700, it will go in here and I will cover the topic in more detail.
My verdict after living with the Sony a6700

Can you take excellent wildlife photos with the a6700?
You are wondering whether you can take great wildlife photos with the a6700? Absolutely. The a6700 can convince with its AF performance and image quality — provided the conditions suit the camera. Broadly speaking we are talking about a hybrid camera, one I do not regard as a wildlife camera, since its strengths are spread across the board rather than specialised in one category.
If you want to cover several fields as a photographer and videographer — video creator, vlogger, or nature, portrait and architecture photography — then the a6700 gives you everything you need technically. In video it certainly has nothing to hide. And if the APS-C crop factor does not bother you, you will be happy with this camera. Especially if you have no idea yet which direction you want to develop in, this camera can help you live out your creativity in many directions.
Even though the a6700 is not exactly a “budget” camera at around 1600 EUR, it still gives you a lot for your money. From where I stand, though, there are other camera systems in this price range better suited to beginners in wildlife photography. Sony has nevertheless brought a good, solid APS-C hybrid to market with the a6700 — even if in my eyes it is not a “flagship camera” in the APS-C world. Sony would have to add a good shovel more for that: a better body, viewfinder, ergonomics, stacked sensors, an e-shutter without the rolling shutter effect, to name just a few points that would make a high-end APS-C camera for me.
Is the a6700 worth it for wildlife photographers already in the Sony ecosystem?
For wildlife photographers already working with full-frame cameras and lenses inside the Sony ecosystem, this camera can round off the set-up. For macro, for instance (focus bracketing, APS-C crop factor), for location scouting, travel or documentation (a lightweight combination with the 100–400 mm f4.5/5.6 GM). Or if you want to record video at up to 120 fps in 4k alongside stills, with a “super crop factor” (sensor crop 1.5 + video crop 1.59). A small all-rounder, in other words, which is exactly what it was designed to be.
In the macro test the camera convinced me. Under studio conditions it was easy to handle and the focus bracketing delivered good results reliably. I am curious to see what else this camera will open up for me in that area.
With video I have only gathered limited experience so far, but it has been consistently positive. The focus behaviour I described for stills shows up in video as well. My next step is a comparison between the a6700 and the A1 at 4k with 120 fps. It will be interesting to see the differences.
Should newcomers buy the a6700 as their main camera?
If you are thinking about getting into wildlife photography, there is a lot to weigh up. Budget is often the main criterion. If you want to move inside the Sony ecosystem, there may be better entry options than the a6700 — the a7 IV, for example. Good lenses are often more important than the camera itself. So it makes sense to look first at the range and quality of a brand’s lenses, especially while you are still unsure which direction your photographic journey in nature photography will take.
There are also brands like OM-1 (formerly Olympus), Nikon and Canon that deserve a look when buying new. With the R7, Canon has developed a strong product in the APS-C field which, alongside a lower price than the a6700, offers many technical advantages for wildlife photography. When it comes to budget and buying new, the OM-1 (Olympus MFT camera) has been on everyone’s lips among professionals in recent months. Judging purely by the specs, the reviews and the price of around €2000, it all sounds rather promising. If I were starting out in nature photography today, that would definitely be a system I would look at more closely.
UPDATE 03 JANUARY 2025
The Sony a6700 as an entry camera into wildlife photography
Current price movements and the deals available have fundamentally changed my view of the Sony a6700. Combined with its impressive feature set and the wide choice of lenses, I now consider it the best offer if you want to get into wildlife photography on a manageable budget.
Black Friday week gave a particularly good example: the Sony a6700 was offered together with the Sony 200–600 mm f/5.6–6.3 G OSS for around 2600 euros. That is an unbeatable deal considering the quality of this set.
The Sony 200–600 mm lens is a genuine powerhouse in terms of performance and rendering. It convinces with razor-sharp images and excellent reach, which is indispensable for wildlife work. On top of that it is so versatile that you can use it to the full on high-end cameras such as the Sony A1 or the A9 III, without giving up any performance. An investment for the long run.
A clear word at the end
However I look at it: if you have decided to buy the Sony a6700 as your main camera, you are getting an excellent piece of technology — albeit with compromises in wildlife photography.
Would I buy the Sony ILCE-6700 as my main camera for wildlife photography?
No.
It is a strong little hybrid camera that completes my Sony equipment. I can fit it well into my wildlife workflow and it will have a permanent place there. But if I had to put everything on one card, it would not be my first choice. Not because it is not capable enough, but because the body layout, the ergonomics, the viewfinder and the single SD card slot do not suit me for a main camera in wildlife photography. And one of the decisive points is the slow sensor and the resulting rolling shutter problem, which also limits silent shooting (e-shutter) severely.
All the same, the camera performs excellently and you can achieve fantastic results with it. And I do not say that lightly.
What I took away from it
I had a lot of fun with this camera, I have to admit, particularly when I was not sitting in a hide but roaming through the landscape. As I have mentioned more than once, the combination of a6700 and 100–400 mm GM was simply great. Under 2 kg in total, a 600 mm field of view — a no-brainer for anyone looking for something small and light. For me personally it is ideal for location scouting.
While writing this article I had to recalibrate my perspective, and with it my assessment, more than once. I could have talked the camera down completely had I put it in direct comparison with my full-frame bodies. What I learned is that what counts as a drawback for me may well be an advantage for someone else. Many of my criticisms sit with the handling, and photographers who deliberately choose this as their main camera will come to terms with it. For them my remarks may not matter much. The same goes for “large hands” vs. “small hands”, or “right eye” vs. “left eye” at the viewfinder. That is not decisive for my personal assessment, but it is good to be aware of it.
Sharpness and resolution were another eye-opener for me. At the start, when I looked at the images and zoomed in, I was not happy with the detail at all. But today, a few weeks after taking the shots, I see them with different eyes. Because, as I said, in most cases I obviously cannot compare detail at 26 MP with what a 50 or 60 MP sensor gives you.
I had actually wanted to push the camera harder in bad weather during this test. Somehow the days turned sunny towards the end, which I am not going to complain about. 😂
In that spirit — good light!
Pros and cons in detail
Pros
- Fast buffer read-out
- Lightweight
- Independent configuration of photo and video mode
- Quick switching between photo and video mode
- Video 4k 120 fps + super crop x1.59
- Autofocus performance
- AI subject recognition
- Excellent image quality
- Good video quality
- Good dynamic range
- Well-built body
- Button functions freely configurable
- RAW format: uncompressed and lossless compressed
- Firmware update simple and quick
- Use of APS-C and full-frame lenses
- Focus bracketing for macro work
Cons
- High battery consumption in photo and video use
- Focus pumping and flicker with the e-shutter, read-out too slow
- High reject rate through softness
- Only one SD card slot
- No CF Express slot
- Significant rolling shutter
- E-shutter only usable with calm subjects, and even then with limits
- No charger included
- Small viewfinder with low resolution
- Handling only partly well executed
- No joystick for focus area selection
- Mode dial without a central lock
Keep reading
What Sony might bring next is collected under Sony Rumors.


