Sony Camera Gear for Wildlife Photography
Wildlife Photography with Sony – My Experiences
When I started wildlife photography, I chose Sony by chance. At first, I bought the Sony Alpha 7 III for landscape and travel photography. But my focus changed to wildlife photography, and the camera was surprisingly good for it as well. I only needed to add a telephoto lens. Over time, I expanded my gear and stayed with Sony – moving from the Alpha 7R III to the Alpha 7R IV, then to the Sony Alpha 1 and the a6700. My setup covers a wide range of needs, from detailed close-ups to fast action shots.
For me, equipment is just a tool, not a status symbol. Arguments about "Brand XYZ is the best" are often based on personal opinions. Some people treat their brand choice like a religion. I focus on what works for me, and at that time, it was Sony. But that doesn’t mean it’s the only good brand.
Gear I Use for My Photos
Here’s an overview of the Sony gear I regularly use and how it performs:
Sony Alpha 1
The Alpha 1 is my main camera. With its 50-megapixel sensor and fast burst mode, it captures sharp images, especially for birds in flight. The animal autofocus and silent shooting are very helpful. However, the battery drains quickly, and switching between photo and video modes is clunky. Also, Sony’s firmware updates could be better, especially for high-end cameras.
Sony Alpha 7R IV
Before the Alpha 1, the 7R IV was my main camera. It delivers very detailed images with its 61-megapixel sensor, but the rolling shutter effect can be an issue with fast-moving subjects. Still, it’s reliable and powerful, even after a few years. However, it takes a long time to start up after turning it on.
Sony Alpha 6700
The a6700 is a great addition because of its APS-C sensor, which gives a 1.5x crop with telephoto lenses. In video mode, with the super crop at 4K and 120 fps, it shines. For scouting trips, it’s perfect when paired with the 100-400 mm GM lens due to its light weight. But it has some weaknesses: the ergonomics are not great, the viewfinder is small, and the rolling shutter effect is noticeable. I have a love-hate relationship with this camera – it’s very good but limited in some ways. For fast action shots, it’s not my first choice. In video mode with the Sony 200-600 mm G, it’s an excellent wildlife video setup, giving a 1200 mm field of view at 4K with 120 fps.
Sony 200-600 mm f/5.6-6.3 G
This was my first telephoto lens. It has fast autofocus, great image quality, and internal focusing, making it a solid, reliable companion. It’s a must-have if you’re using Sony for wildlife photography. The only downside is the lens hood can be tricky to attach, and the effective focal length changes at close focus distances.
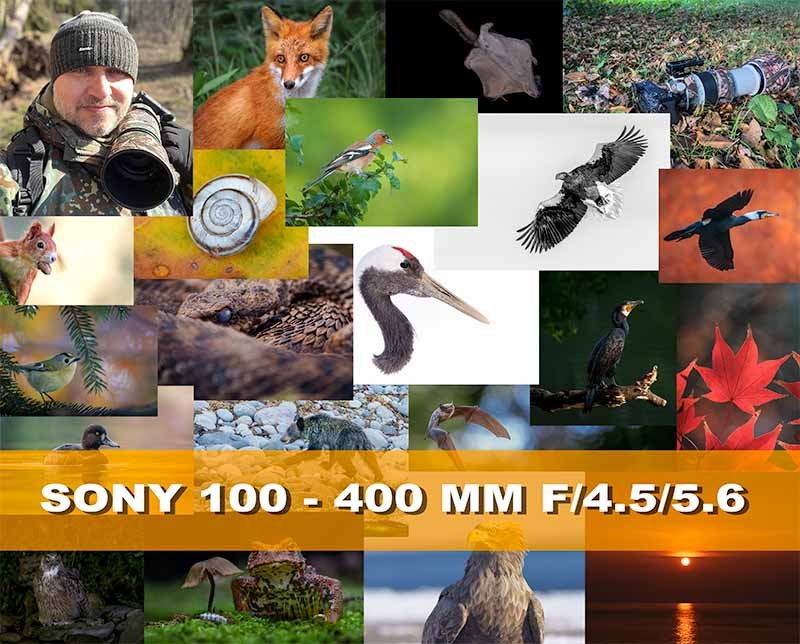
Sony 100–400 mm f/4.5-5.6 GM
Fast, light, sharp, and compact – the Sony 100–400 mm GM is perfect for mobile shoots. I’m not a fan of the external zoom, but the compact design and low weight make it a great choice in many situations.
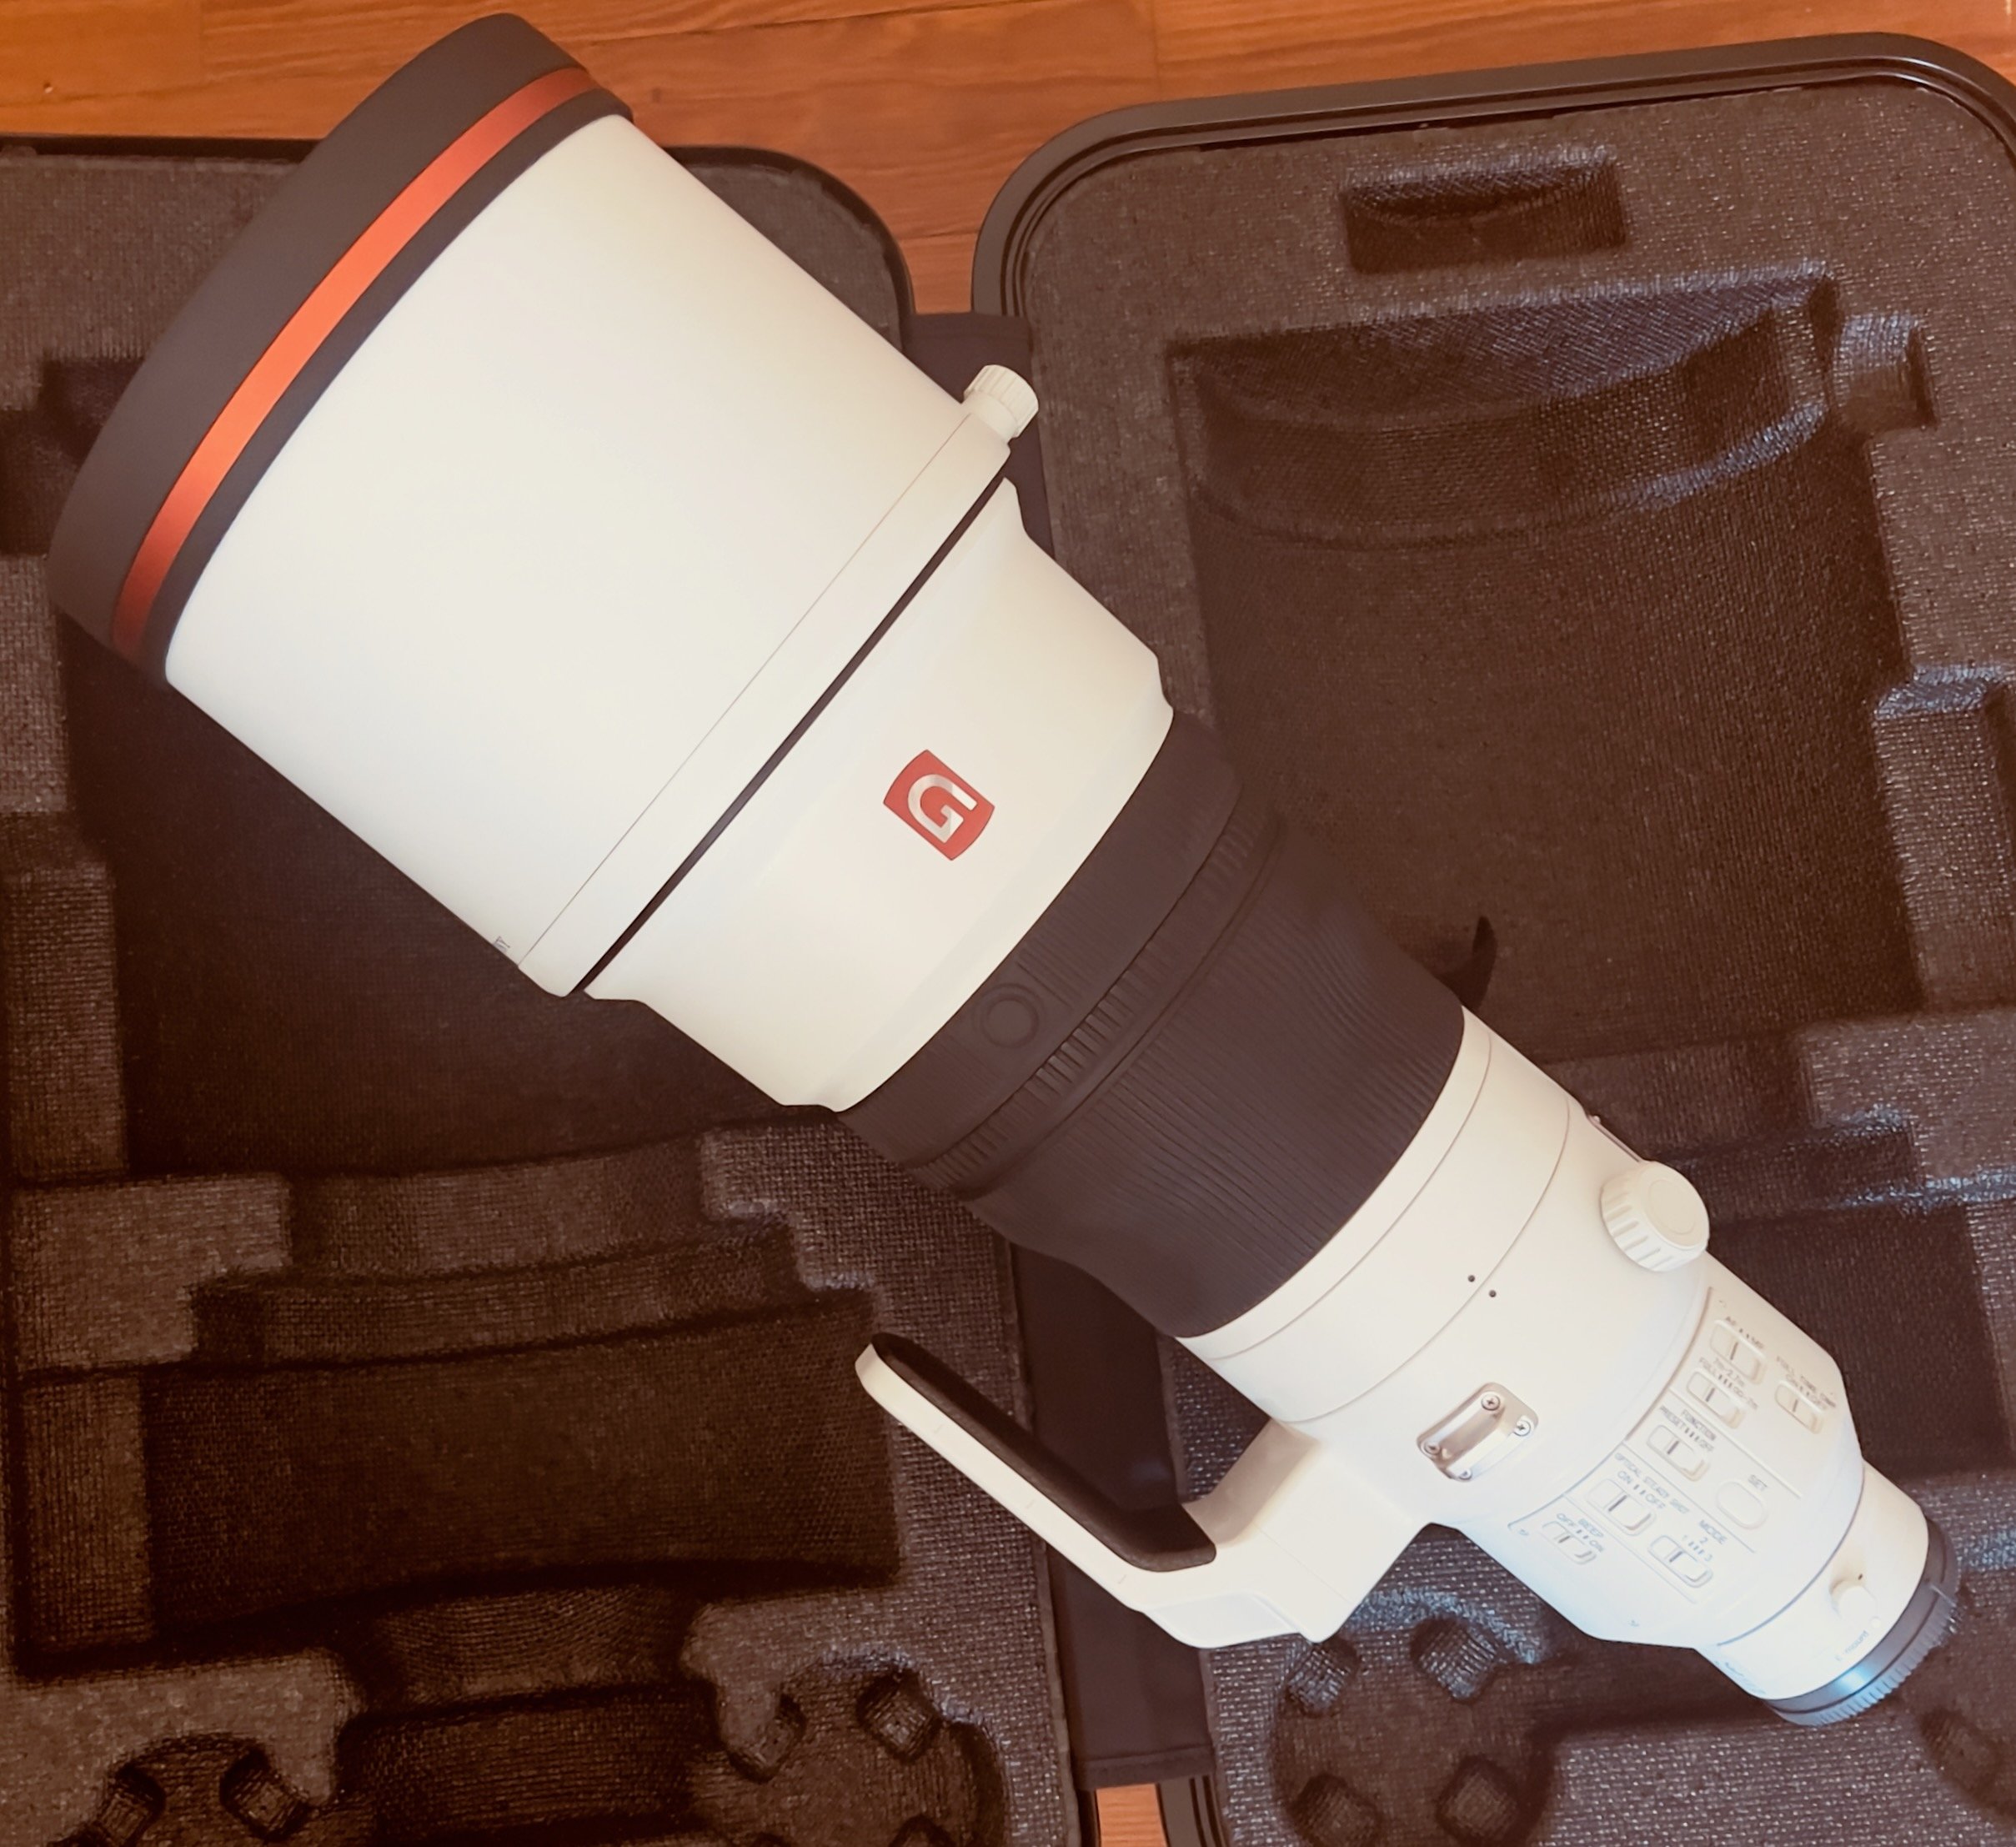
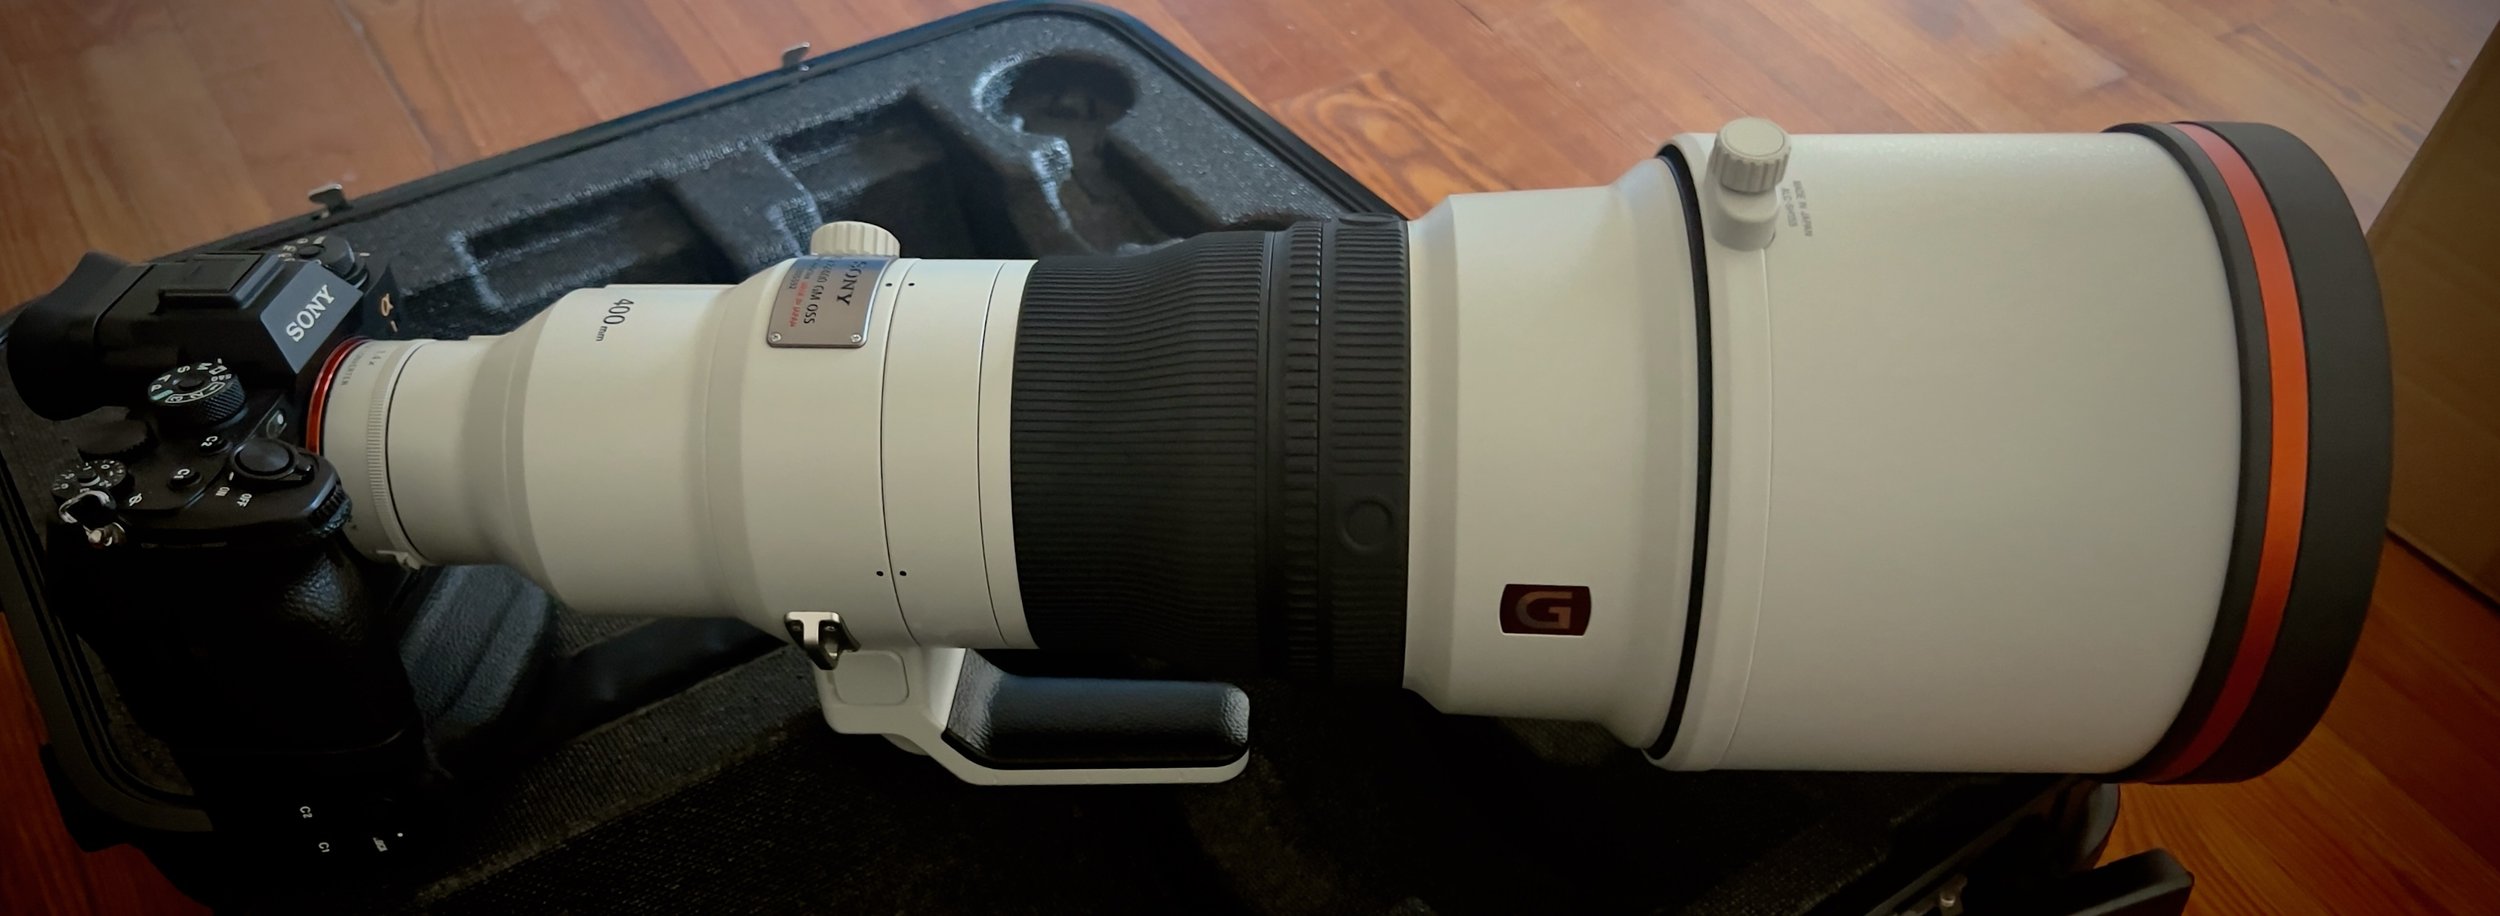
Sony 400 mm f/2.8 GM
This prime lens was one of my best investments. The speed and image quality are outstanding. It’s heavy, but the performance is worth it.
Sony Teleconverter 1.4x & 2x
The teleconverters add flexibility, especially the 1.4x. There are some autofocus and image quality losses depending on the lens, but with prime lenses, they are very effective and useful.
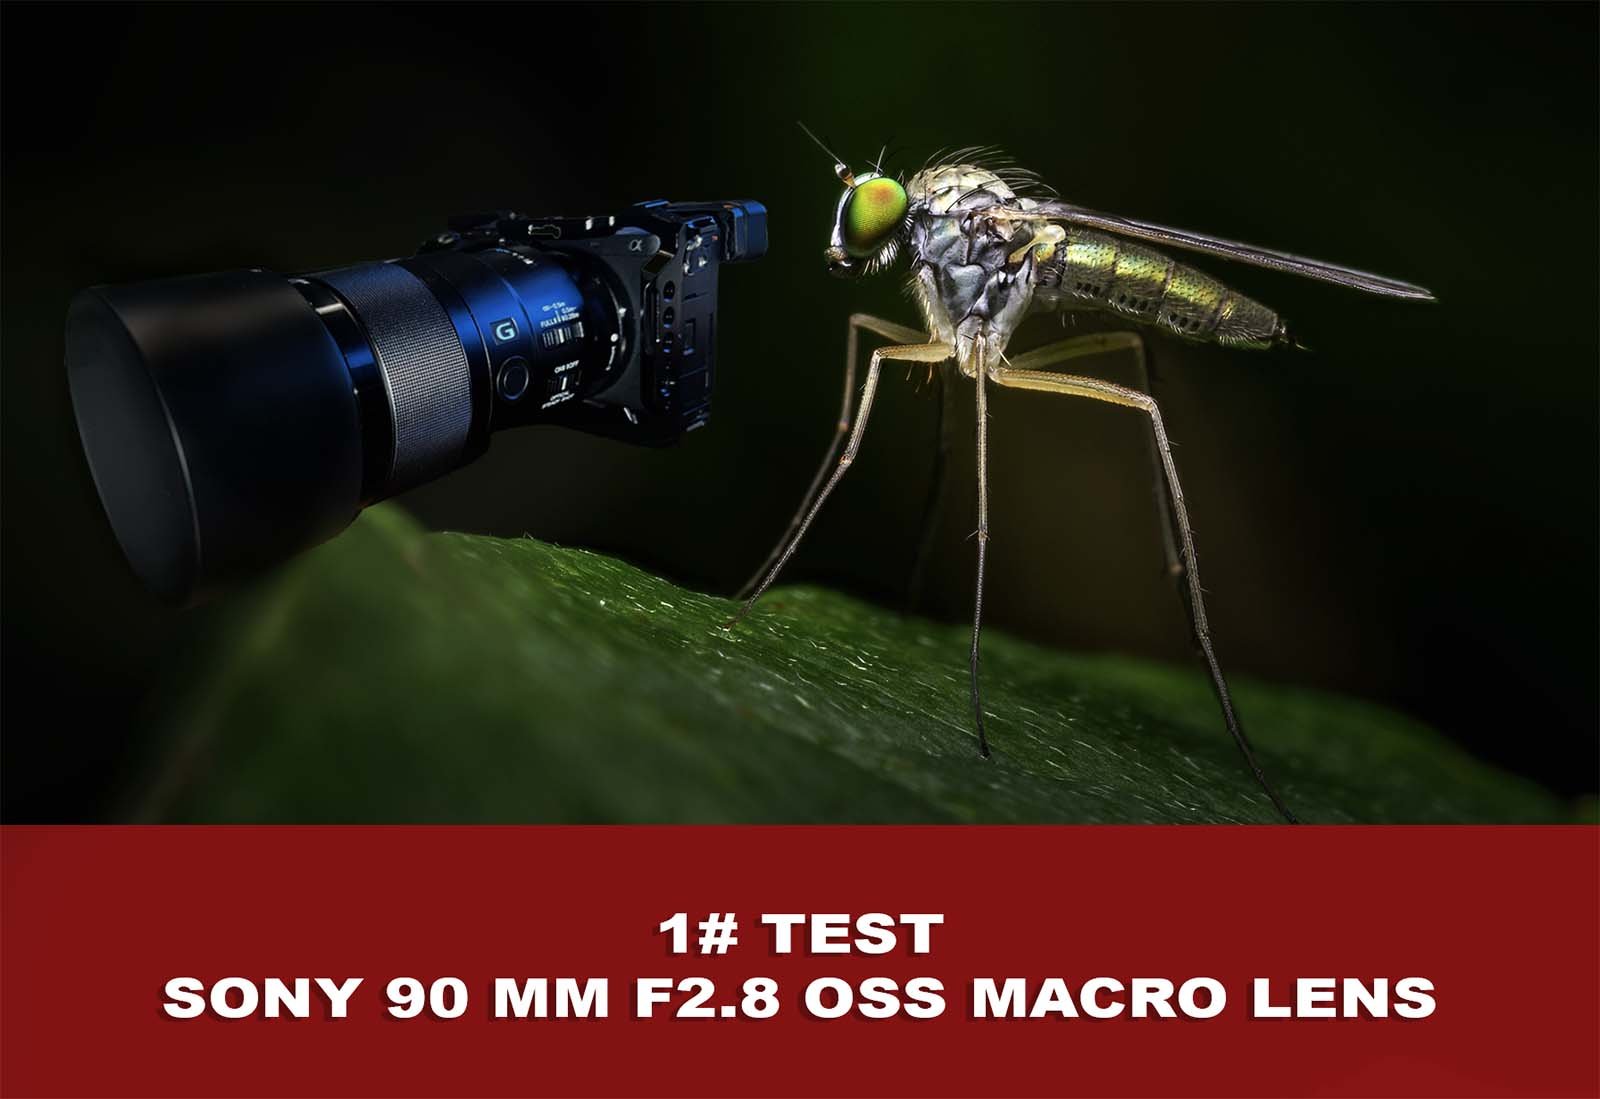
Sony 90 mm f/2.8 Macro
This lens was great for starting macrophotography. It’s very sharp, and switching between autofocus and manual focus is easy. The only drawback is that it’s incompatible with teleconverters.
Sony RMT-P1BT Bluetooth Remote
A small but useful tool, especially for shy subjects or long exposures. The Bluetooth connection is stable, but I wish the battery setup were simpler.
Sony Battery Grip VG-C4EM
For longer sessions and better balance with big lenses like the Sony 400 mm f/2.8 GM, the battery grip is almost essential. However, it’s expensive and not much better than third-party options. I bought it because a third-party grip caused issues with my Sony A1, though it worked fine with my other cameras.
Field Experiences and Examples
Real-World Use: Strengths and Weaknesses of My Gear
In real-life situations, you see how well a system truly works. The combination of the fast Sony Alpha 1 and the 400 mm f/2.8 GM is unbeatable for action shots. For birds at dusk, this setup gives sharp images even in low light.
I use the Alpha 7R IV mainly for detailed shots, like fur or feathers. However, I use it less now because the A1 is such a great hybrid camera. In macrophotography, I’ve had excellent results and sometimes prefer it to the Sony a6700.
The a6700 is my go-to for scouting trips. Its lightweight design with the Sony 100-400mm GM makes it ideal for exploring or moving around without worrying about carrying too much. It’s not the best for purely fast action shots, but it does well in macrophotography. You can read a detailed wildlife test in my article Sony a6700 Wildlife-Check: What Other Reviews Don’t Show!
Tips for Beginners
What Gear for What Needs?
For beginners, it’s smart to compare several systems that offer good value for money. I don’t mean going for the cheapest option, but thinking both short-term and long-term. The cheapest choice can end up being expensive later. Look for a system with a wide range of lenses and accessories. Don’t rush to buy – figure out what truly suits your needs because it’s often an investment that ties you to a system for a long time.
My advice is to spend more on lenses than on the camera body. If you start with Sony for wildlife photography, I recommend the Sony 200–600 mm G as your first lens. It’s a perfect combination of flexibility and image quality at an unbeatable price. Plus, you avoid performance issues that can happen when using third-party lenses with Sony cameras due to software limitations.
Gallery and Sample Photos
Photos Speak Louder Than Words
In my gallery, you’ll find a selection of photos taken with the setups described above. Each photo includes details about the gear used.
I’ll also show some photos from my early days with the a7 III and a7R III to show that these cameras are still great not only for getting started, even today.
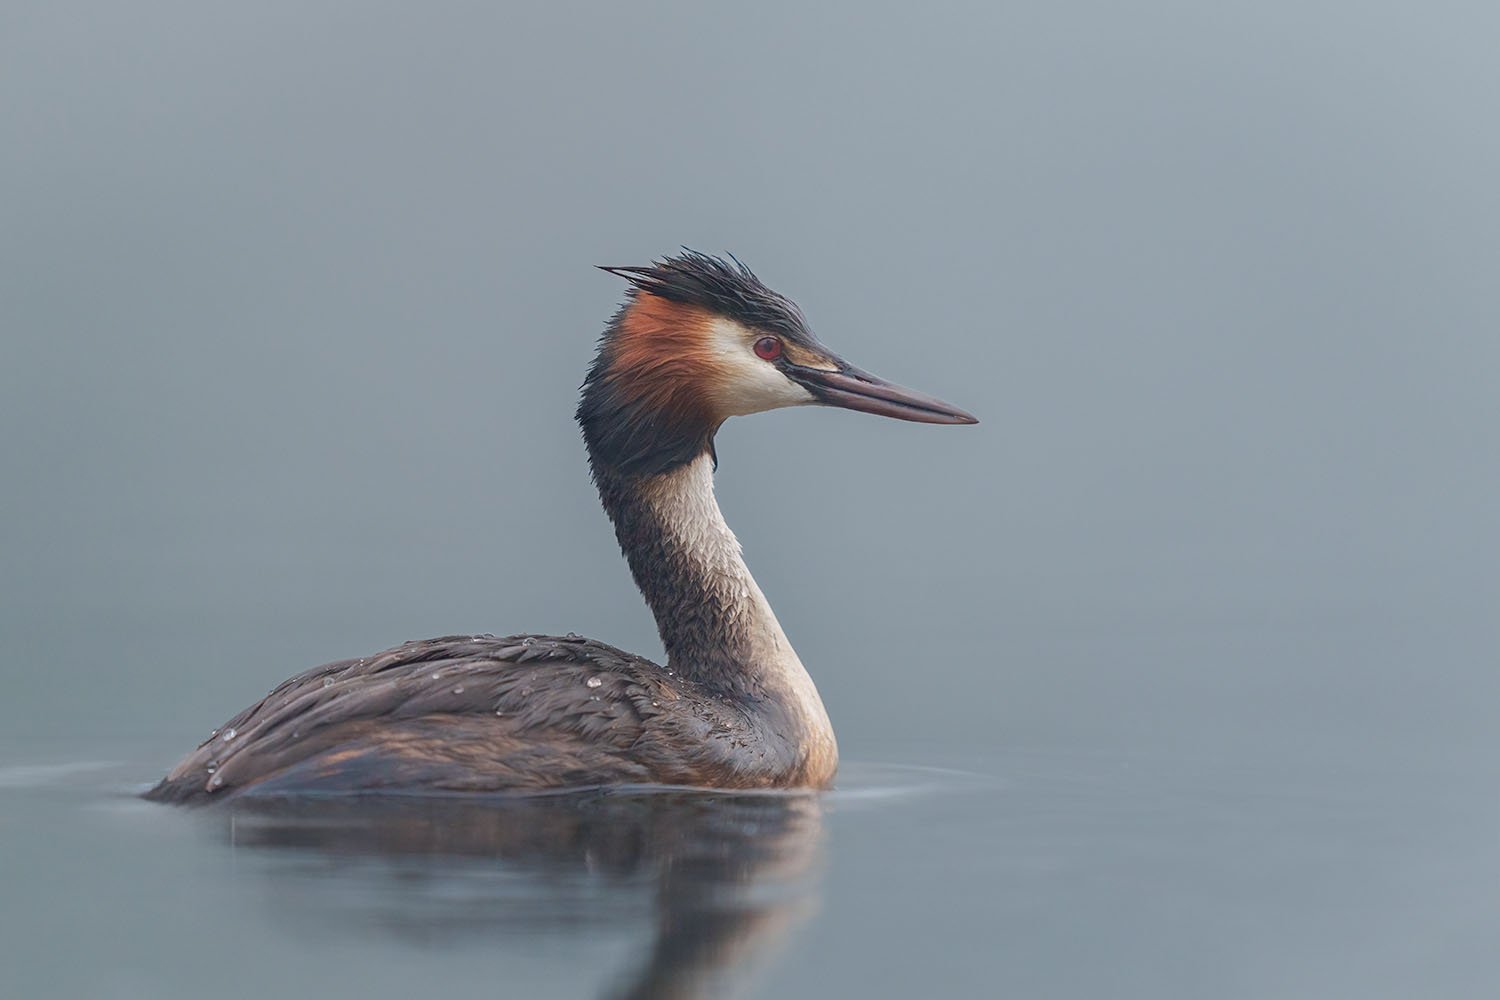
Sony A1 + Sony 400 mm f/2.8 GM
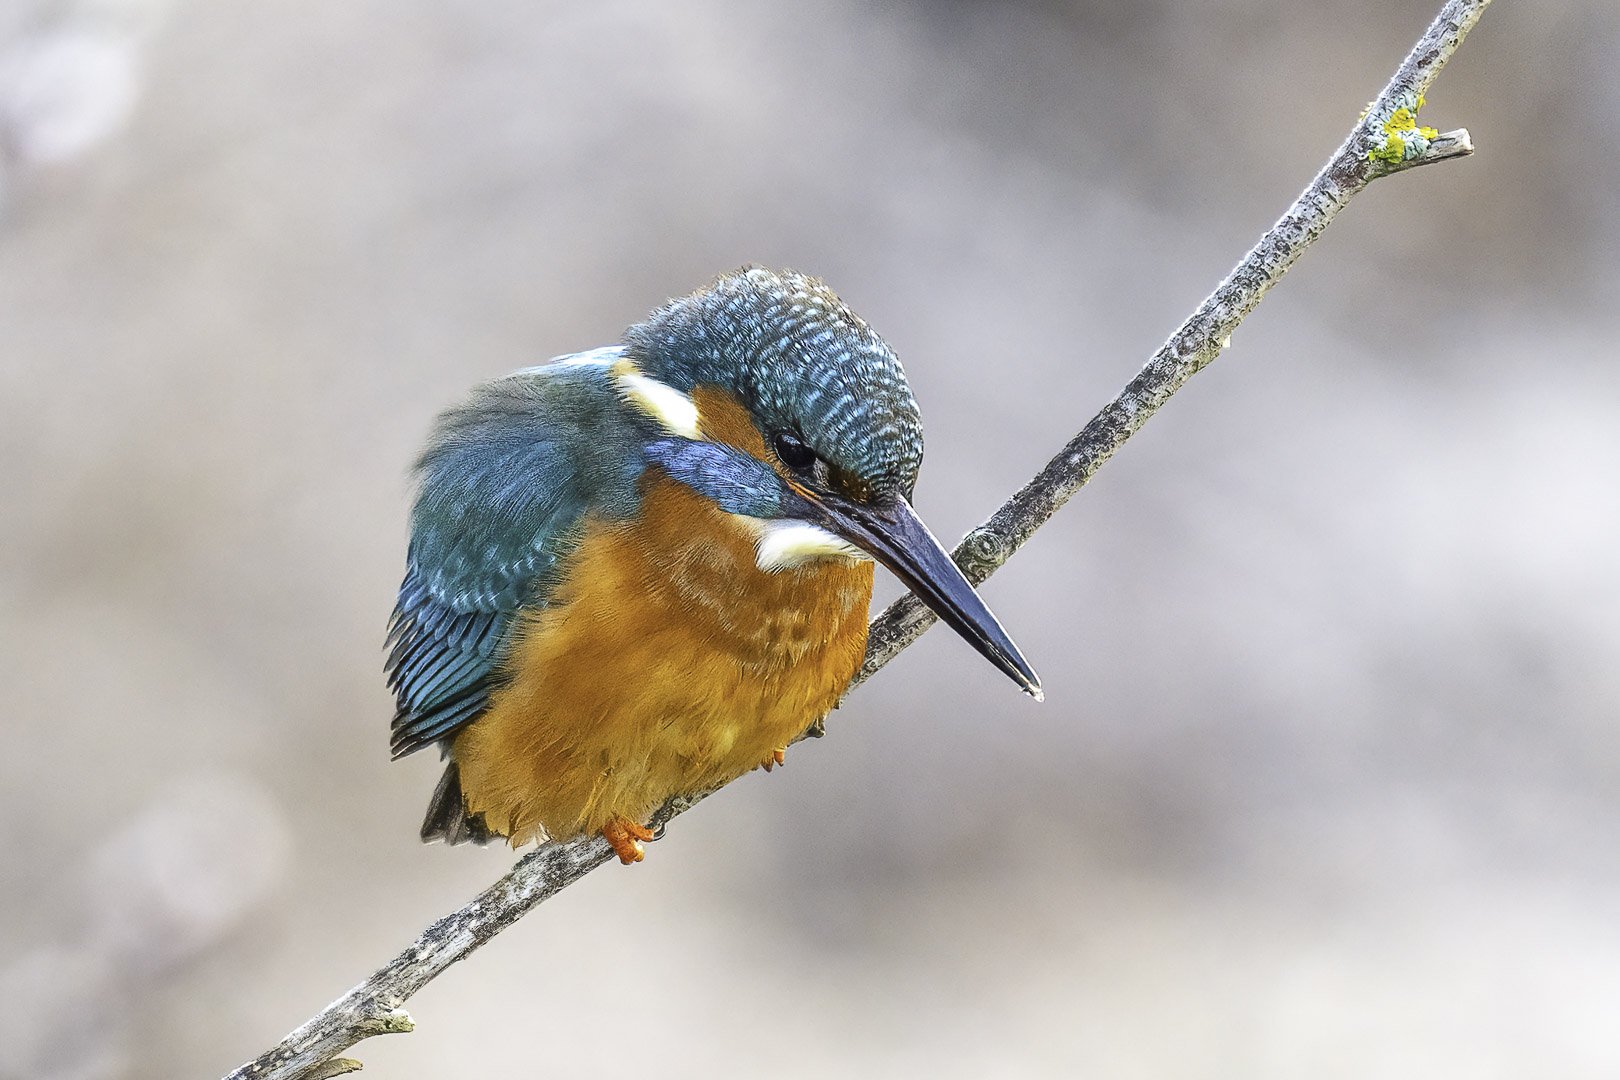
a7 III + Sony 200 - 600 mm f/5.3 - 6.3 G
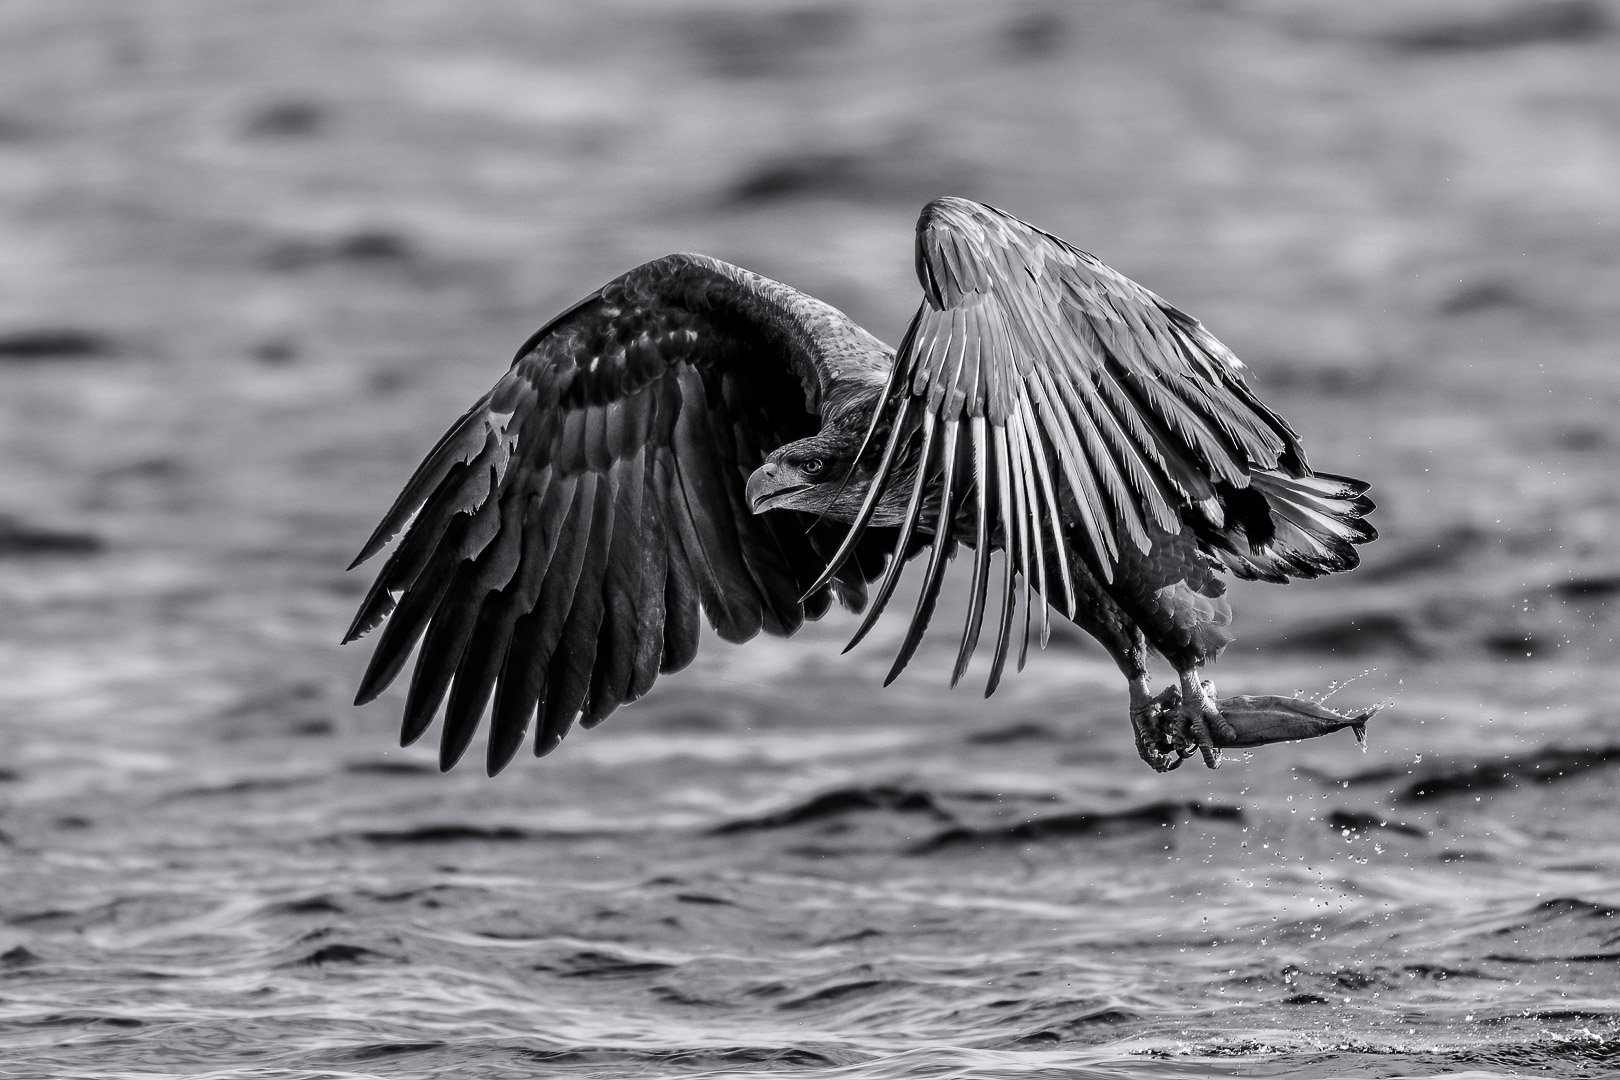
Sony A1 + 400 mm f/2.8
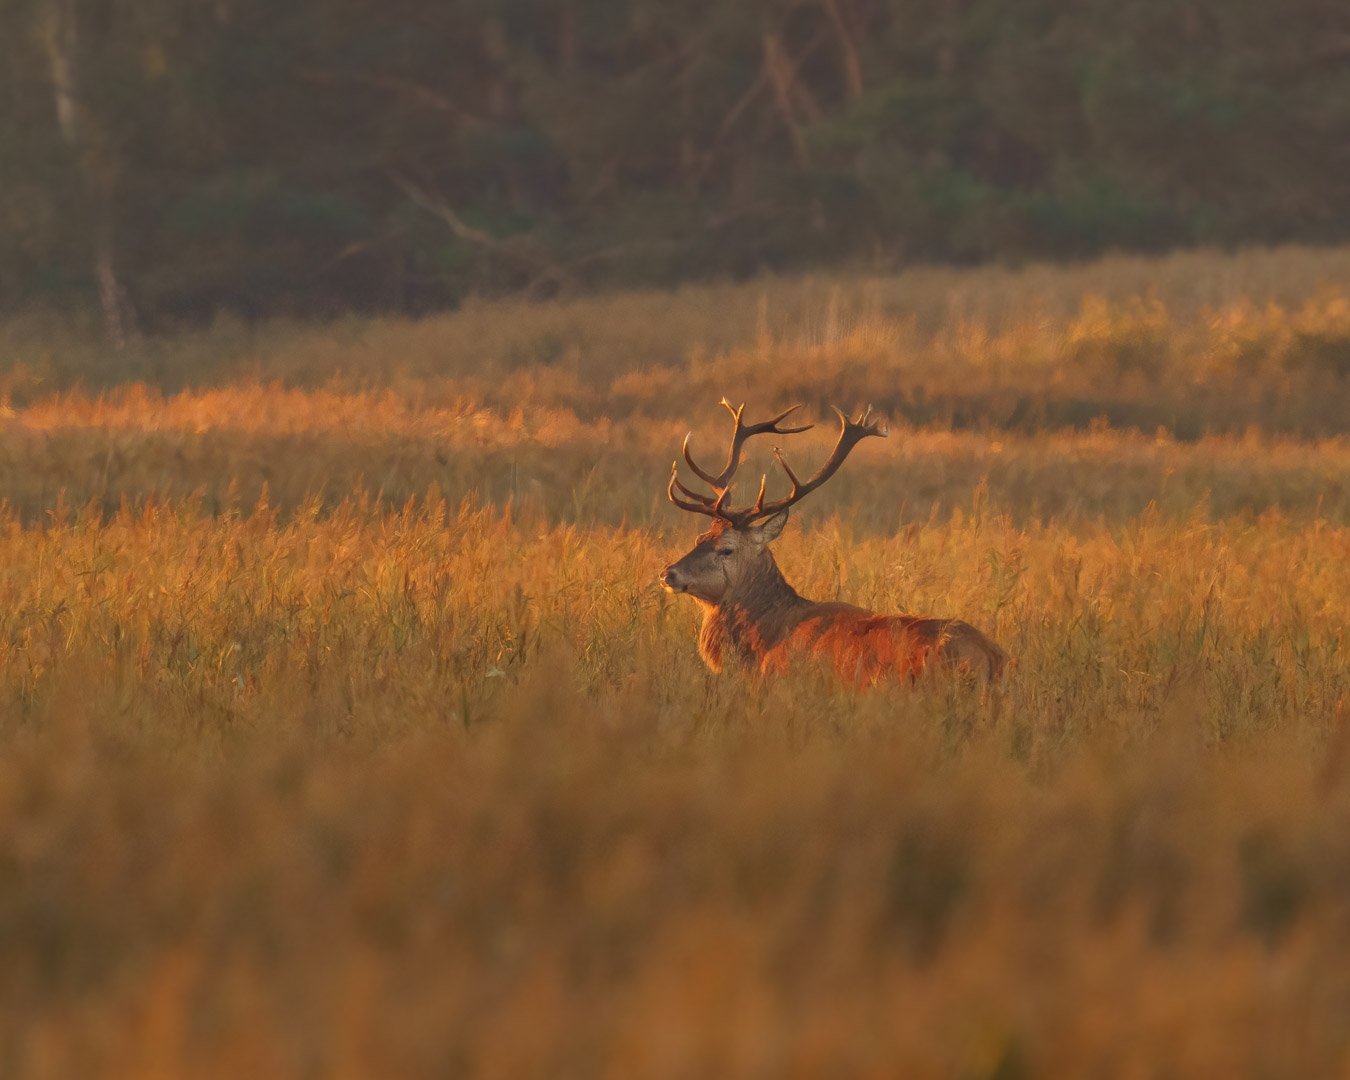
a 7R IV + 200 - 600 mm G + TC 1.4x

Sony A1 + 400 mm f/2.8
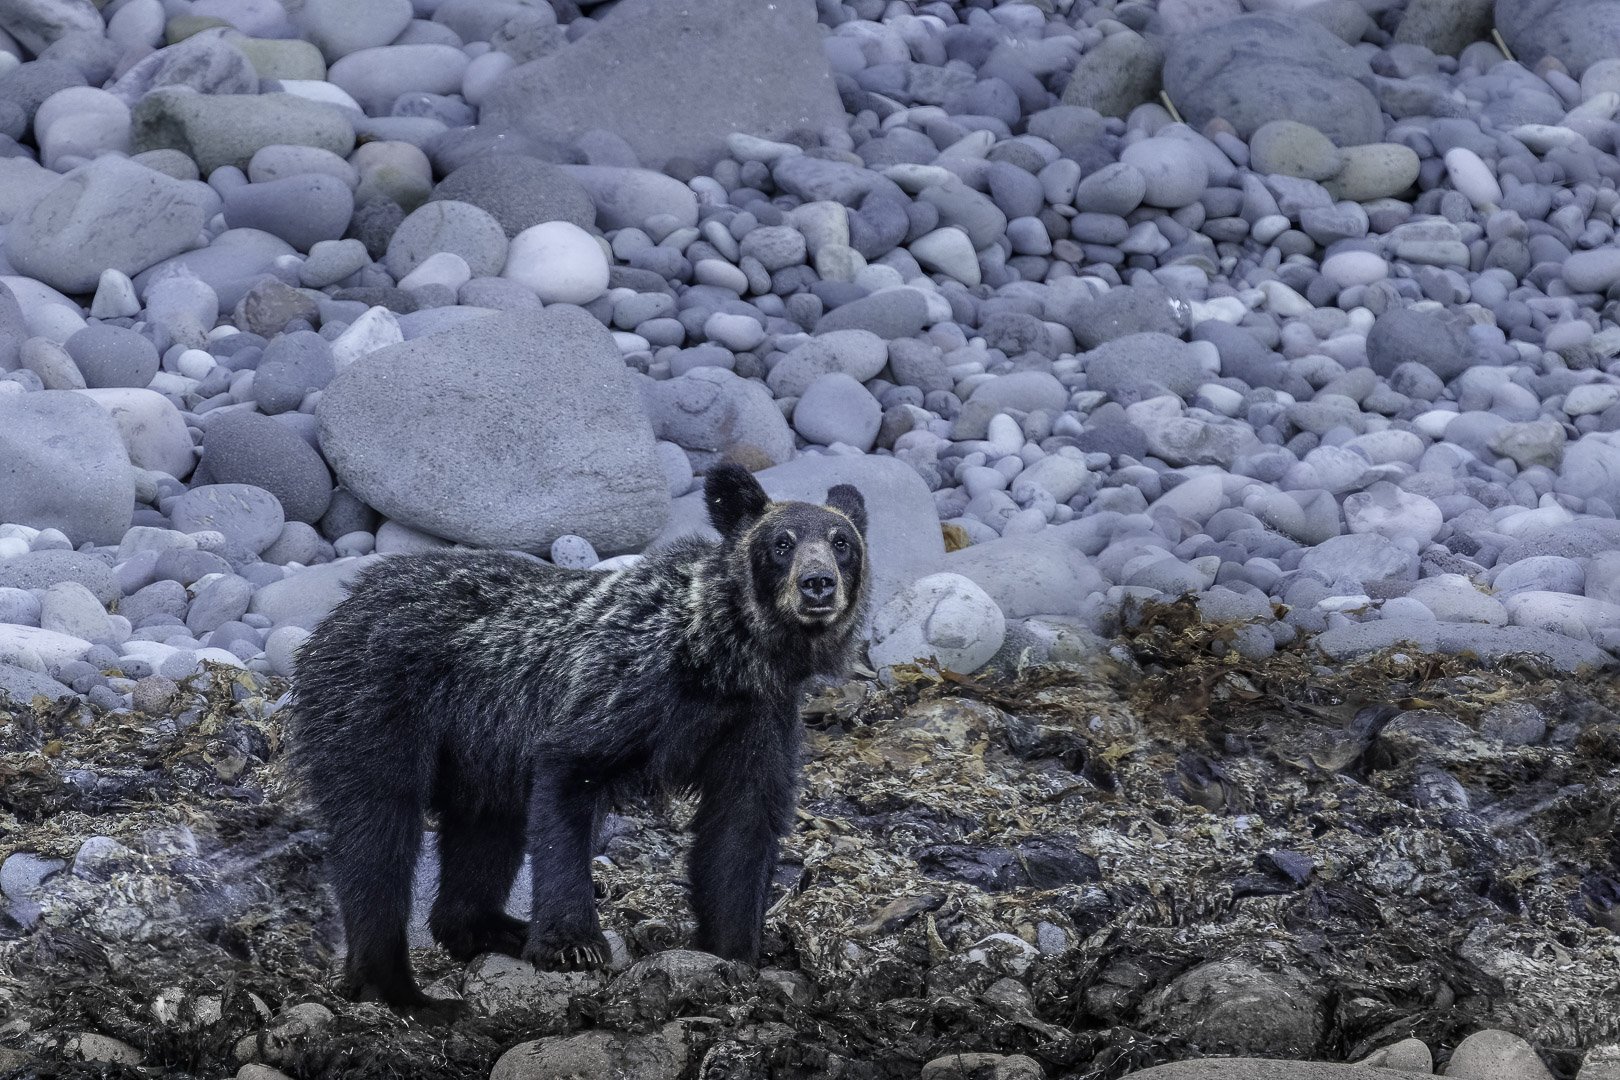
Sony A1 + Sony 100 - 400 mm GM
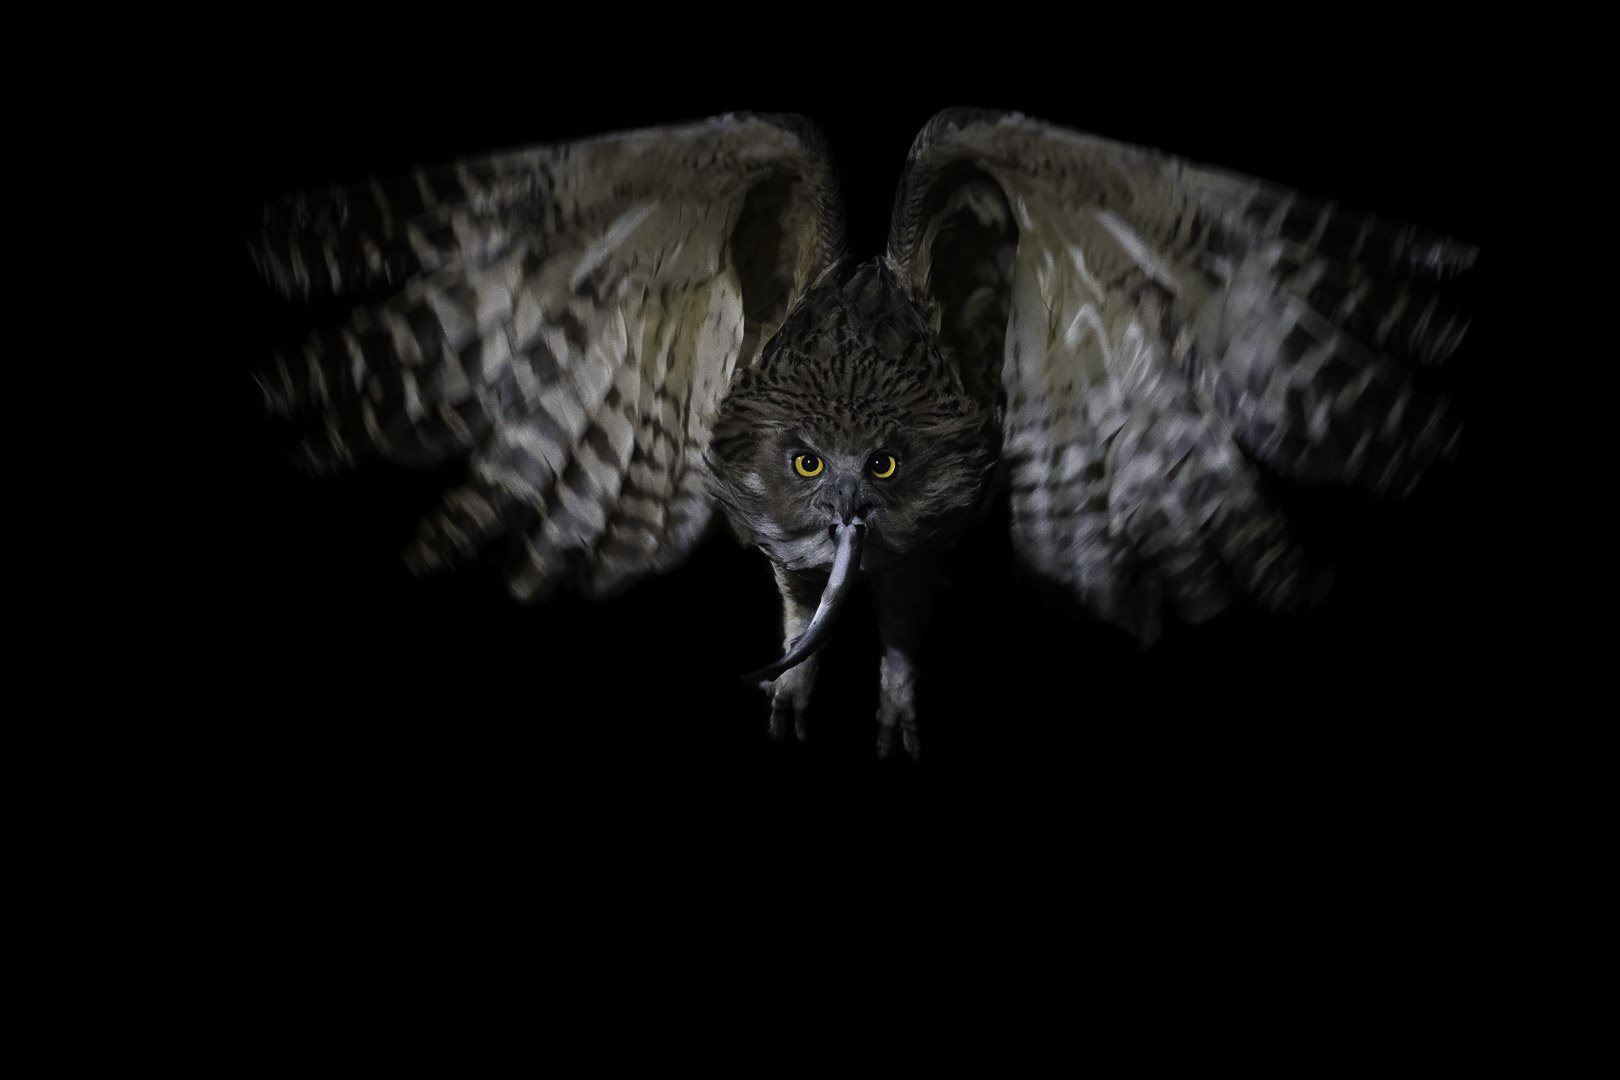
a1 + 100 - 400 mm f/4.5 - 5.3 GM

a7 III + 200 - 600 mm f/5.3 - 6.3 G
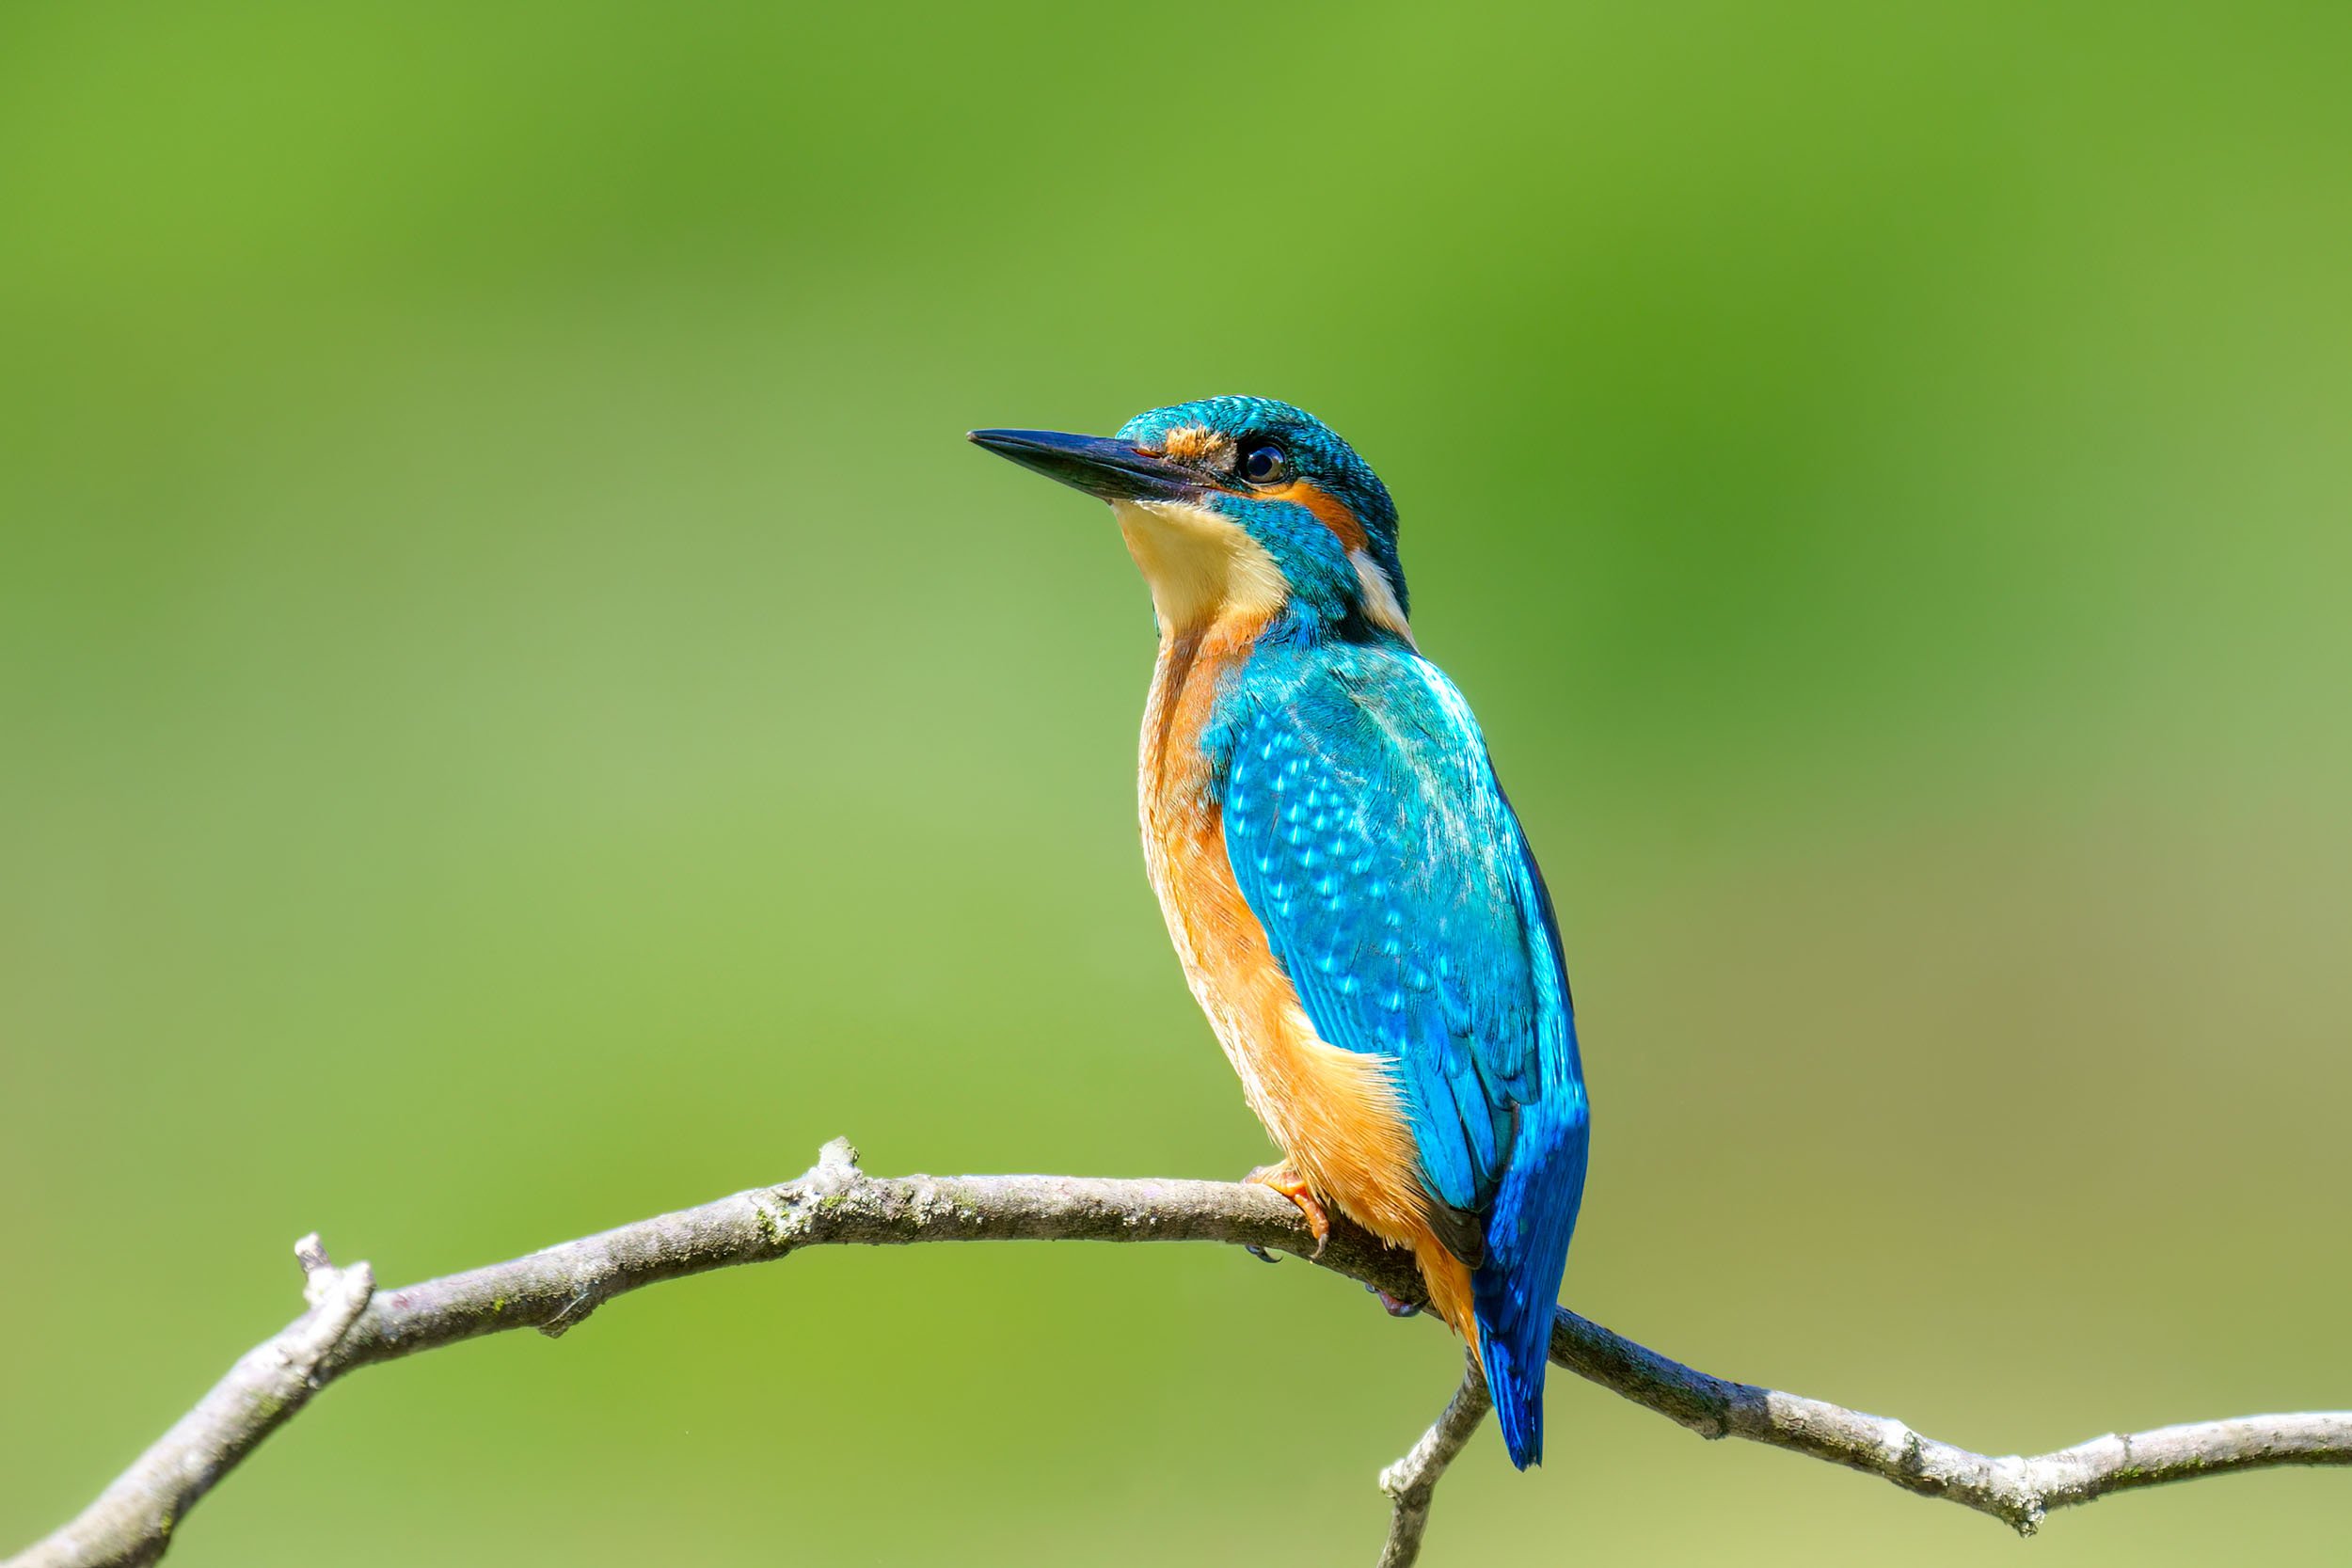
a7 III + 200 - 600 mm f/5.3 - 6.3 G
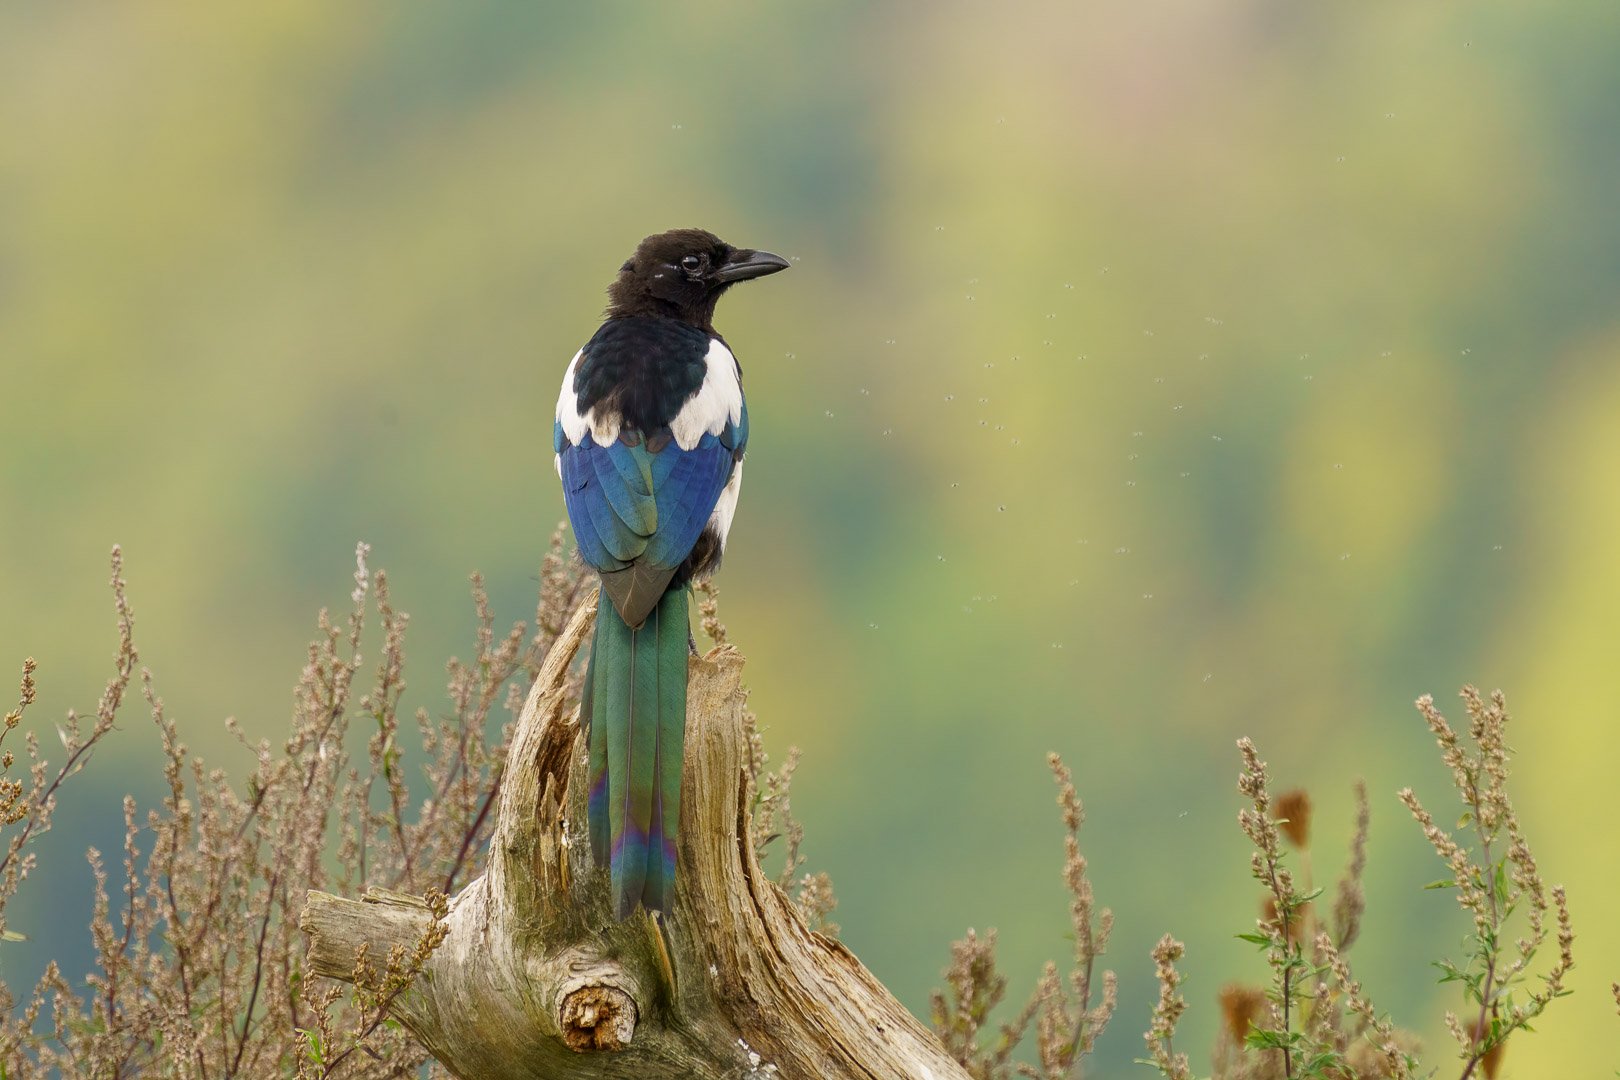
a 7R IV + 200 - 600 mm G
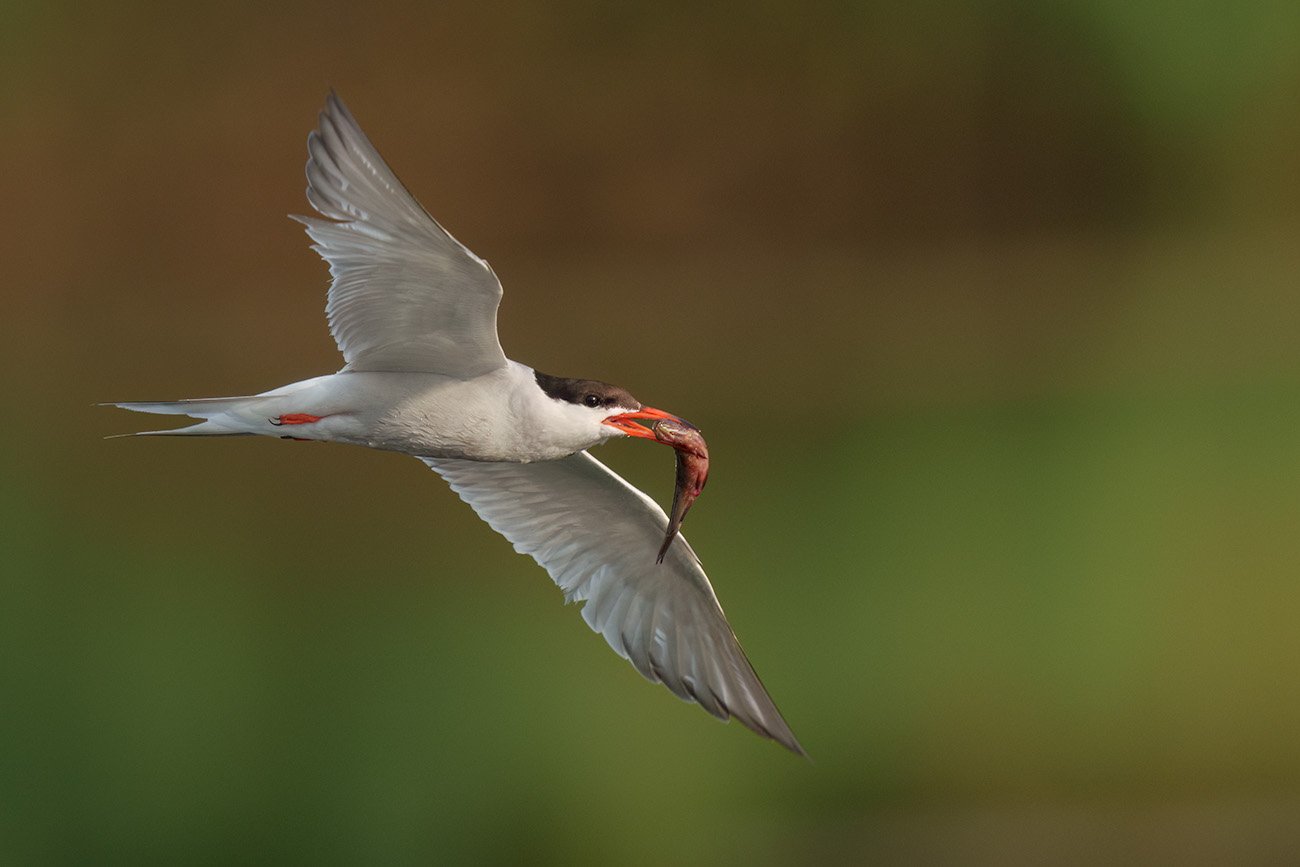
A1 + 400 mm f/2.8 GM + TC2x
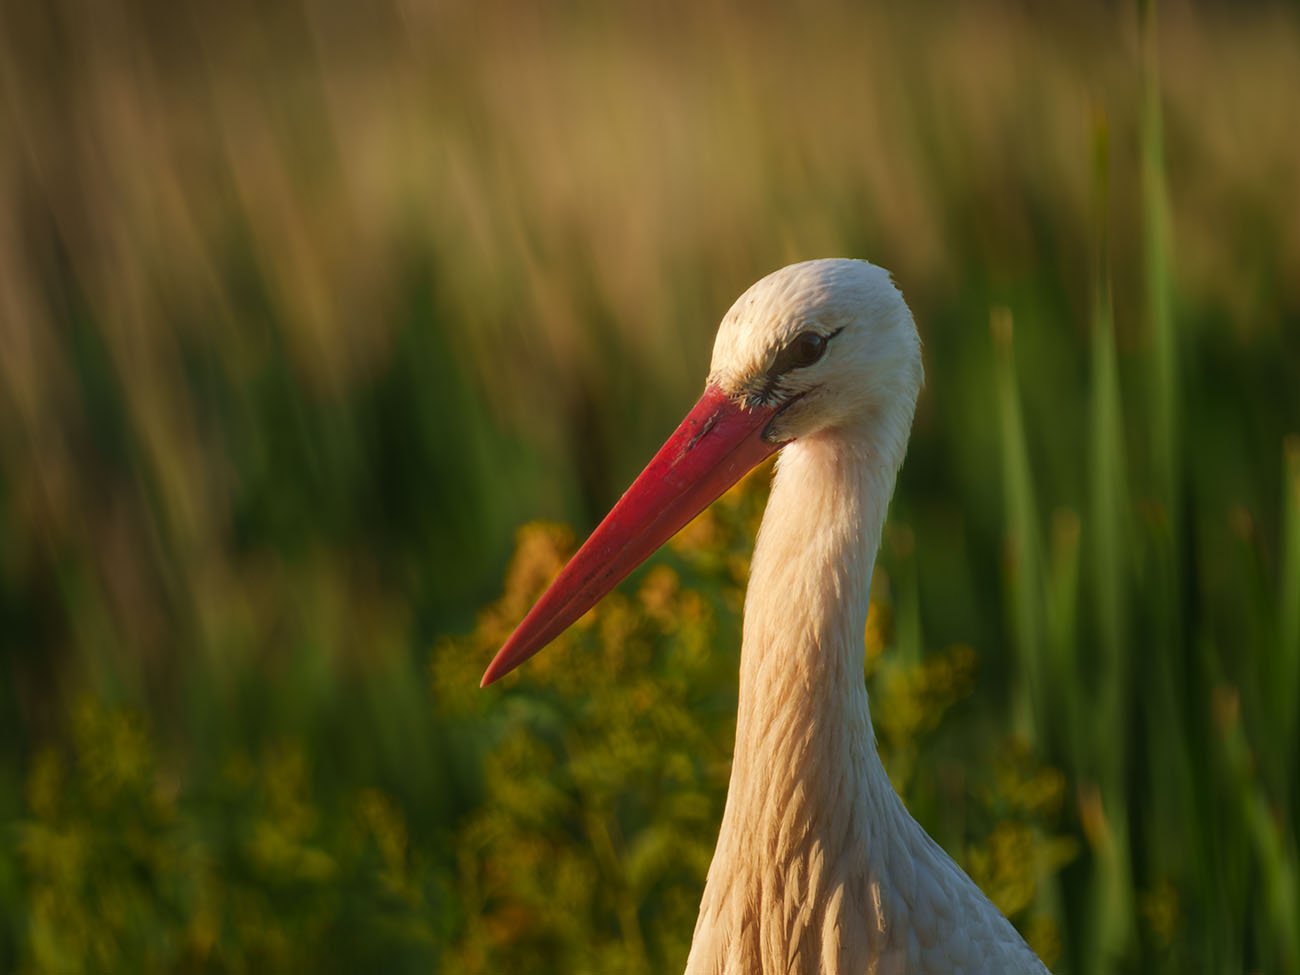
Sony 200 - 600 mm f/5.6 - 6.3 G
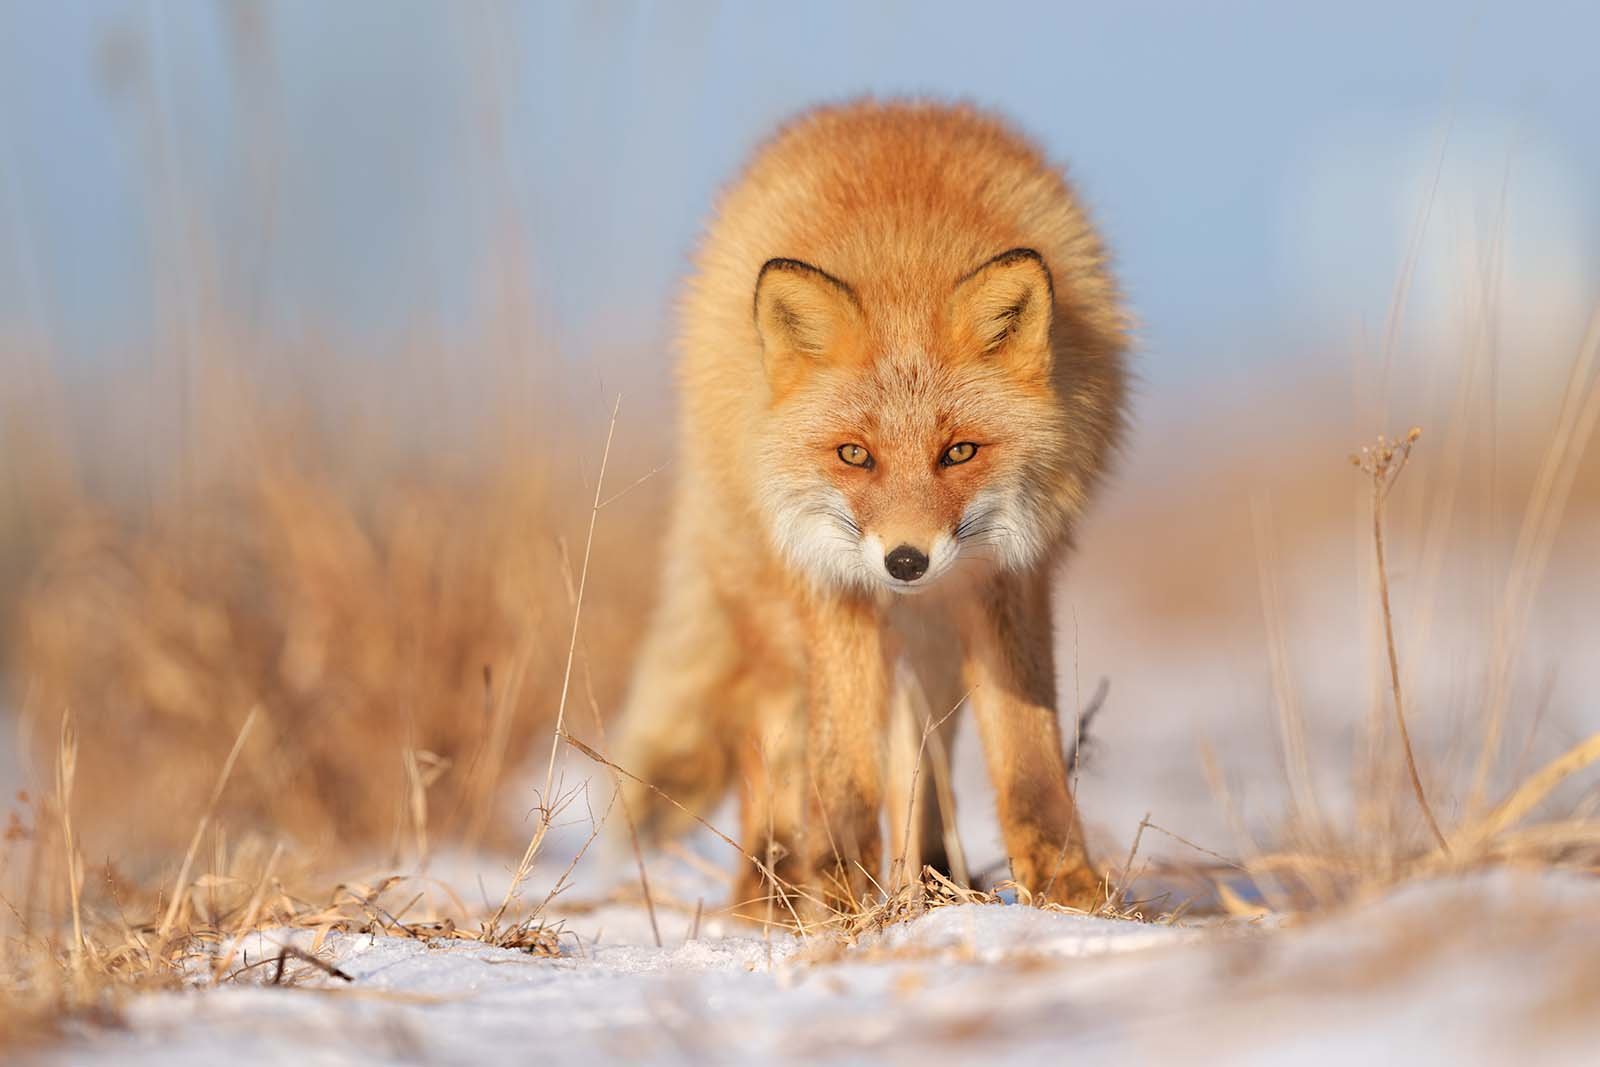
Sony A1 + 400 mm f/2.8 GM
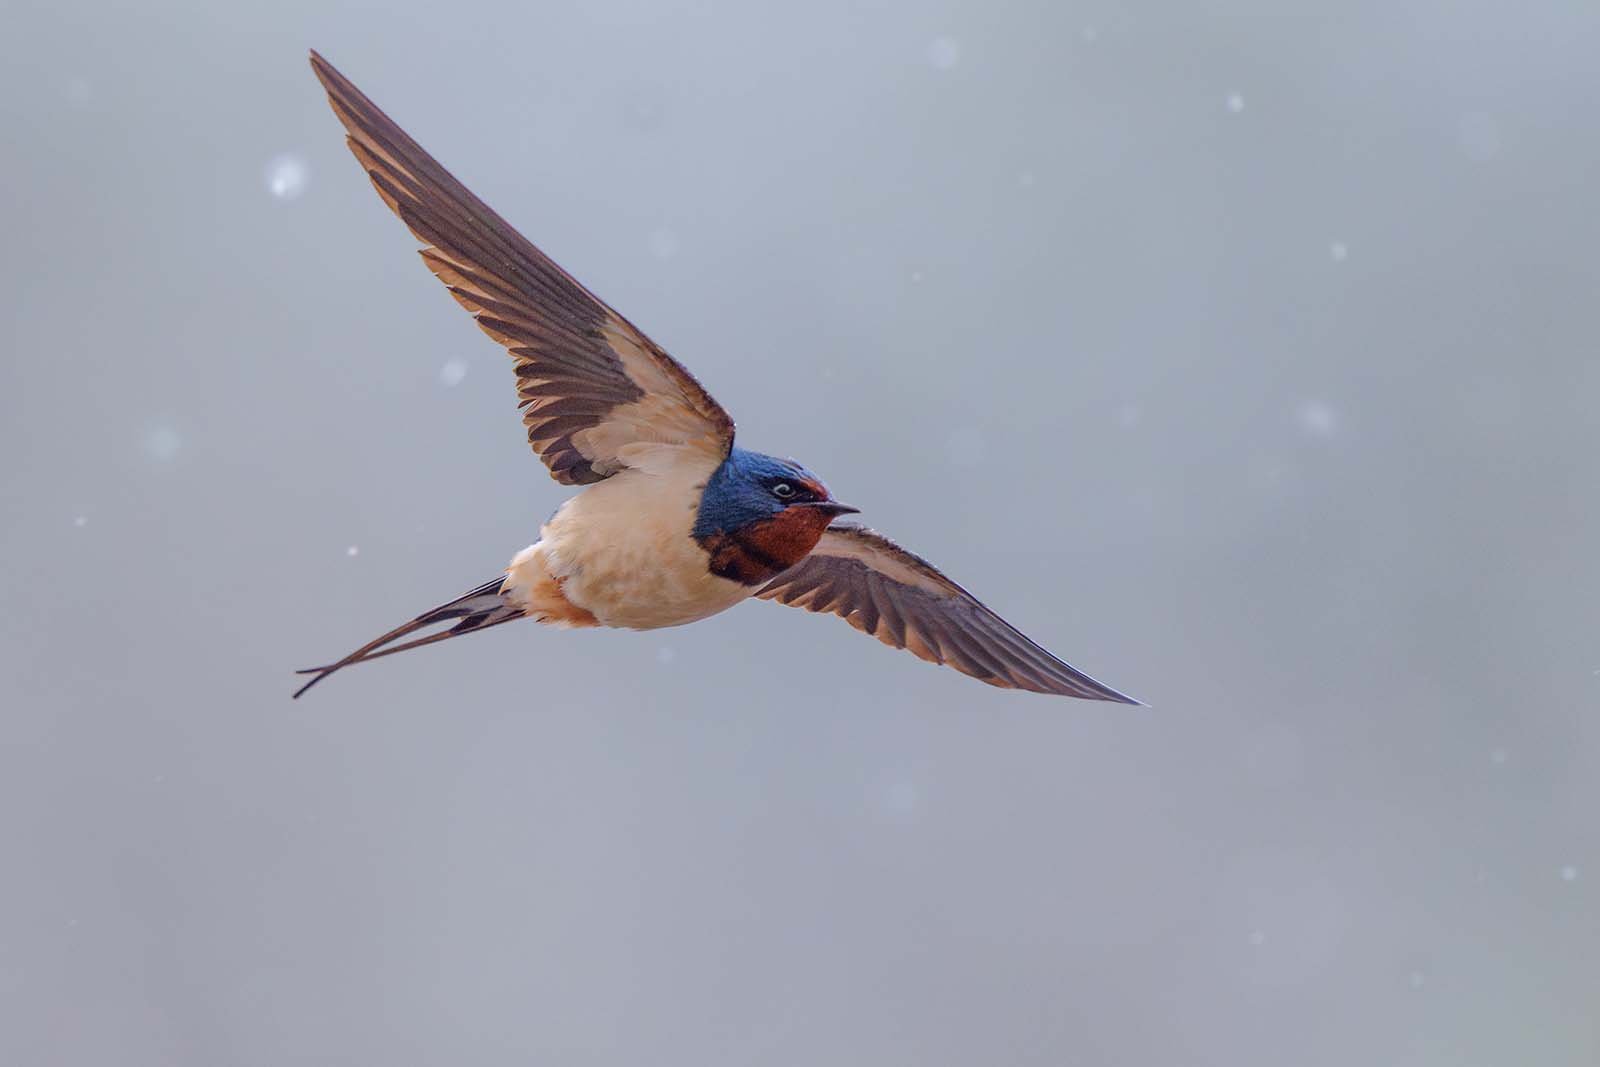
Sony A1 + 400 mm f/2.8 GM
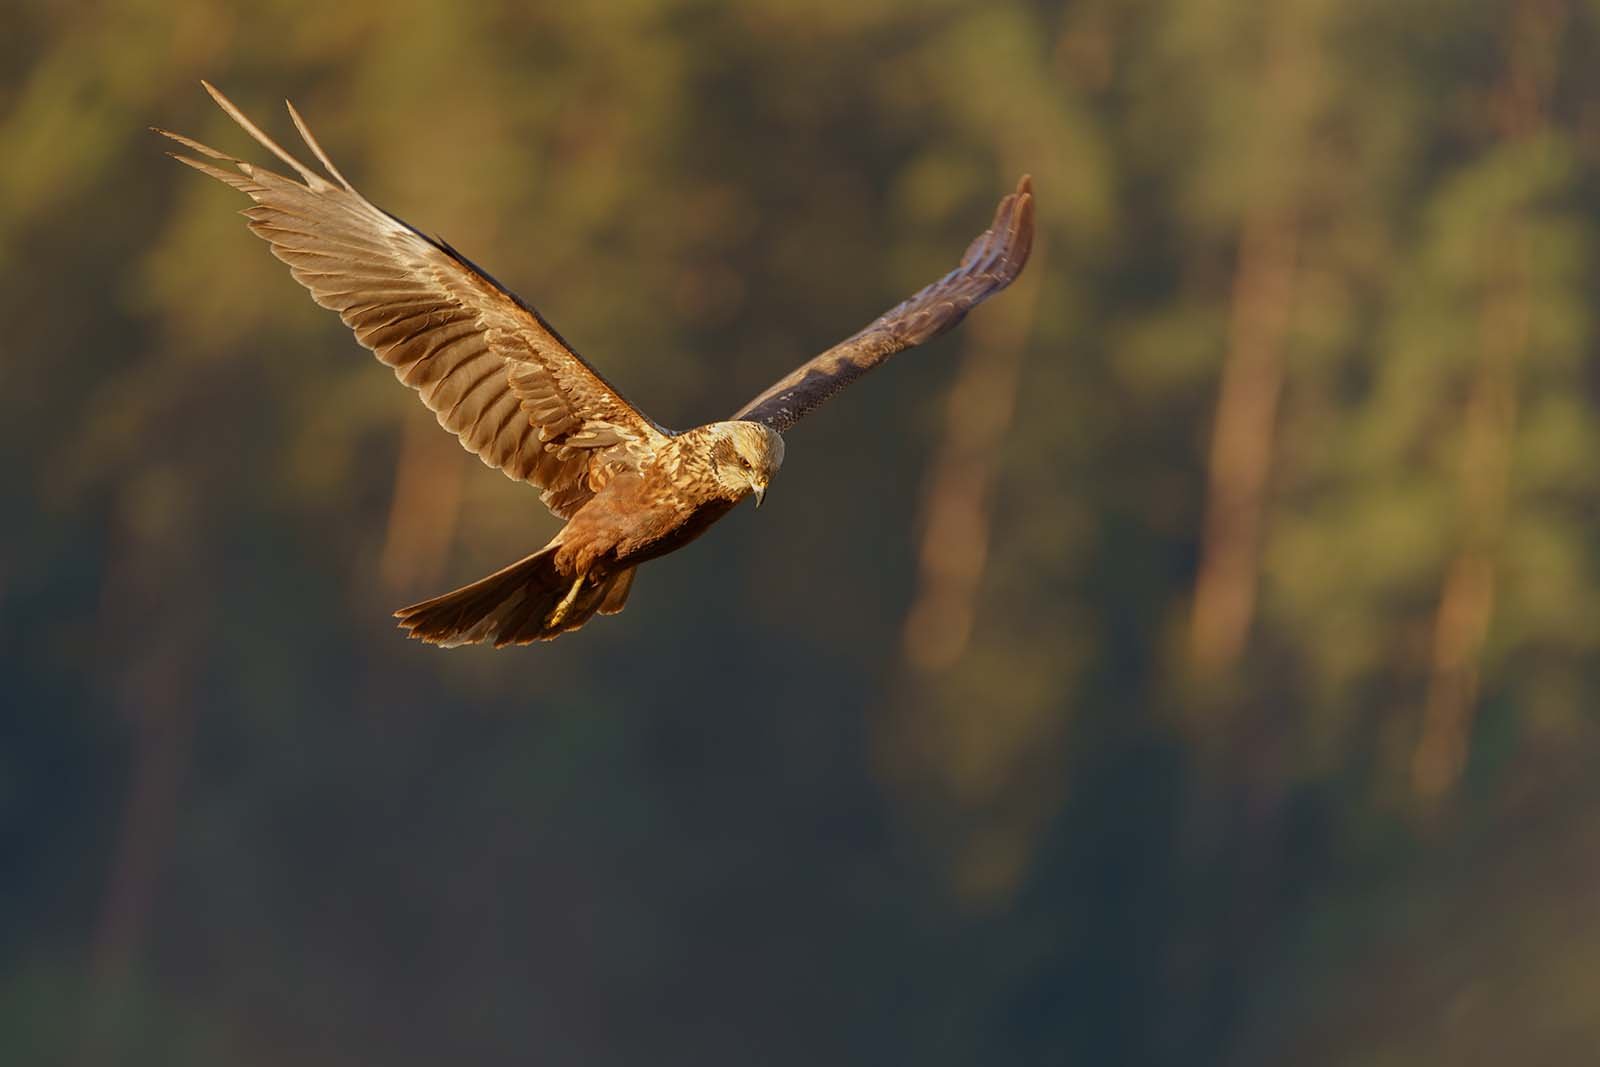
100 - 400 mm f/4.5 - 5.6 GM
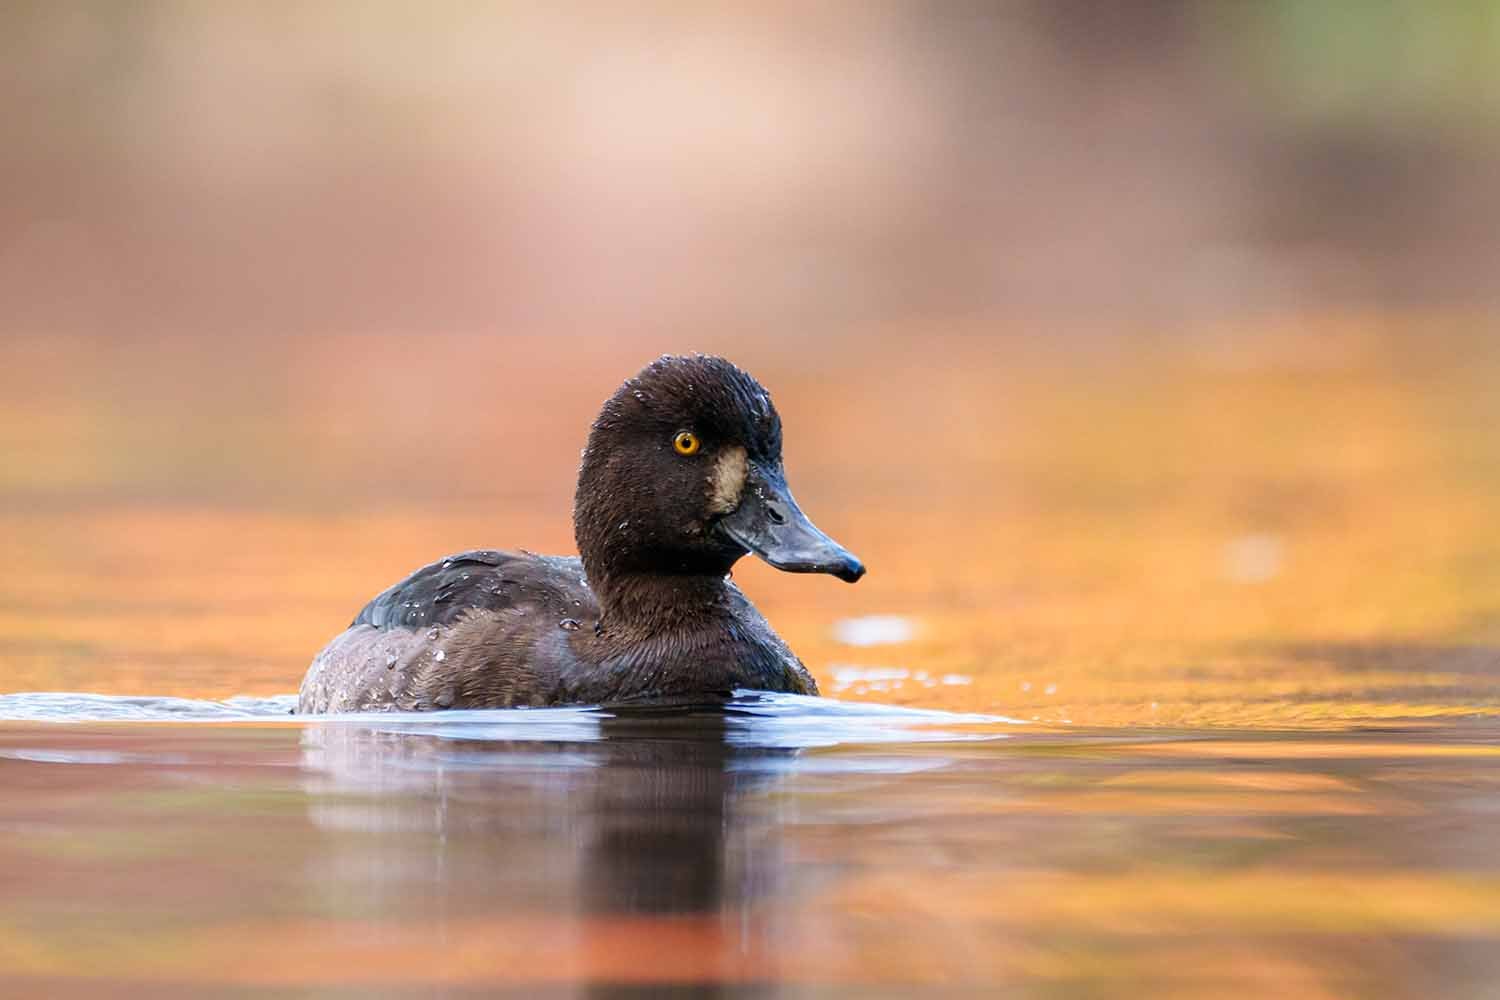
a6700 + 200 - 600 mm f/5.6 - 6.3 GM
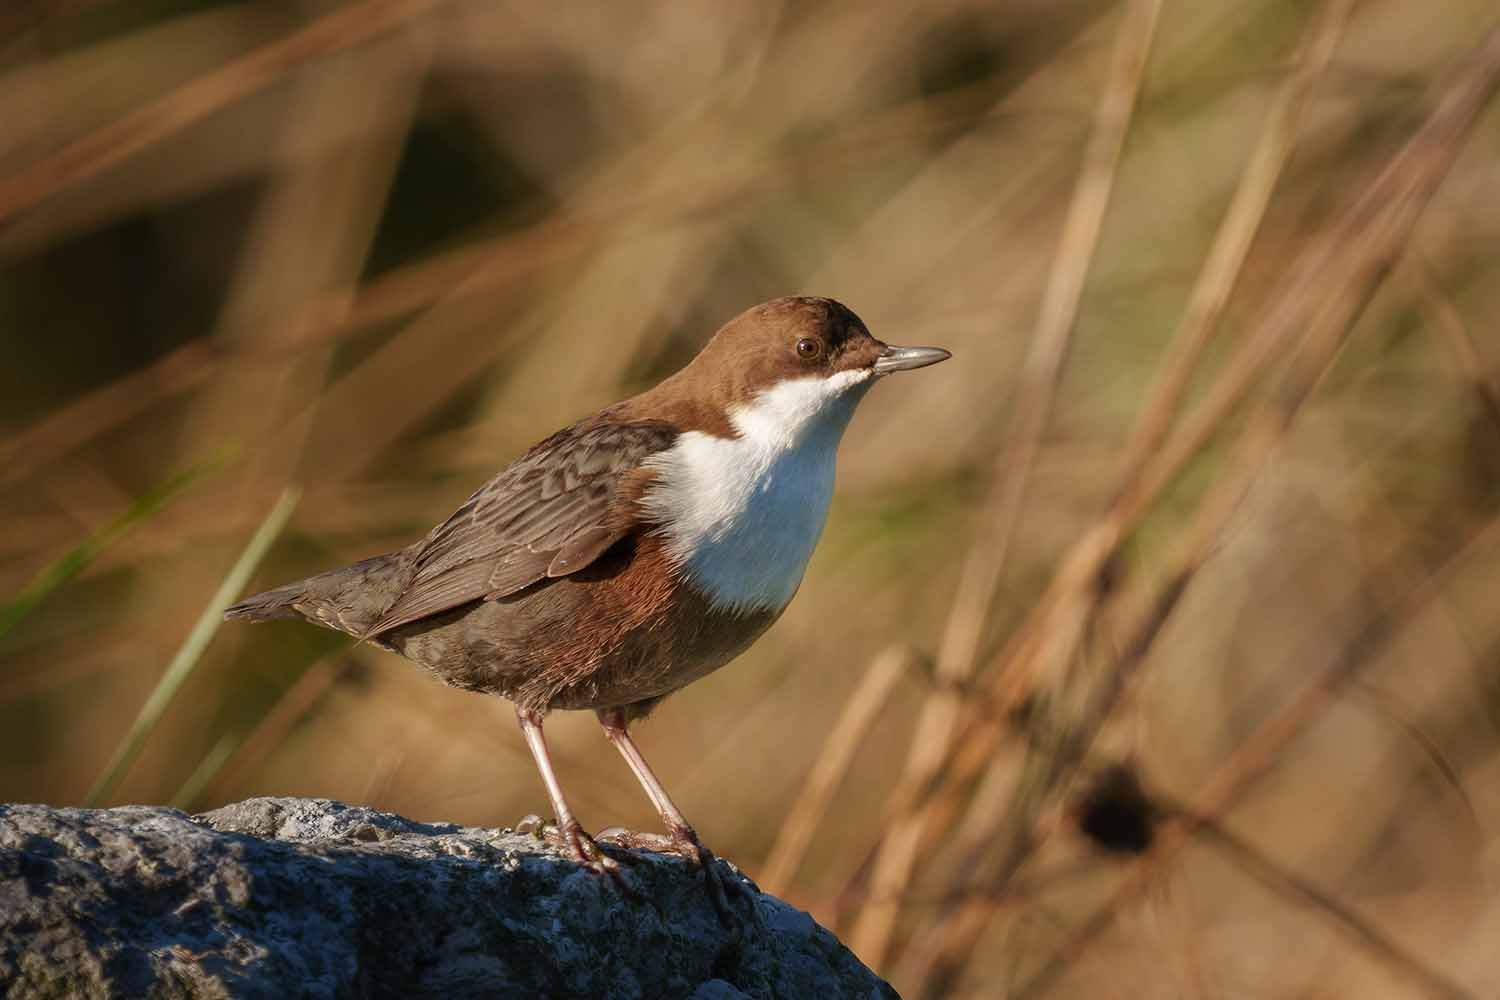
a6700 + 200 - 600 mm f/5.6 - 6.3 GM
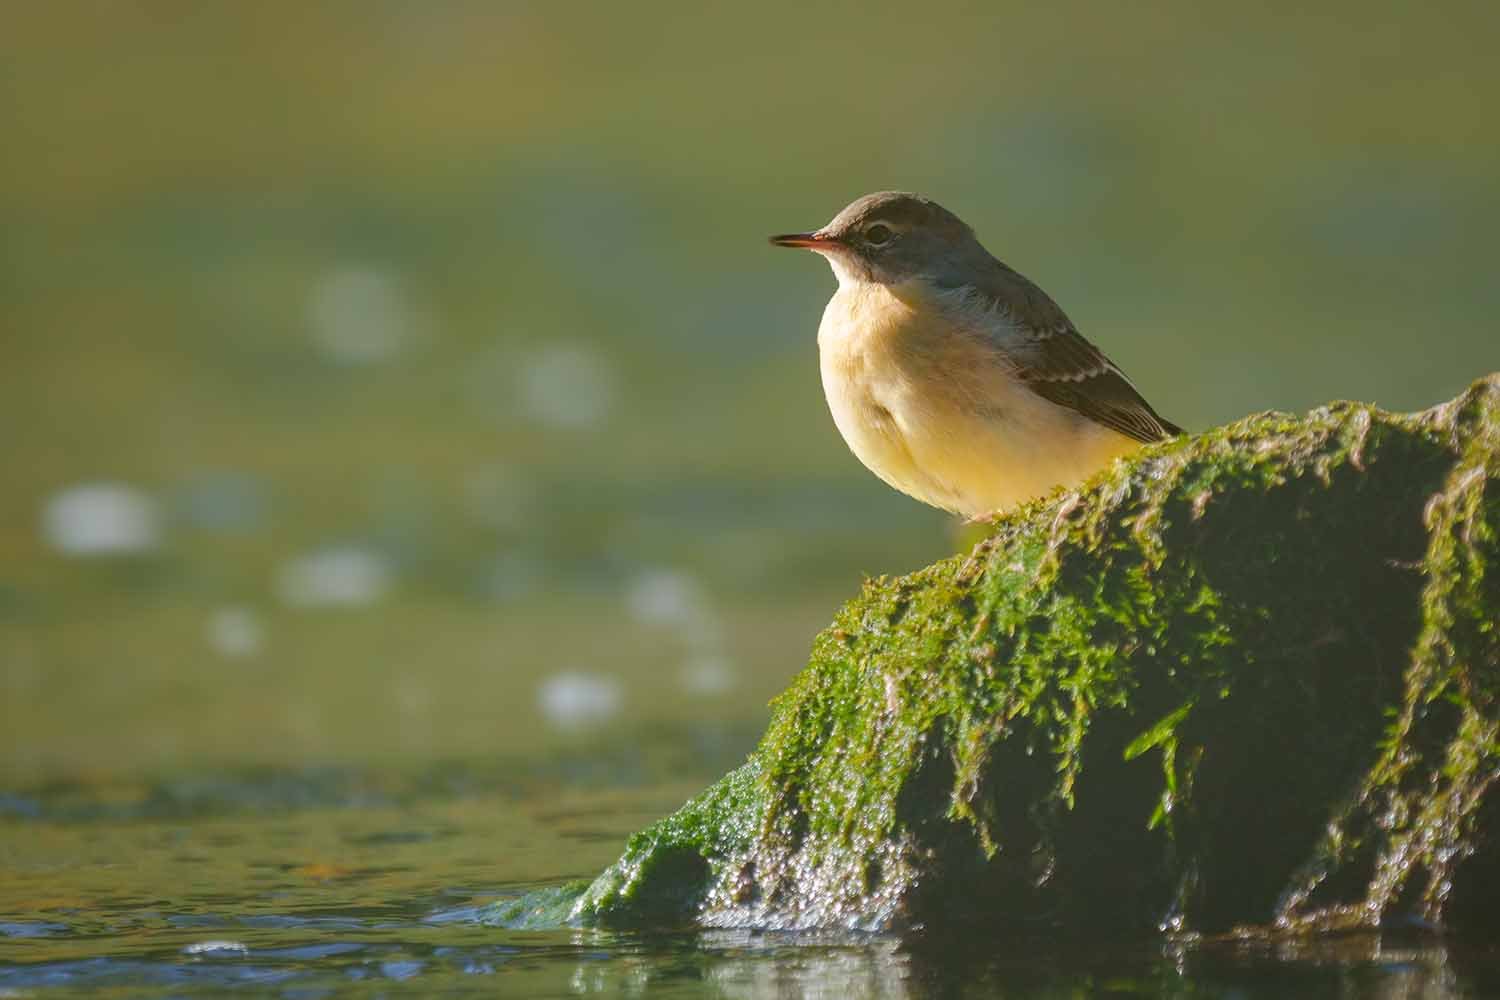
a6700 + 200 - 600 mm f/5.6 - 6.3 GM
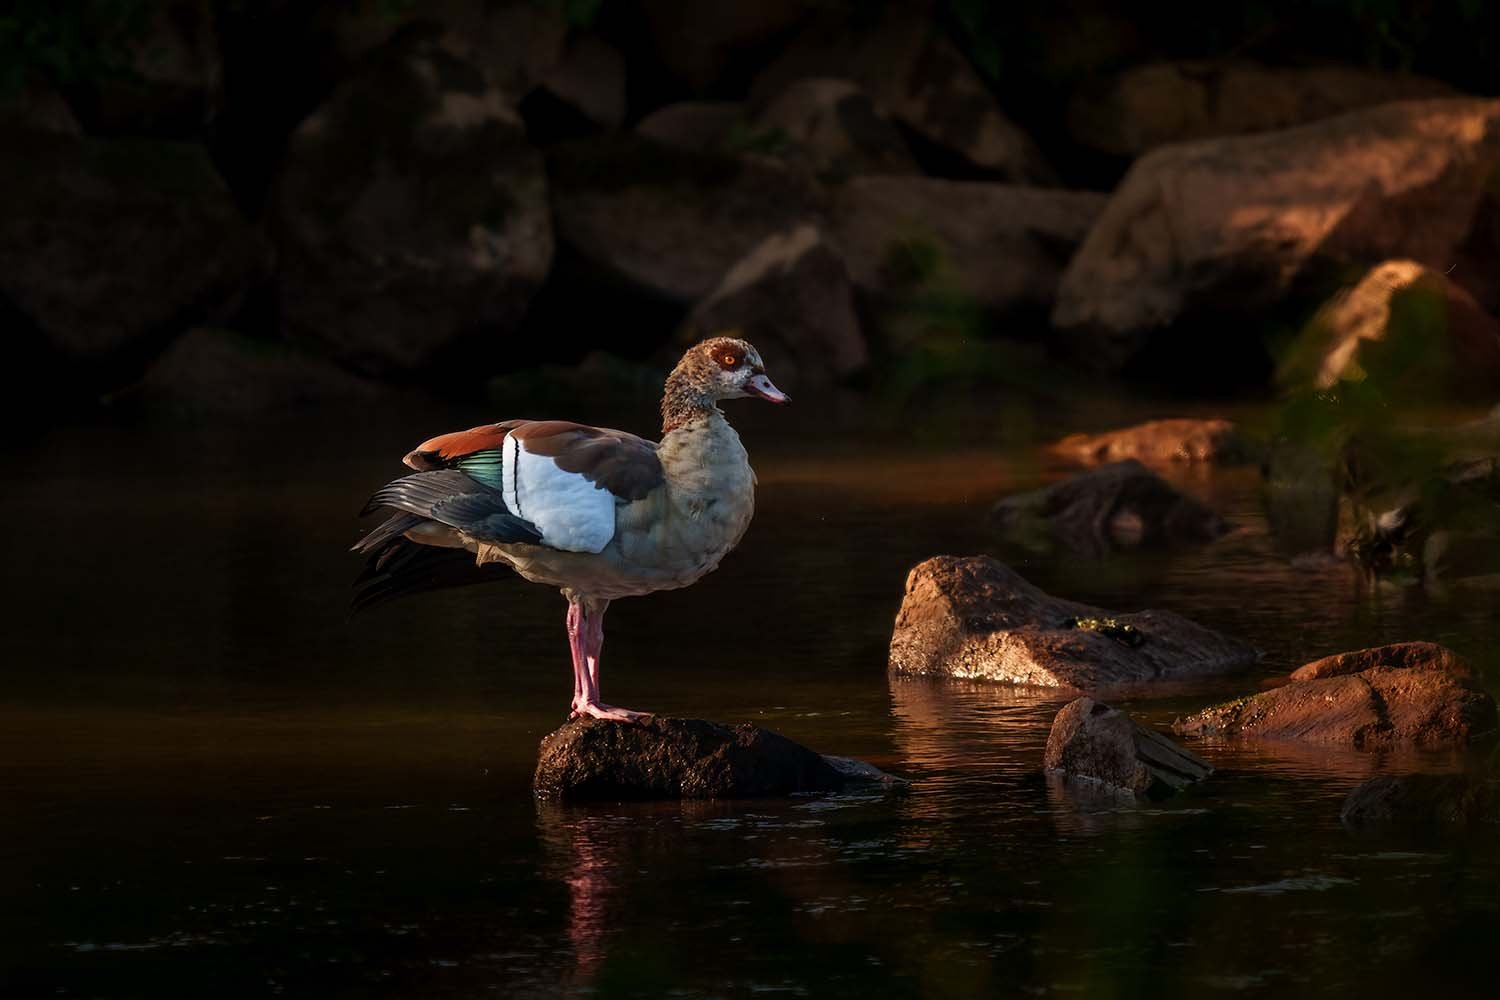
a6700 + 400 mm f/2.8 GM
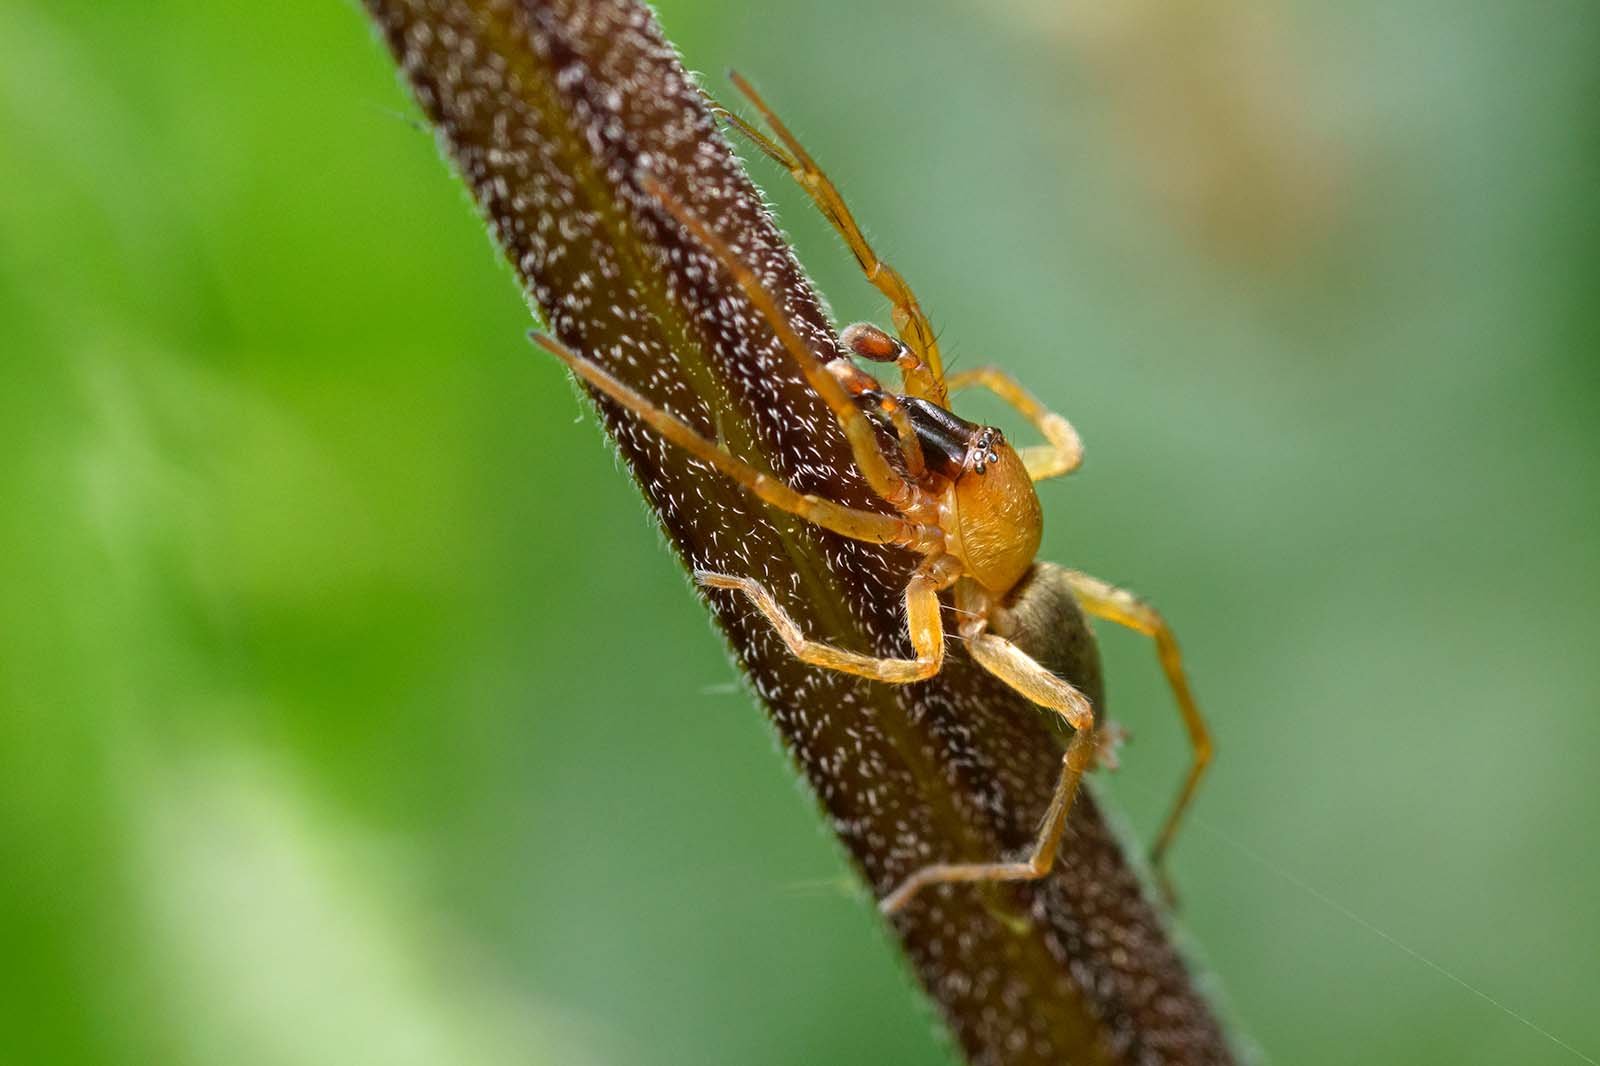
Sony a7R IV + 90 mm f/2.8 G
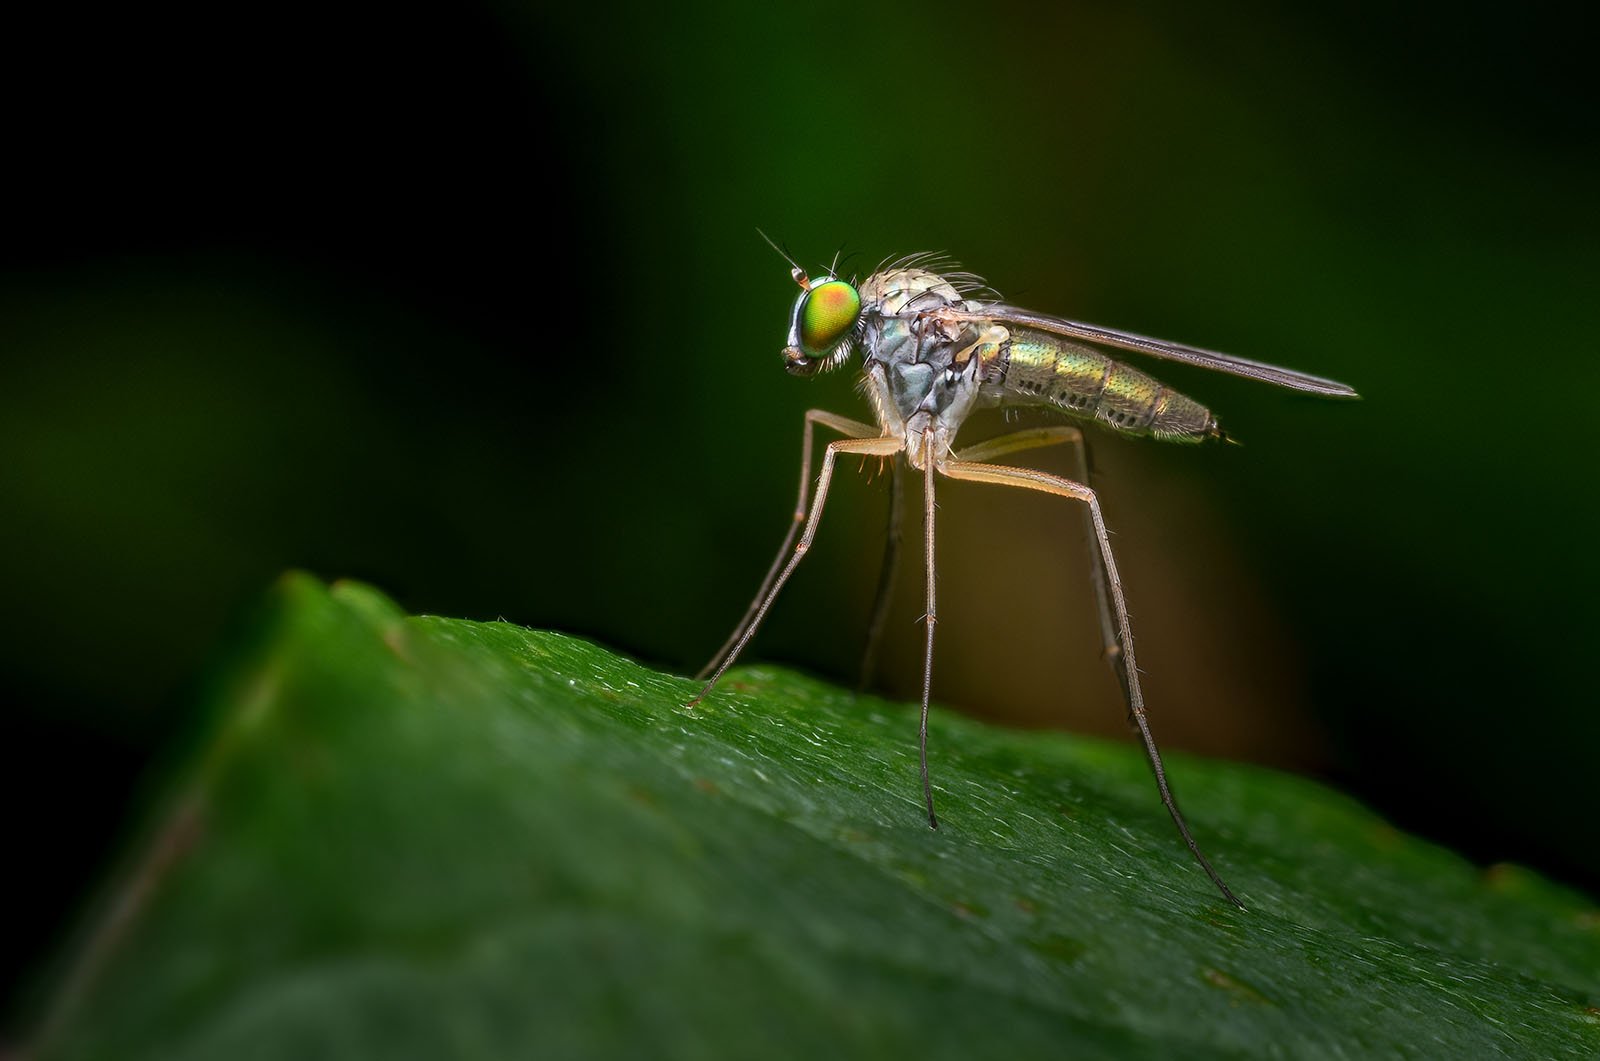
Sony a6700 + 90 mm f/2.8 G
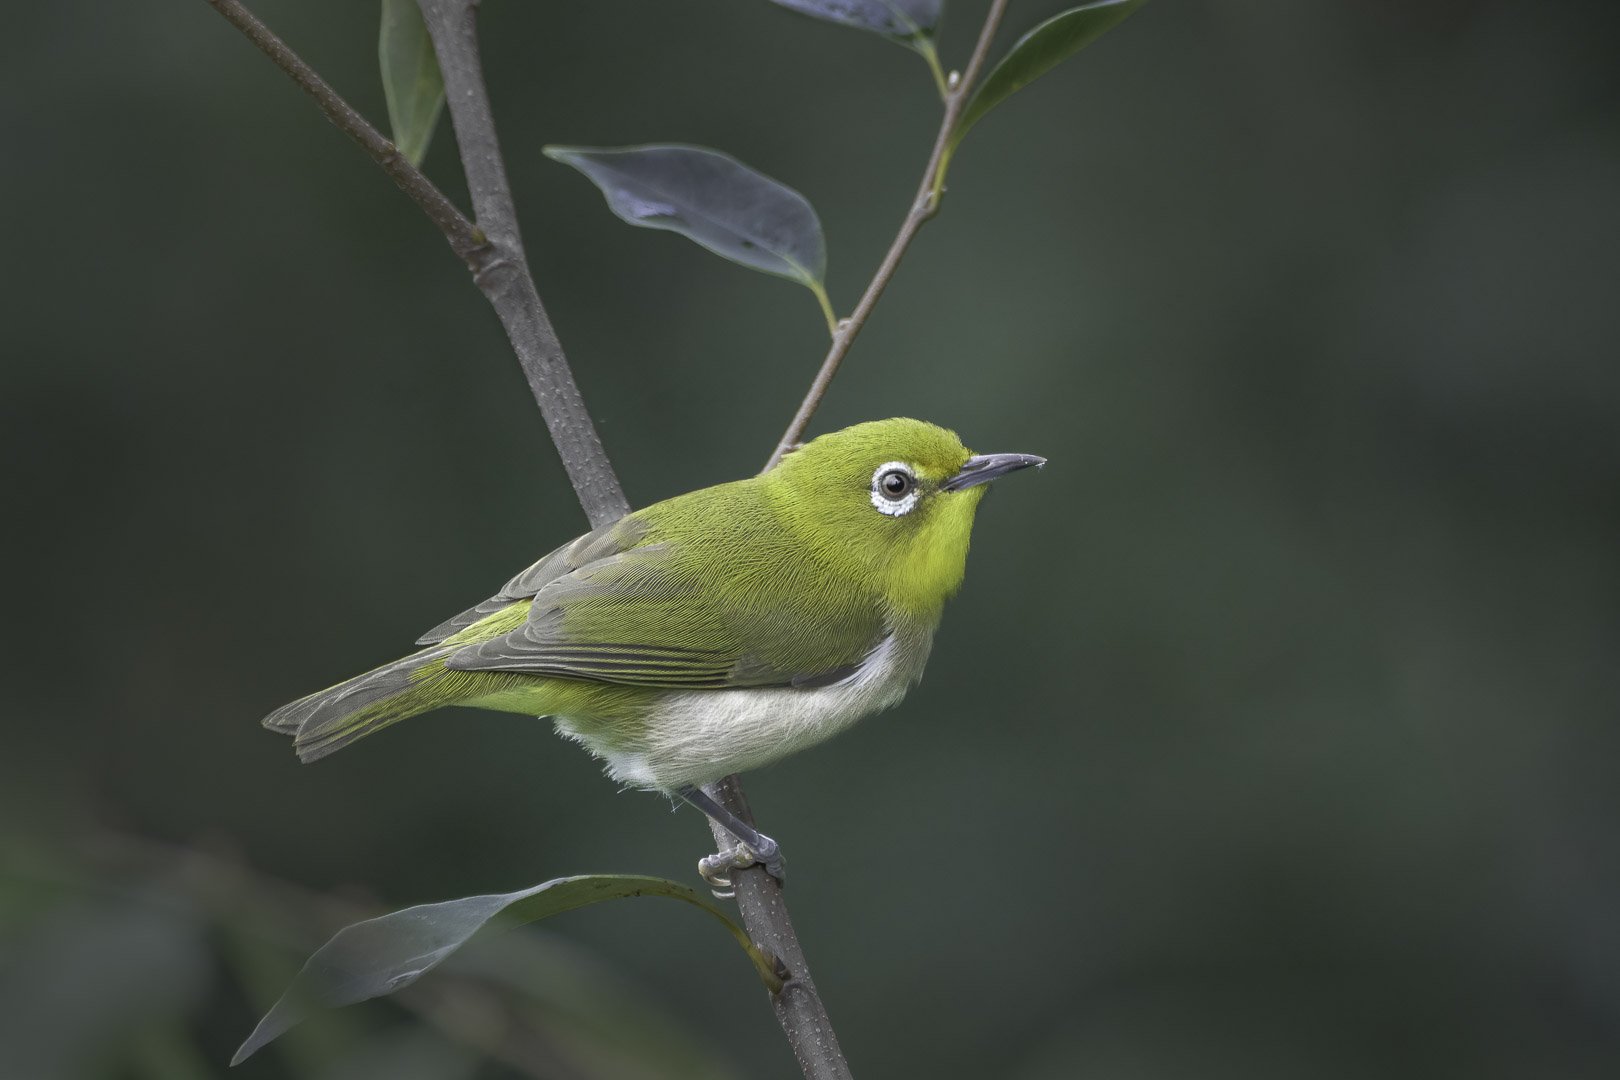
Sony A1 + Sony 100 - 400 mm GM + 1.4TC
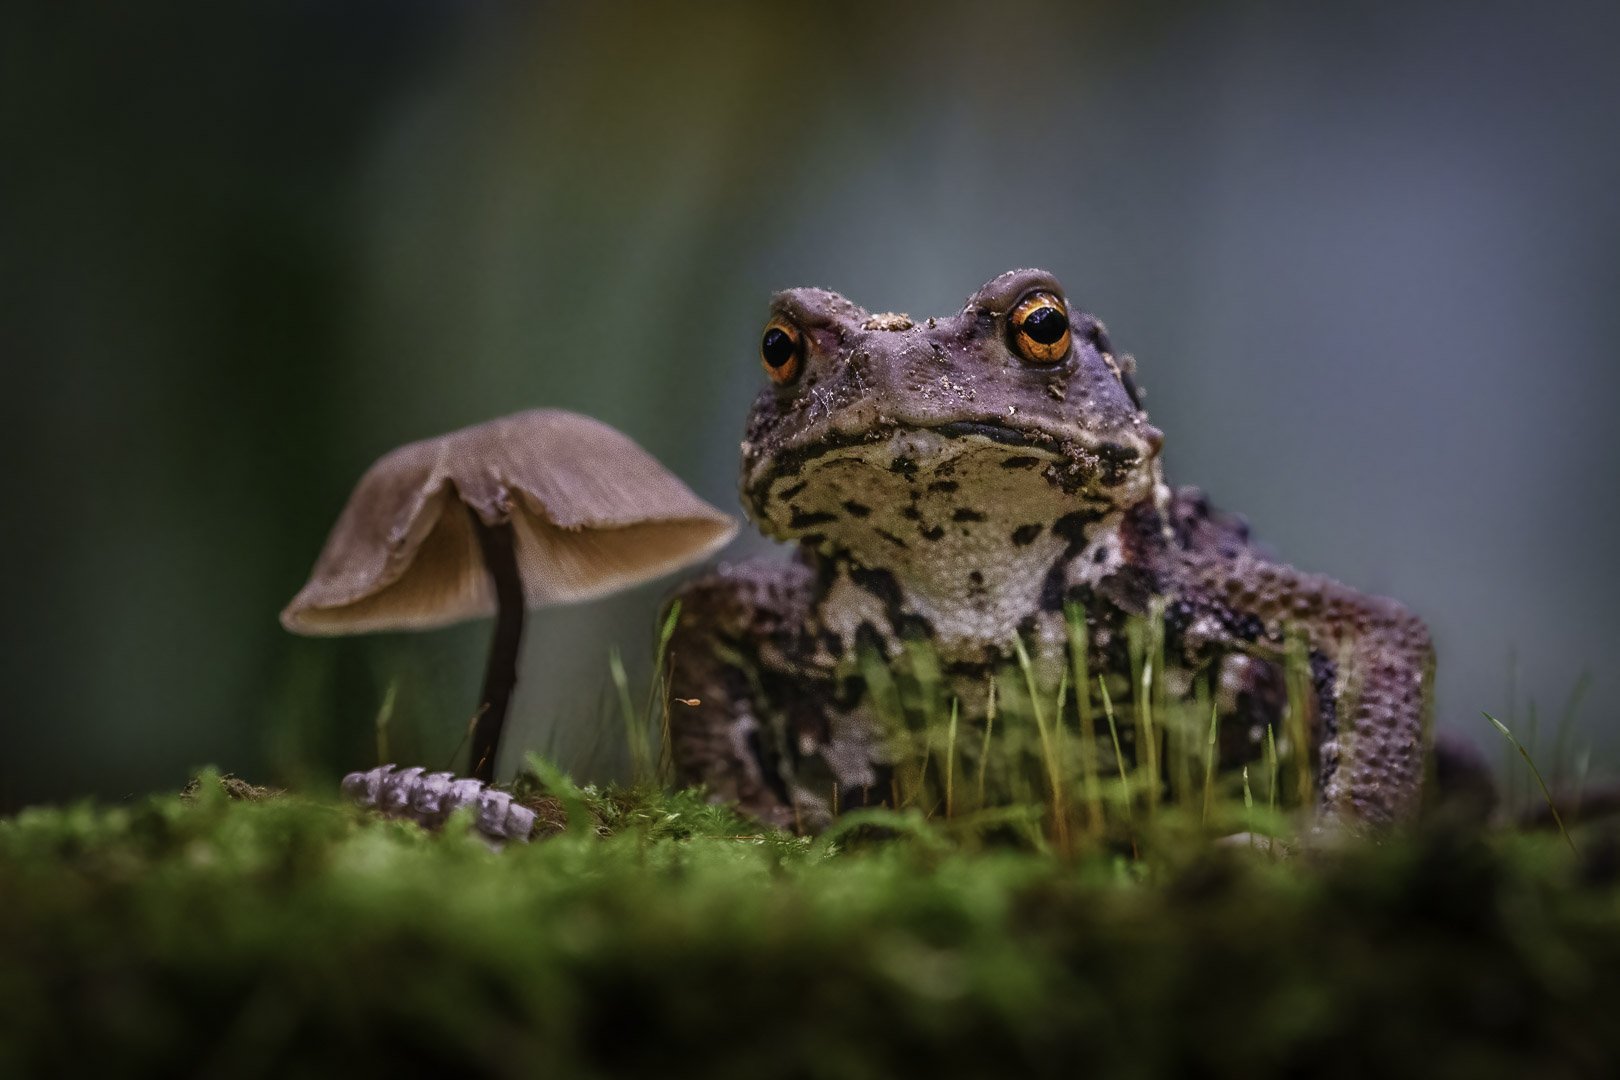
Sony A1 + Sony 100 - 400 mm f/4.5 - 5.6 GM
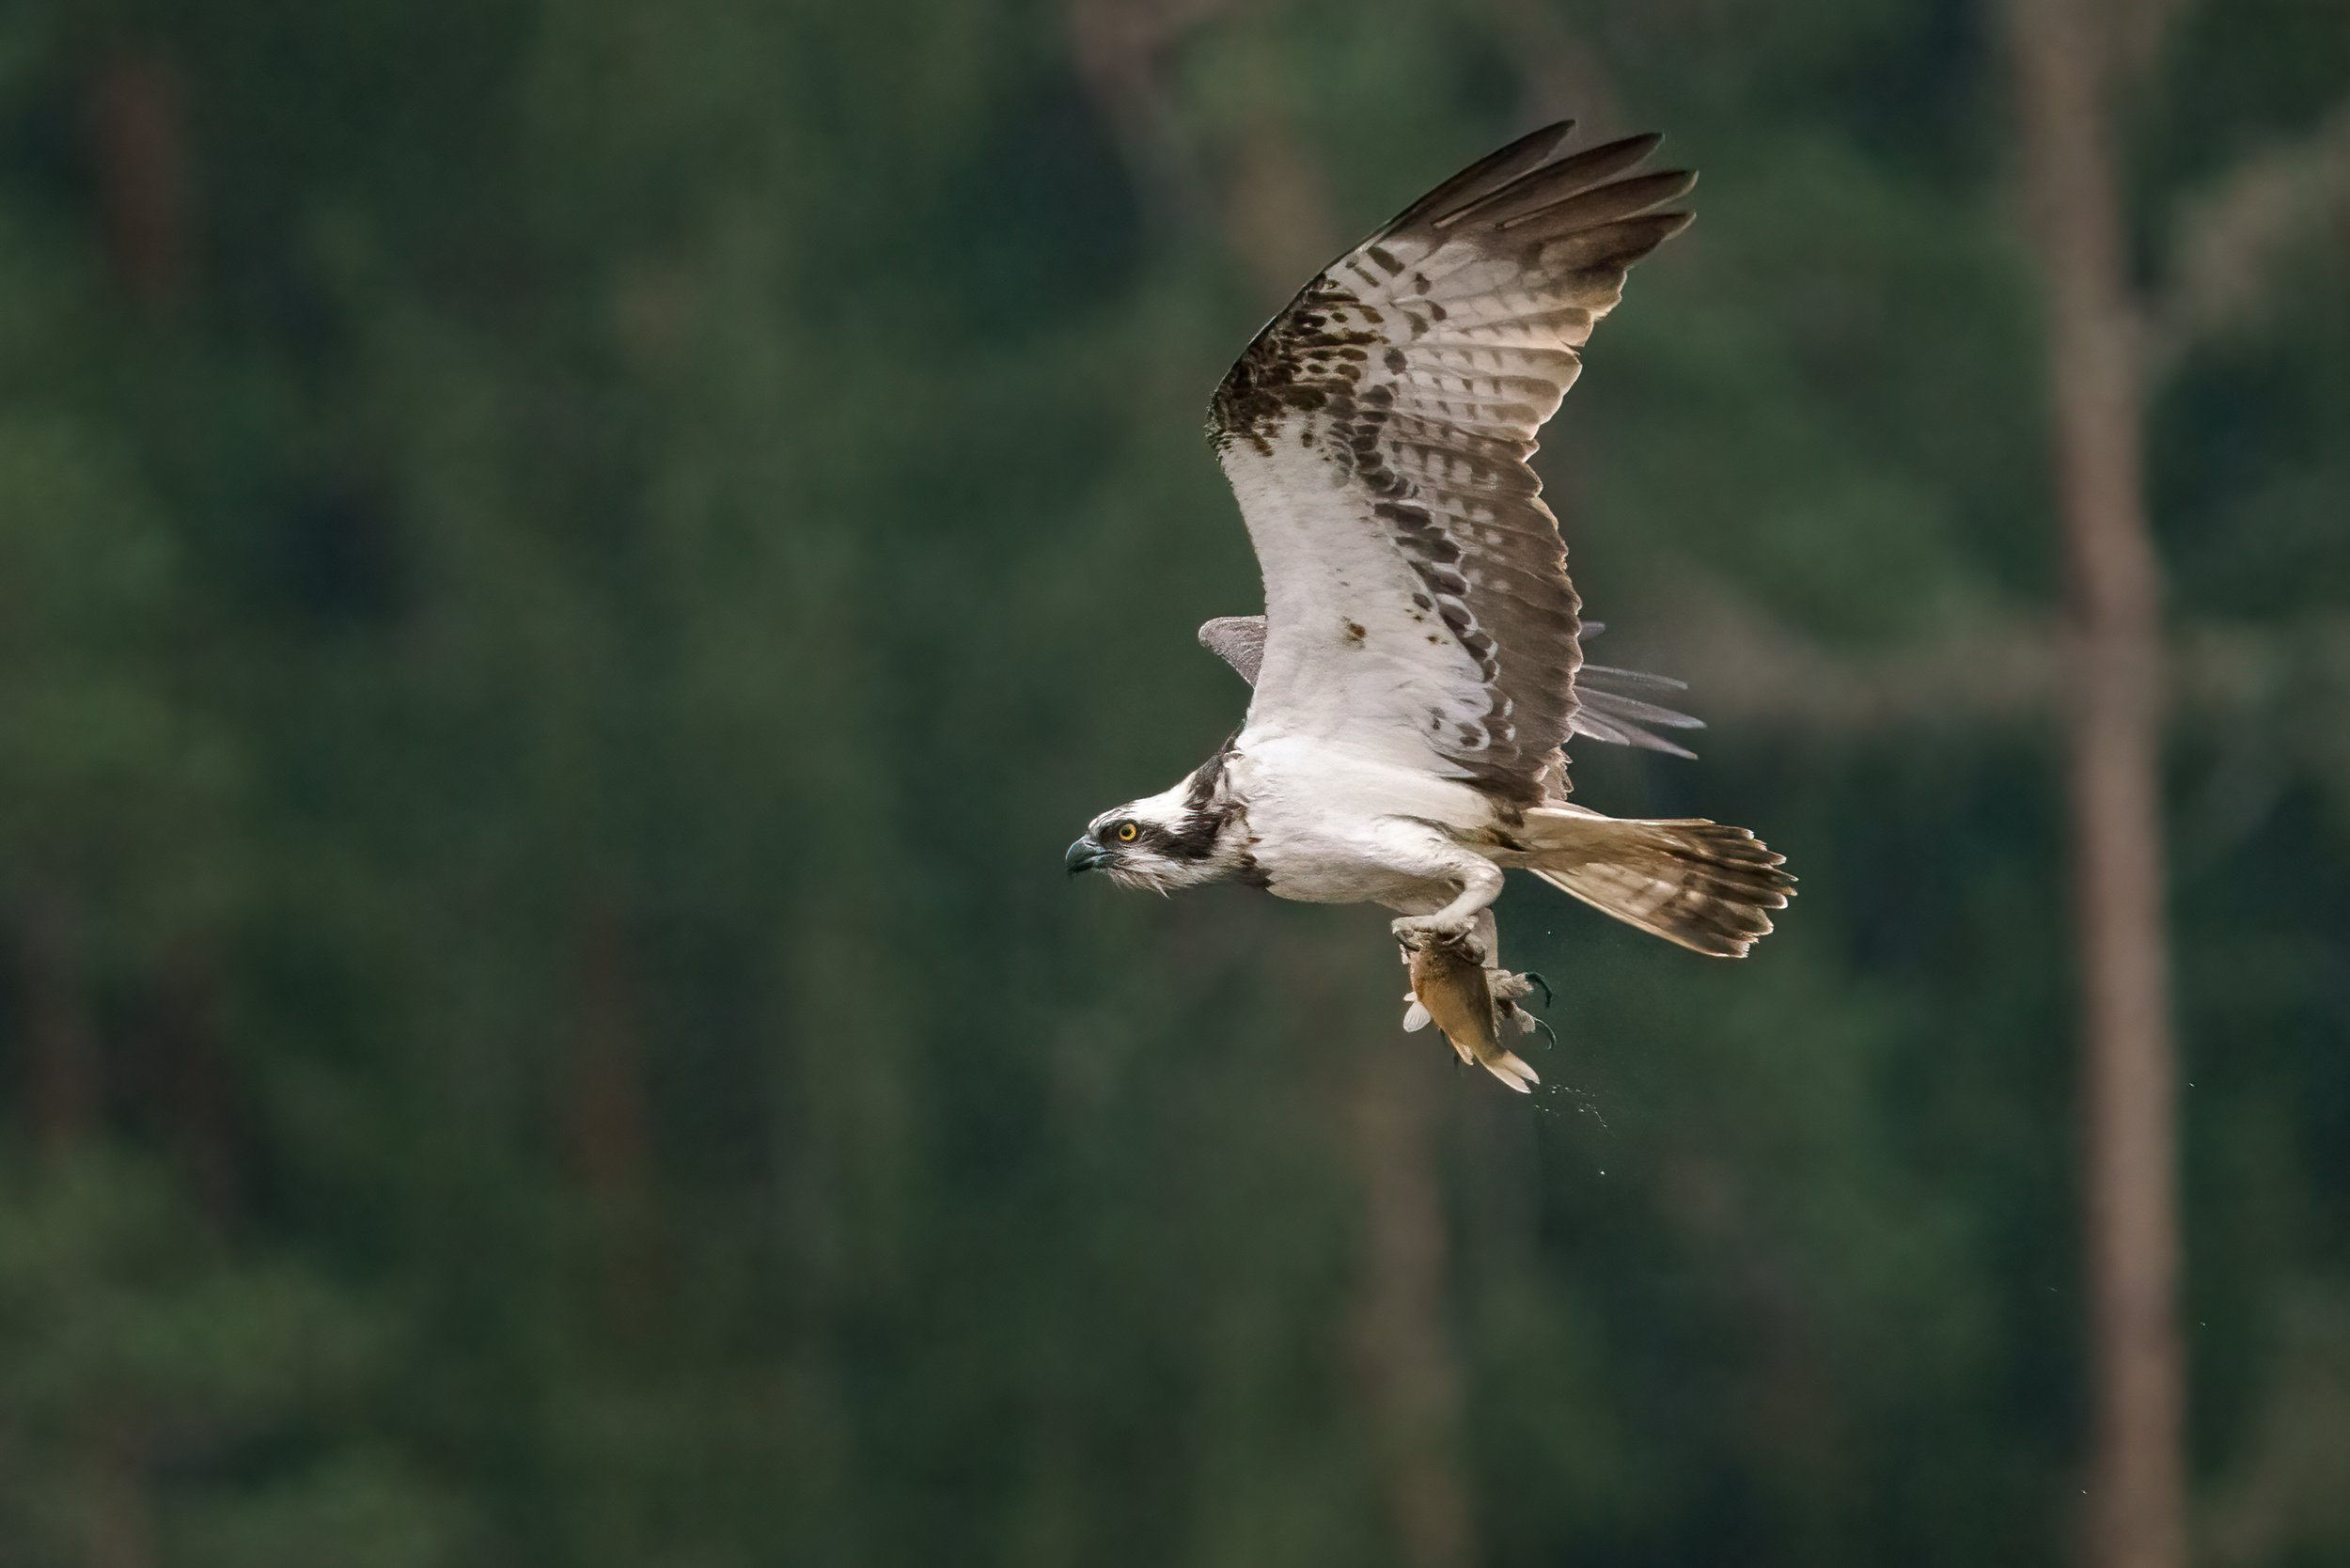
Sony a7R IV + 200 - 600 mm f/5.6 - 6.3 G
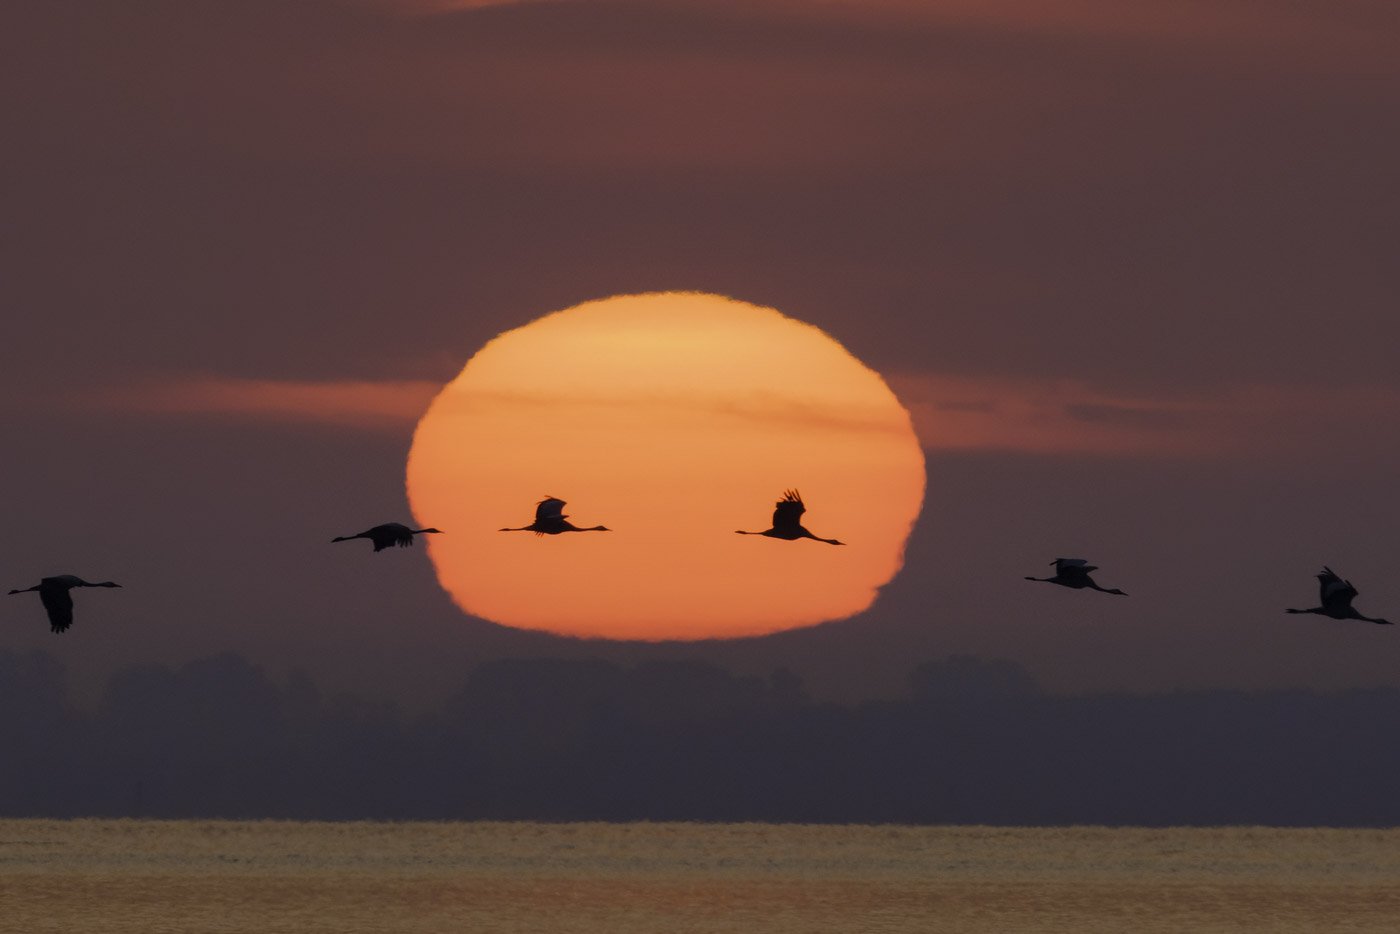
a7 III + Sony 200 - 600 mm f/5.3 - 6.3 G
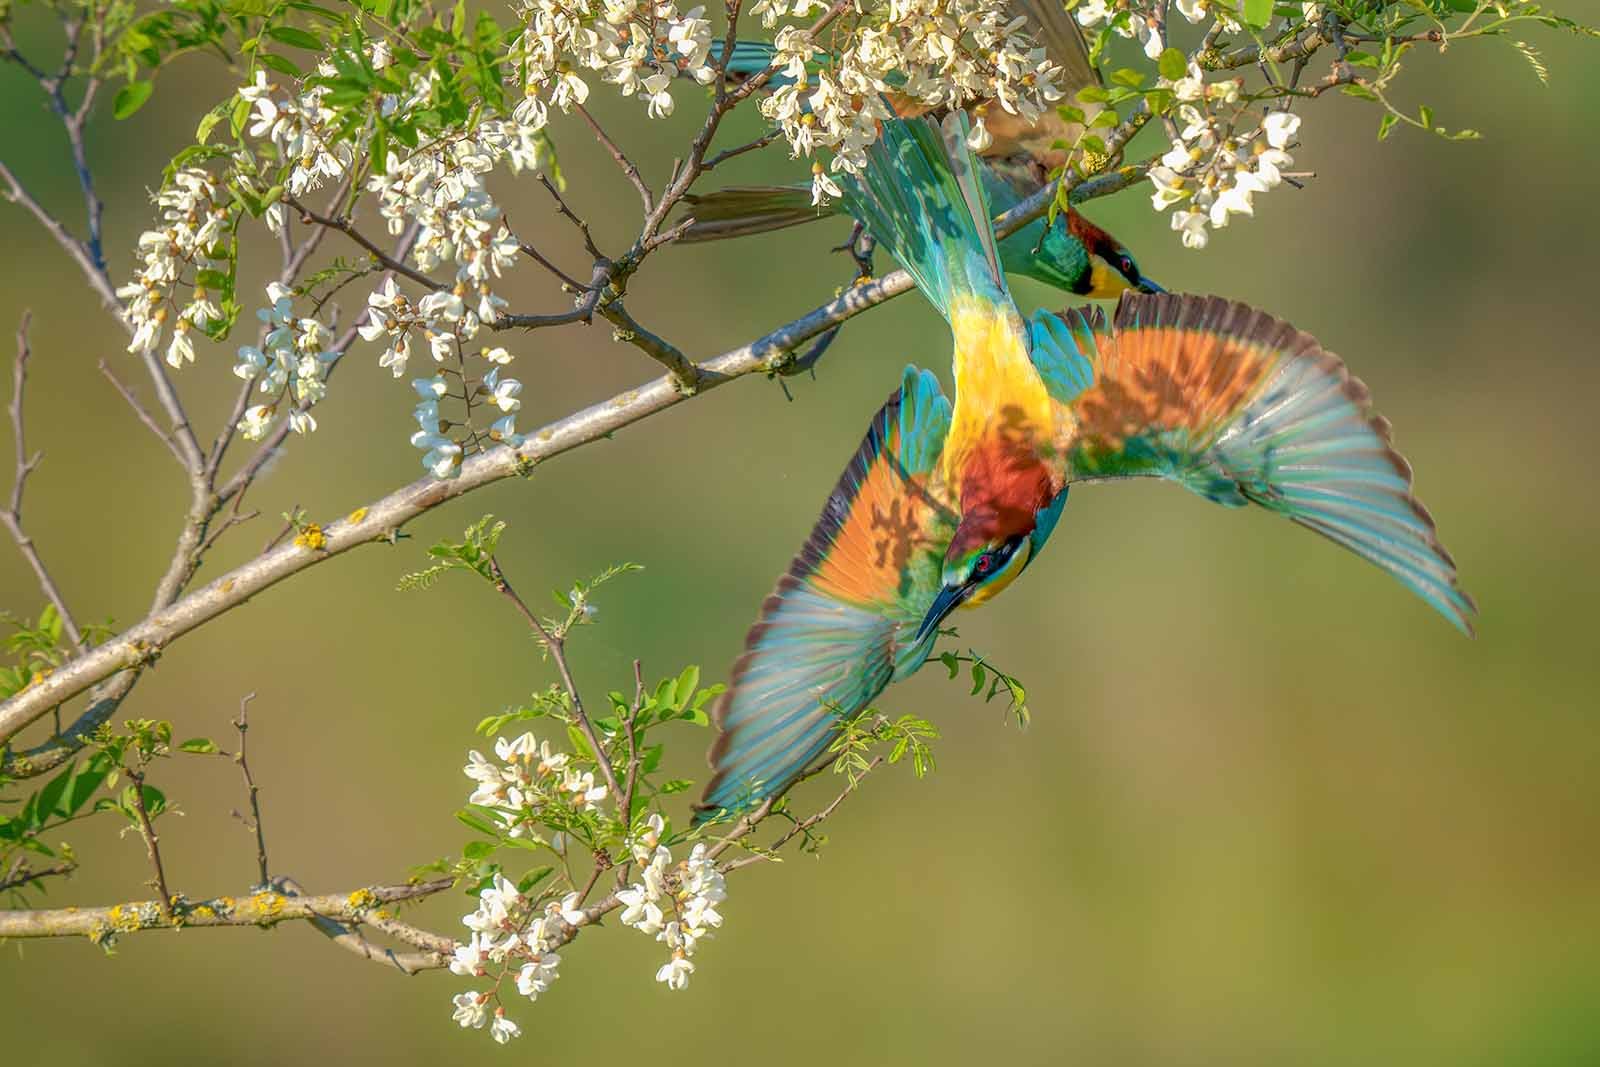
a1 + 400 mm f/2.8 GM + 1.4TC
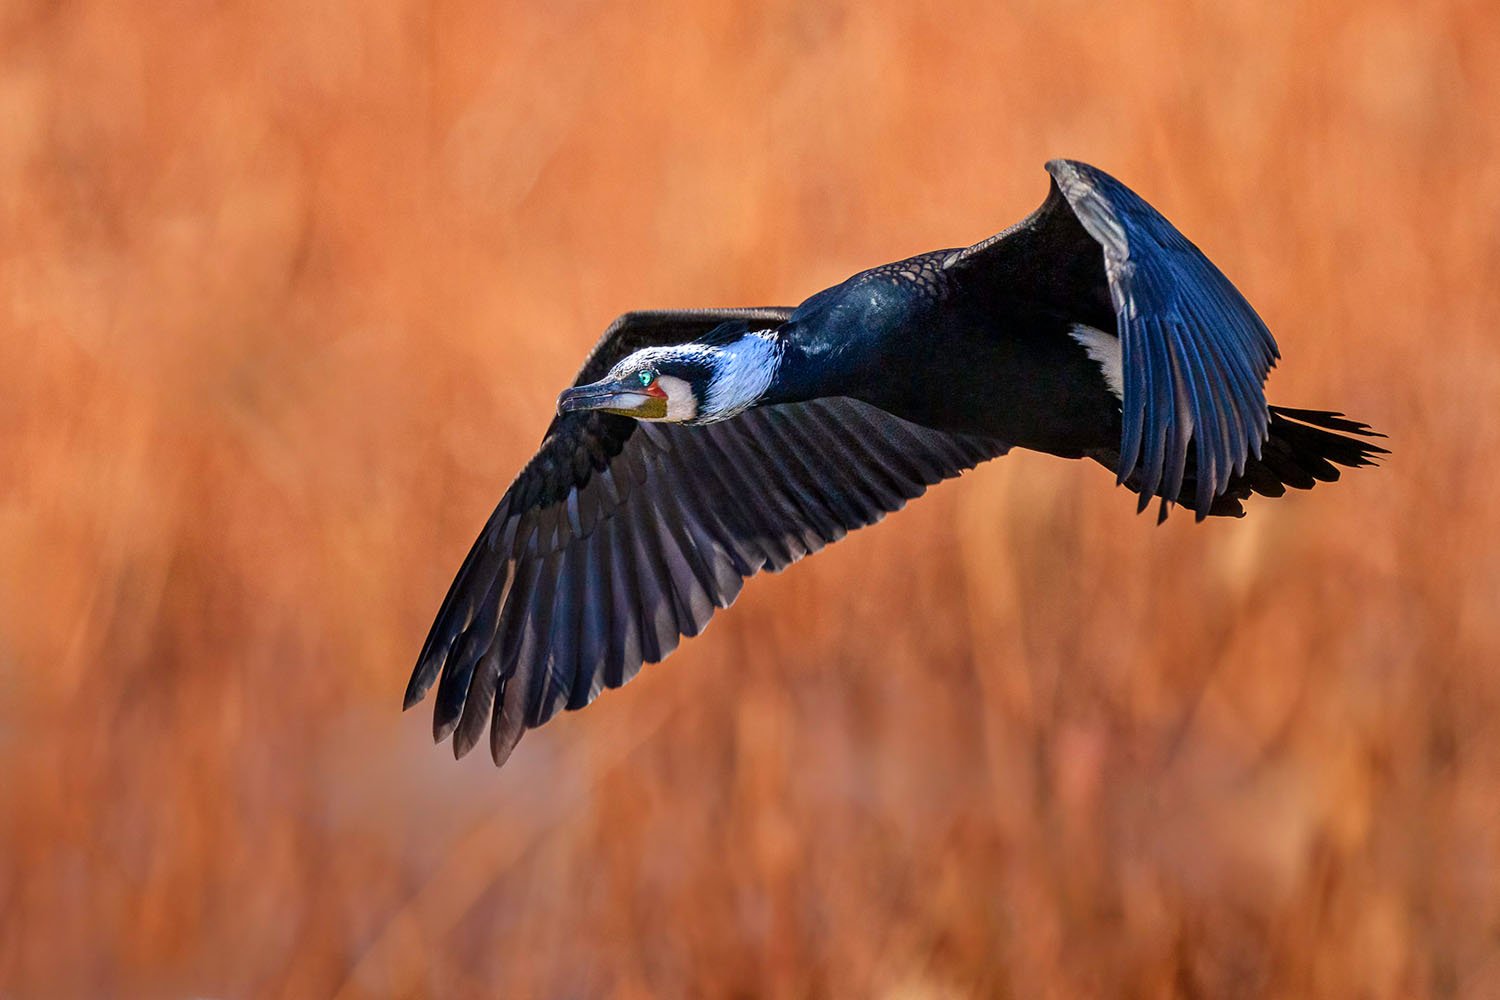
Sony A1 + 400 mm f/2.8 GM
You can find more detailed reviews of my gear in the following articles:


